


-
Goedemorgen.
Reageer op deze vraag Misbruik melden
Op de telefoon staat dat er een gemiste oproep is geweest. Hoe verwijder ik deze melding? Alvast hartelijk dank Gesteld op 12-2-2025 om 12:03 -
Ik krijg de Franse taal, hoe krijg ik Nederlands op het scherm Gesteld op 20-1-2025 om 13:17
Reageer op deze vraag Misbruik melden-
Je kan met zoeken in google de Nederlandse gebruiksaanwijzing downloaden. Dat zie je dat het heel simpel is . Met de pijltjes toetsten kan je de taal kiezen die je wilt. Het instellen is wel even een dingetje, maar bij mij is het allemaal gelukt. In plaats van foto's op basis toestel heb ik de namen er in gezet. Foto's zijn te klein, zeker voor oudere mensen. succes! Geantwoord op 20-1-2025 om 14:04
Waardeer dit antwoord Misbruik melden
-
-
De Nederlandse gebruikershandleiding heb ik inmiddels, maar dat lost mijn probleem niet op.
Waardeer dit antwoord Misbruik melden
Ik krijg alleen Franse tekst in het scherm, dus weet ik niet hoe ik verder moet in het menu. Geantwoord op 20-1-2025 om 17:14 -
Hoe haal ik gesproken nummers eruit bij intoetsen nummers? Gesteld op 12-1-2025 om 17:26
Reageer op deze vraag Misbruik melden -
Hoe wijzig ik de taal van Frans naar Nederlands bij de geëmancipeerd amplidect 595 Photo?
Reageer op deze vraag Misbruik melden
Gesteld op 2-12-2024 om 18:07 -
Ik krijg de foto toesten nier ingesteld op het basisstation, als ik fit op de handset wil invoeren komt daar geen "foto-geheugen" in het scherm. Weet iemand dit? Gesteld op 5-10-2024 om 14:01
Reageer op deze vraag Misbruik melden -
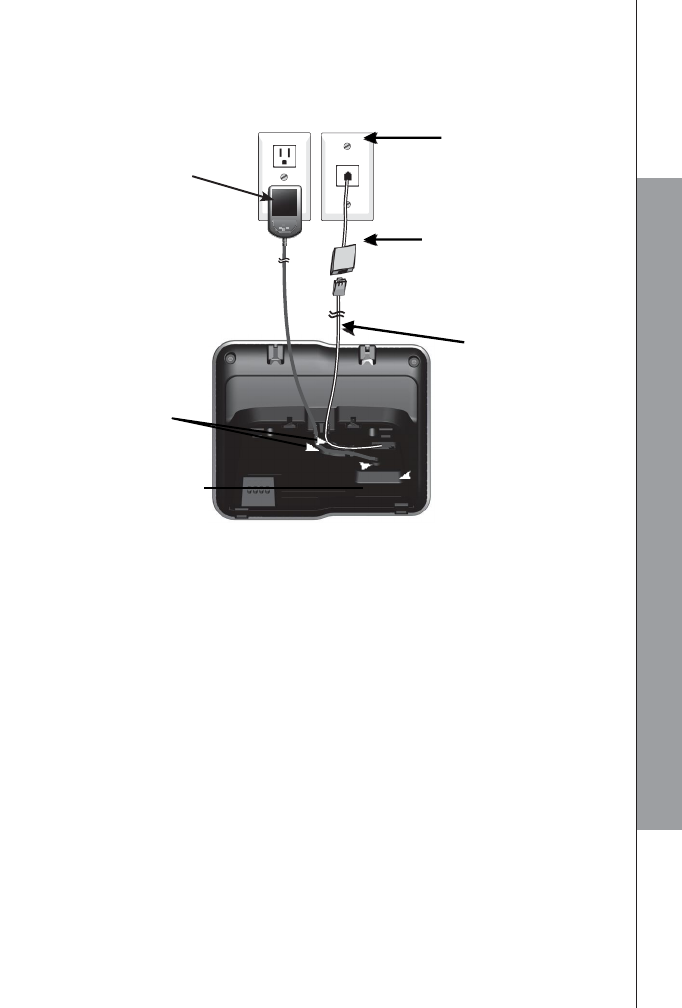
Kan enkel het hoofdset aangesloten worden op het telefoonnet of lukt dit ook de andere draagbare telefoon(s) ? Gesteld op 6-6-2024 om 14:16
Reageer op deze vraag Misbruik melden
-
Hoe kan ik zien wie er heeft gebeld tijdens mijn afwezigheid? Gesteld op 22-5-2024 om 12:53
Reageer op deze vraag Misbruik melden -
Mijn moeder kan niet bellen maar wel gebeld worden weet iemand hoe dit kan? Gesteld op 11-5-2024 om 18:33
Reageer op deze vraag Misbruik melden -
Hoe kan ik alles wissen van de telefoon,er staat in 't Frans vanalles op maar ik kan er niet mee verder. Gesteld op 31-1-2024 om 09:48
Reageer op deze vraag Misbruik melden -
Als er op het scherm staat niet bereikbaar wat moet ik dan doen , Gesteld op 19-12-2023 om 12:30
Reageer op deze vraag Misbruik melden -
Hoe krijg ik Nederlands in de display.
Reageer op deze vraag Misbruik melden
Het wordt nu in het Frans weer gegeven. Gesteld op 27-11-2023 om 20:52 -
Hallo ik heb vandaag deze telefoon gekocht voor mijn moeder, maar als ik iemand bel en ik wil het gesprek beëindigen doet het rode beëindiging knopje het niet gelijk ik moet hem eerst op de basis station zetten er weer af nemen dan doet de knop het wel, hoe kom ik daar vanaf Gesteld op 17-11-2023 om 10:37
Reageer op deze vraag Misbruik melden
-
We hebben 2 onderdelen waarvan we geen flauw idee hebben waar ze voor zijn… Gesteld op 3-7-2023 om 15:00
Reageer op deze vraag Misbruik melden -
In de handleiding staan de knoppen maar gedeeltelijk afgebeeld. Het is maar gissen welke knoppen de handleiding bedoeld. Zwaar teleurgesteld. Gesteld op 6-4-2023 om 17:25
Reageer op deze vraag Misbruik melden -
Goedendag dag ,ik hebben
Reageer op deze vraag Misbruik melden
Geemarc telefoon en sinds gisteren toen ik het van de lader nam kreeg een electrice schok en daarna zit er een zwart vlekje op het toestel wat kan dit geweest zijn .graag uw reactie . Groeten Gesteld op 2-3-2023 om 10:53 -
het oproepsignaal voor binnenkomende gesprekken is gelijk aan het signaal van de deurbel, ik wil een ander signaal op de telefoon kunnen instellen, toewerkt dat? Gesteld op 25-2-2023 om 12:24
Reageer op deze vraag Misbruik melden -
Telefoon is ingesteld, maar de fototoets werkt niet, wat te doen??? Gesteld op 15-11-2022 om 13:00
Reageer op deze vraag Misbruik melden -
Hoe krijg ik weer de tijd op mijn Amplidect 595 photo U Gesteld op 20-8-2022 om 15:52
Reageer op deze vraag Misbruik melden
-
op mijn LCD Display staat na een Telefoontje een tekst waar ik van af zou willen , en dat is
Reageer op deze vraag Misbruik melden
1NIEUW
BERICHT
Hoe kom ik hier van af
Gesteld op 16-8-2022 om 11:47 -
op mijn AMPLIDECT 595 Photo krijg ik na een gesprek 1nieuw bericht
Reageer op deze vraag Misbruik melden
hoe kom ik hier van af Gesteld op 15-8-2022 om 11:52 -
Hoe kan ik telefoonnummers wijzigen of verwijderen Gesteld op 7-8-2022 om 11:53
Reageer op deze vraag Misbruik melden -
wil graag de nederlandse taal installeren . Hoe kan dat. Ik jkrijg alleen Frans
Reageer op deze vraag Misbruik melden
Gesteld op 27-7-2022 om 10:50-
Ja beetje irritant idd en nee er is geen HS instellingen te vinden als hij op de franse taal staat. Dan heet het nml Regl comb . en daarna met het pijltje naar beneden naar Langues en dan kun je uiteindelijk Nederlands kiezen en wordt het allemaal weer duidelijk. Dus:
Waardeer dit antwoord (10) Misbruik melden
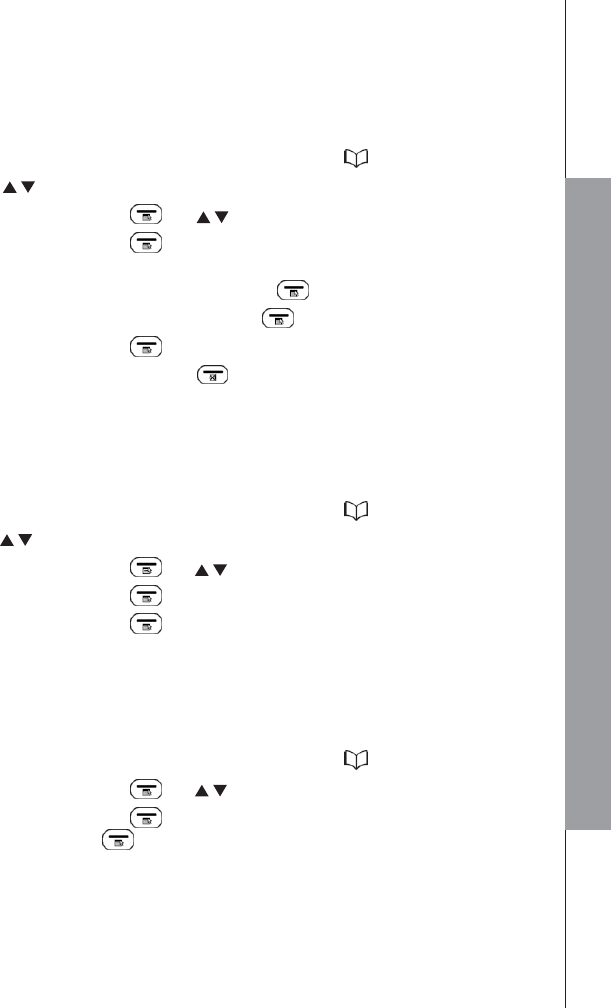
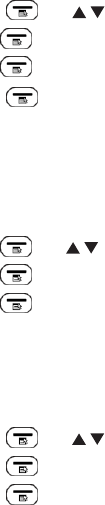
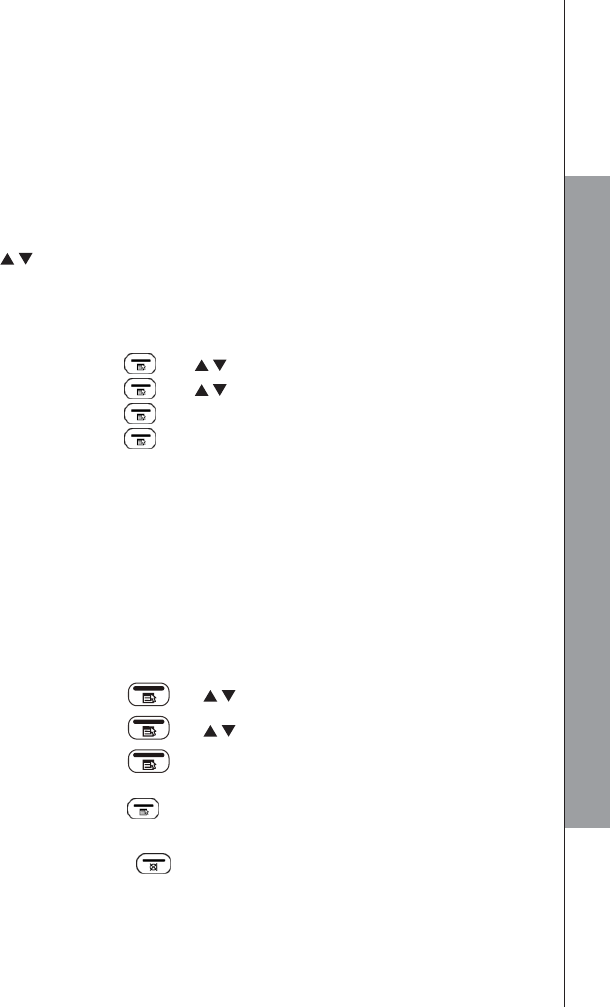
1. Linker boven knop indrukken, dan met de knop waar VOL staat op het pijltje naar beneden drukken een aantal keren totdat je bij REGL COMB komt. Dan bevestigen met weer de knop links boven.
2. Dan met de knop waar VOL staat op het pijltje naar beneden drukken een aantal keren totdat je bij LANGUES komt. bevestigen met weer de knop links boven.
3. Dan met de knop waar VOL staat op het pijltje naar beneden drukken een aantal keren totdat je bij NEDERLANDS uitkomt. bevestigen met weer de knop links boven.
Vanaf dan klopt de Nederlandse instructie ook weer. Succes Geantwoord op 27-7-2022 om 15:26
-
-
Hoe komt het dat we niet rechtstreeks met MO-M9 (fototoetsen)kunnen bellen op het basisstation en ook de sneltoetsen niet werken.
Reageer op deze vraag Misbruik melden
Wat is de inactieve stand van het basisstation? Gesteld op 21-7-2022 om 11:55 -
WIJ HEBBEN DEZE TELEFOON GEKOCHT MAAR DE NEDERLANDSE GEBRUIKSAANWIJZING ZIT ER NIET BIJ KAN IK DIE DOWNLOADEN Gesteld op 20-6-2022 om 08:12
Reageer op deze vraag Misbruik melden
-
tekstaal staat op nederlands ingesteld en toch hoor je engels als je de toetsen indrukt, hoe kan ik dit wijzigen Gesteld op 9-6-2022 om 23:26
Reageer op deze vraag Misbruik melden -
ik heb 2niewe oproepen gekregen hoe kan ik die verwijderen van m AMPLIDECT 595 Photo Gesteld op 27-5-2022 om 11:54
Reageer op deze vraag Misbruik melden -
In schermpje waar de tijd staat = staat nu 2 nieuwe oproepen hoe kan ik die weg krijgen Gesteld op 25-5-2022 om 19:29
Reageer op deze vraag Misbruik melden-
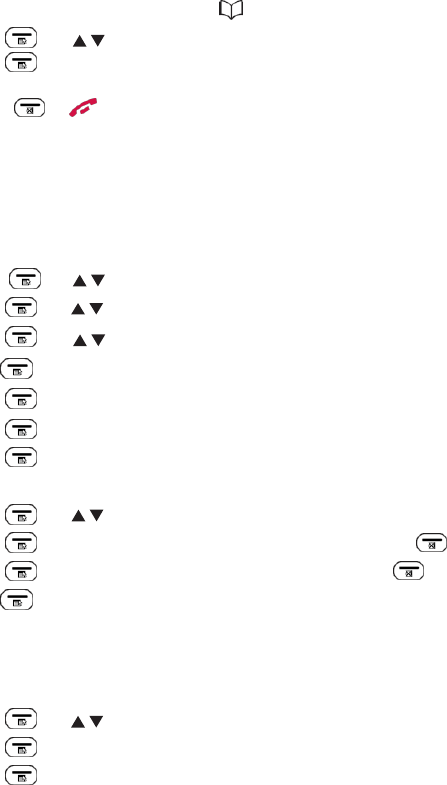
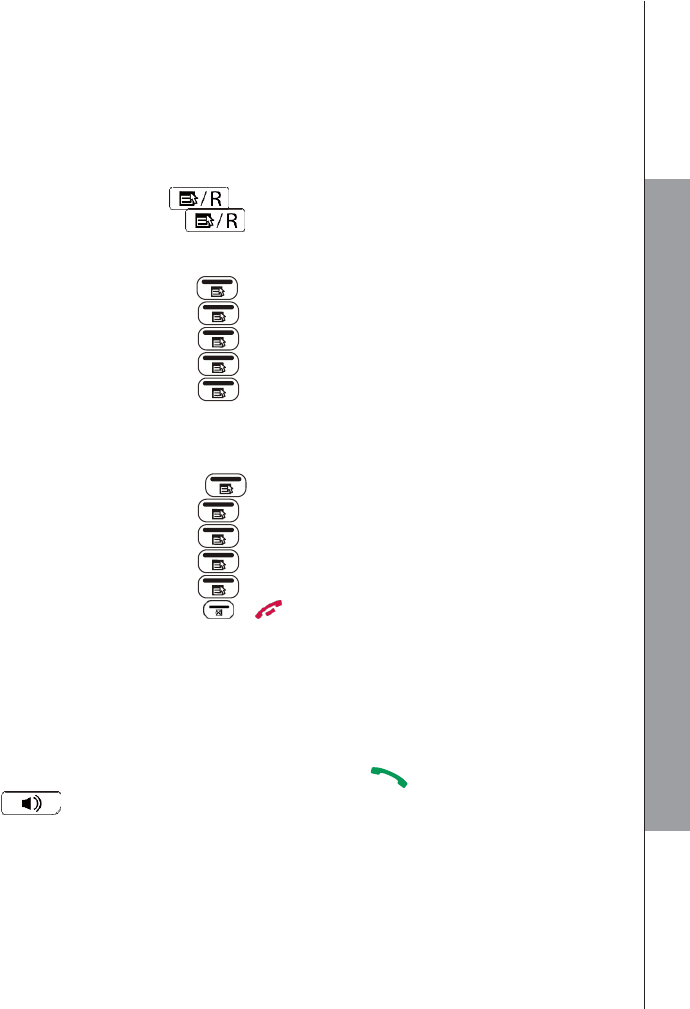
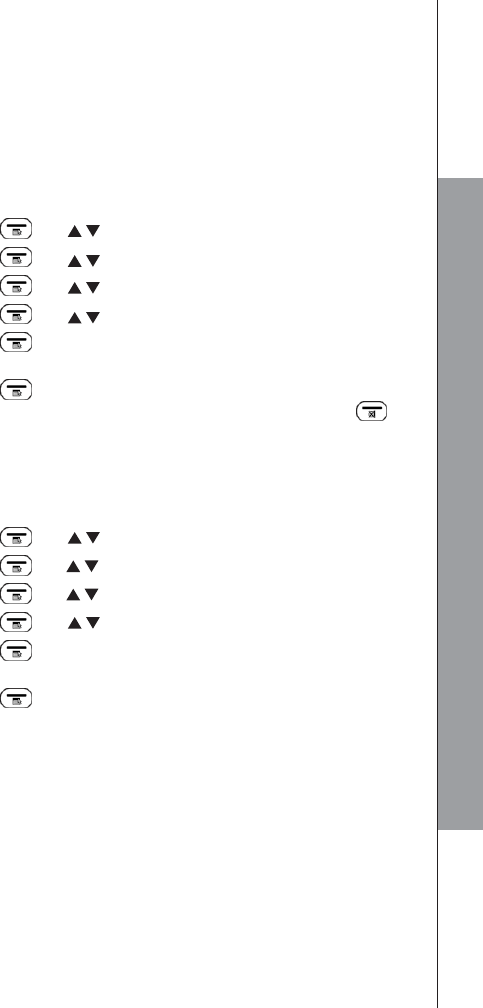
Druk op de linker boven knop dan komt het nr wat verwijderd moet worden
Waardeer dit antwoord (2) Misbruik melden
Druk nogmaals dan komt oproep details.
Ga dan naar de knop in het middenen blif drukken tot erstaat wissen dan staat alles wissen ga dan wer naar de linker boven knop dan staat bevestigen en dan zijn de oproepen er uit Geantwoord op 26-5-2022 om 07:17
-
-
Telefoon gesprek stopt er naar een minuut mee Zit er een tijd slot op ? Gesteld op 26-4-2022 om 20:02
Reageer op deze vraag Misbruik melden -
Wat kan ik doen om de buitenlandse gesproken tekst weg te halen. Is erg vervelend voor 80tig plussers Gesteld op 7-3-2022 om 18:45
Reageer op deze vraag Misbruik melden-
Druk op linker knopje boven aan ga dan met de middenknop beneden drukken totdat je ziet hs instellingen druk dan op weer op linksboven op okeen dan drukken totdat teksttelefoon ziet en blijf drukken totdat er Nederland staat ik vergeet eerst te zeggen wel als eerste opde rode hoorn drukken en ga dan verder zo als hier boven Geantwoord op 7-3-2022 om 19:16
Waardeer dit antwoord (1) Misbruik melden
-
-
In het menu van amplidect 595 staat de taal in het Frans,wil het veranderen in het Nederlands,maar hoe moet dit Gesteld op 19-2-2022 om 13:36
Reageer op deze vraag Misbruik melden-
Linker knopje dan naar midden knopje wn blijf indrukken tot h s instellingen druk daarna weer linker knopje rechtsboven en blijf drukken tot teksttelefoon en kies voor Nederlands en druk op oke Geantwoord op 19-2-2022 om 16:39
Waardeer dit antwoord (1) Misbruik melden
-
-
Kan oproep niet meer opnemen.
Reageer op deze vraag Misbruik melden
Links boven symbool van menu? Weet niet hoe ik dat eruit krijg Gesteld op 1-2-2022 om 18:31 -
Ik wil mijn antwoordapparaat met een persoonlijke boodschap inspreken. Het lukt me op de een of andere manier niet. Nu krijgen de bellers dus een Engels bericht te horen en ik merk dat niemand daardoor meer inspreekt. Ik zou dit graag willen veranderen, zodat de beller hoort met wie ze verbonden zijn als wij niet op kunnen nemen. Gesteld op 24-1-2022 om 23:06
Reageer op deze vraag Misbruik melden -
Hoe werkt de intercomfunctie? Als ik op de knop intercom druk kan ik niet het andere toestel kiezen oid?? De handleiding is dusdanig beroerd, daar staat het niet goed in uitgelegd. Gesteld op 21-12-2021 om 09:59
Reageer op deze vraag Misbruik melden -
Hoe instaleer ik een extra handset, kom er niet uit Gesteld op 30-11-2021 om 18:39
Reageer op deze vraag Misbruik melden -
Hoe kan ik de taal wijzigen. Staat nu op Frans, maar moet naar Nederlands.
Reageer op deze vraag Misbruik melden
Wie kan mij helpen. Gesteld op 23-11-2021 om 15:34-
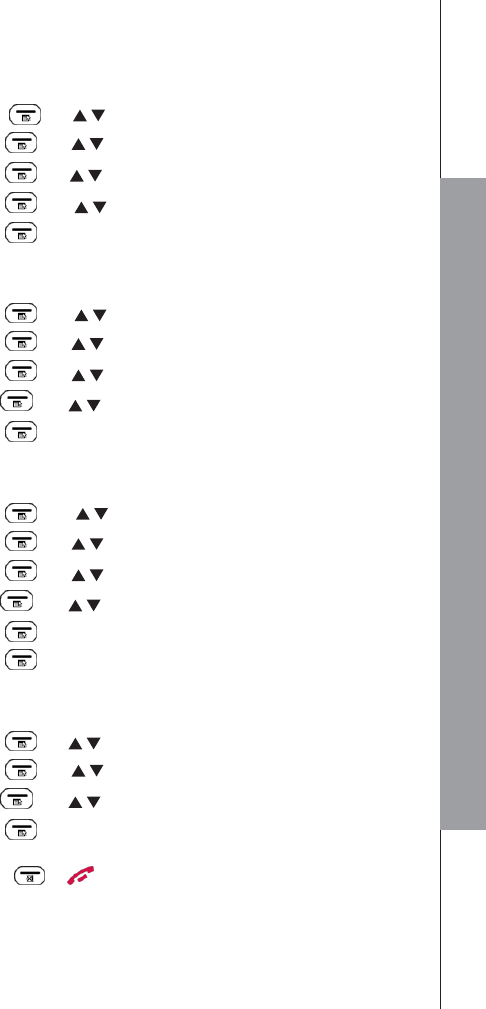
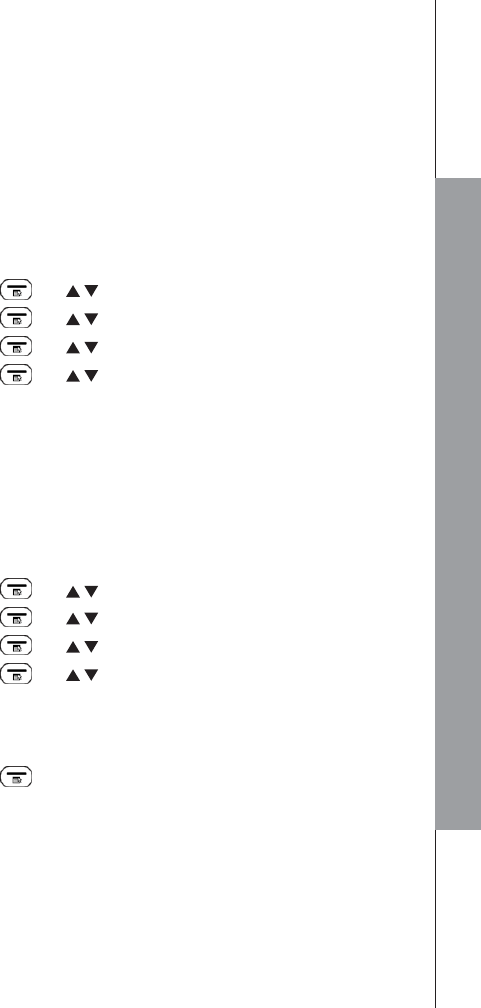
Drukken op links boven daarna op het middelste knopje onder en blijven drukken tot je ziet hs instellingen dan weer drukken op linksboven .dan weer midden onder drukken tot dat he ziet teksttelefoon en dan weer links boven tot dat je ziet Nederlands en dan links boven akkoord Geantwoord op 23-11-2021 om 16:03
Waardeer dit antwoord (10) Misbruik melden
-
-
ik heb de melding 'onbereikb' op beide toestellen staan en rode lampje van opladen blijft branden Gesteld op 5-11-2021 om 16:10
Reageer op deze vraag Misbruik melden-
Kijk de batterijen na en het rode lampje brand als hij op de oplader staat
Waardeer dit antwoord (1) Misbruik melden
Geantwoord op 5-11-2021 om 18:17
-
-
Hoe vermelding nieuw bericht doen verdwijnen van scherm Gesteld op 3-11-2021 om 12:19
Reageer op deze vraag Misbruik melden-
Druk op knop linksboven. 2x
Waardeer dit antwoord Misbruik melden
Daarna op knop in het midden onderste.
Blijven drukken tot er antwoord systeem staat druk dan weer op linksboven dan weer naar de middelste knop totdat er staat oud wissen Geantwoord op 3-11-2021 om 12:58
-
-
Mijn handset staat in het Frans maar dit moet in het Nederlands hoe moet ik dat doen
Reageer op deze vraag Misbruik melden
Gesteld op 27-10-2021 om 16:33-
Tik op linksboven en dan naar de middelste knop onder aan drukken en blijven drukken totdat er hs instellingen verschijnt. Dan weer op links biven drukken en dan weer inher midden blijven drukken totdat je taal instellingen ziet en dan bevestigen met links boven Geantwoord op 27-10-2021 om 19:24
Waardeer dit antwoord Misbruik melden
-
-
Ik heb een tel. signaal gemist . Welke knop moet ik nu gebruiken om terug te bellen? Gesteld op 19-10-2021 om 15:02
Reageer op deze vraag Misbruik melden-
Een oproep???
Waardeer dit antwoord Misbruik melden
Drukop de linker bovenloop blijf drukken totdat u ziet wissen druk dan op oke met de linker boven knop Geantwoord op 19-10-2021 om 15:55
-
-
Ik probeer de set in te stellen maar kan geen datum en tijd invoeren. Bij bevestiging hiervan krijg ik melding Niet Bereikbaar Gesteld op 23-9-2021 om 21:09
Reageer op deze vraag Misbruik melden-
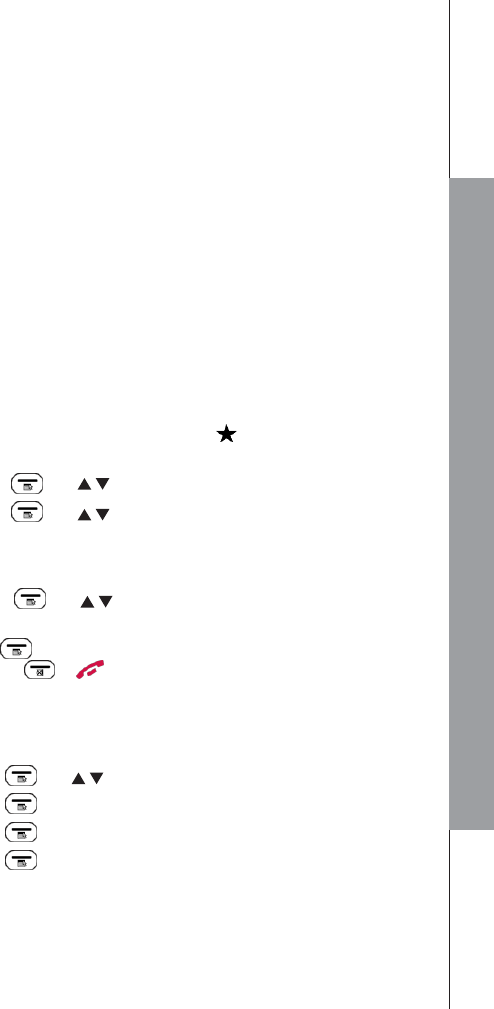
Ga naar h.s instelinsteliing.daar komt u de tijd tegen
Waardeer dit antwoord (1) Misbruik melden
Te binnen met linksboven te drukken daarna naar de middelste knop druk op her onderste gedeelte van die knop dan komt u naar een paar drukkende tijd tegen daarna weer links boven op oke
Geantwoord op 23-9-2021 om 21:35
-
-
Hoe zet ik mijn toestel in de Nederlandse taal Amplidect 595 Photo Gesteld op 1-9-2021 om 15:03
Reageer op deze vraag Misbruik melden-
Klik linksboven dan naar de knop in het midden druk op hs instellingen daar staat het bij Geantwoord op 1-9-2021 om 15:11
Waardeer dit antwoord Misbruik melden
-
-
Helaas lukt niet!
Reageer op deze vraag Misbruik melden
Als ik op groen druk, krijg ik meteen “in gebruik”
Ik word er een beetje moedeloos van. Gesteld op 22-8-2021 om 14:33-
Kijk in menu interne .
Waardeer dit antwoord Misbruik melden
oproep.volgens mij zij er personen die niet tijdens de vergadering hebben opgehangen.
Ga naar menu onder alles wissen ik heb een service nr 0885306099 Geantwoord op 22-8-2021 om 14:55
-
-
Ik krijg steeds het woord “vergader” in het scherm!
Reageer op deze vraag Misbruik melden
En als ik gebeld word ben ik steeds in gesprek!
Hoe los ik dit op. Gesteld op 22-8-2021 om 11:05-
Net zo lang in het menu drukken totdat u het woord wissen ziet daarop drukken en verwijderen Geantwoord op 22-8-2021 om 11:28
Waardeer dit antwoord Misbruik melden
-
-
Mijn lcd display is uit hoe krijg ik het weer aan als het donker is zie je niks op de display helemaal zwart
Reageer op deze vraag Misbruik melden
Gesteld op 15-4-2021 om 13:14 -
Telefoon blijft in gesprek welk knopje kan ik in drukken Gesteld op 24-3-2021 om 15:04
Reageer op deze vraag Misbruik melden -
hoe kanok mijn telefoon registreren alles geprobeerd maar lukt niet
Reageer op deze vraag Misbruik melden
telegoonmerk amplidect 595 foto Gesteld op 14-1-2021 om 14:28 -
ik heb een smsje gekregen op de telefoon hoe kan ik die lezen of hoe kan ik die openen
Reageer op deze vraag Misbruik melden
Gesteld op 13-1-2021 om 19:45-
Linker knop blijven indrukken totdat je berichten ziet in het scherm dan kan je het kezen dan weer links drukken totdat je wissen ziet Geantwoord op 13-1-2021 om 20:03
Waardeer dit antwoord Misbruik melden
-
-
Op display staat 2 nieuwe berichten! Hoe krijg ik dit weg? Gesteld op 8-1-2021 om 17:57
Reageer op deze vraag Misbruik melden-
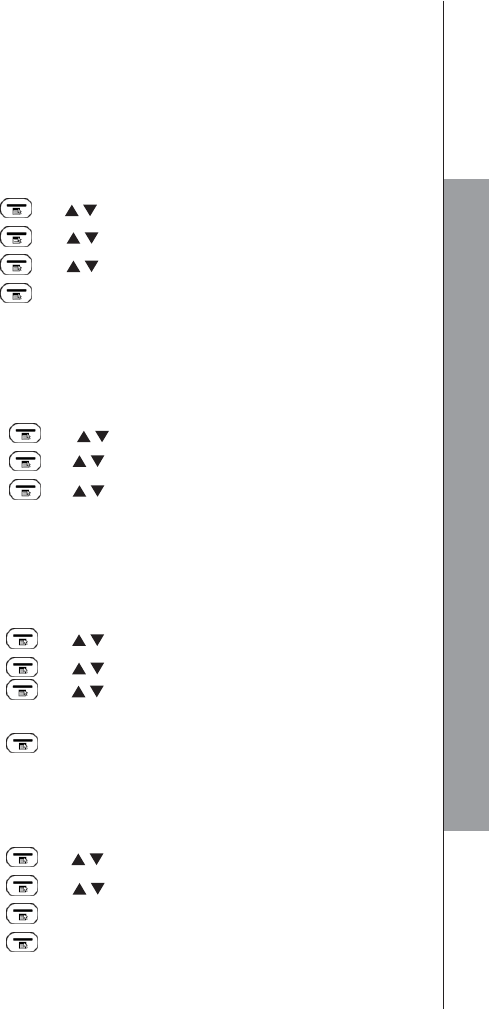
Linker biven knop dan krijg je ooroepblok en daar moet je met je linker knop op blijven drukken tot je wissen ziet staan Geantwoord op 8-1-2021 om 18:09
Waardeer dit antwoord (8) Misbruik melden
-
-
Heb ik gedaan, wissen en bevestigd, maar in de display
Waardeer dit antwoord Misbruik melden
blijft staan 2 nieuwe berichten!
Heb ik verkeerd bevestigd? Geantwoord op 8-1-2021 om 19:47 -
Bericht is denkelijk ingesproken dan moet u het bericht afluisteren en dan wissen
Waardeer dit antwoord (3) Misbruik melden
Geantwoord op 8-1-2021 om 19:54 -
Hoe activeer ( of bel ) je met de fototoetsen ( M1 M2 etc )?? Gesteld op 18-12-2020 om 16:17
Reageer op deze vraag Misbruik melden -
Nederlands als taal instellen op de Amplidect 595 Photoshop. Gesteld op 17-12-2020 om 13:04
Reageer op deze vraag Misbruik melden -
Ik heb bij het instellen van mijn telefoon: Geemarc AMPLIDECT 595 : de verkeerde taal ingesteld, ik lees dat er verscheidene personen met hetzelfde zitten, maar nog geen antwoord gelezen. Is het mogelijk de taal te veranderen? Gesteld op 16-12-2020 om 11:12
Reageer op deze vraag Misbruik melden -
Hoe kan ik een naam of nummer aanpassen bij de amplidect 595 Photo en hoe kan ik de tekst 1 nieuw bericht in de display weghalen? Gesteld op 14-8-2020 om 10:16
Reageer op deze vraag Misbruik melden -
hallo ik wil op deamplidect 595 photo graag de nedelandse taal op mijn handset hebben hoe kan ik dit veranderen alles geprobeerd om te zoeken maar het lukt niet Gesteld op 24-7-2020 om 09:42
Reageer op deze vraag Misbruik melden-
Ik heb exact hetzelfde probleem. Heeft iemand dit weten te fixen?
Waardeer dit antwoord Misbruik melden
Geantwoord op 7-7-2021 om 18:03
-
-
Ik heb bij het voor de eerste keer instellen de verkeerde taal geselecteerd, hoe kan ik dit veranderen? Gesteld op 5-7-2020 om 16:36
Reageer op deze vraag Misbruik melden-
Ik heb dezelfde fout gemaakt, een verkeerde taal geselecteerd, hoe kan ik dit verhelpen Geantwoord op 16-12-2020 om 11:03
Waardeer dit antwoord (13) Misbruik melden
-
-
Hoe zet ik het geluid harder?
Reageer op deze vraag Misbruik melden
Moet dat ieder gesprek opnieuw, of kan dat structureel?
Ik vind de handleiding niet echt heel duidelijk. Gesteld op 7-6-2020 om 00:48 -
Ik zie wel een aanwijzing om een nummer toe te voegen aan het program, maar niet om een nummer te verwijderen. Hoe moet ik een nummer uit de lijst verwijderen? Gesteld op 29-3-2020 om 11:38
Reageer op deze vraag Misbruik melden -
Waar vind ik de uitgebreide handleiding in het Nederlands? Gesteld op 30-11-2019 om 16:17
Reageer op deze vraag Misbruik melden-
Dat heb ik ook nodig! Geantwoord op 6-9-2020 om 18:55
Waardeer dit antwoord (10) Misbruik melden
-
-
Graag gebruiks handleiding in het nederlands Geantwoord op 30-9-2020 om 15:41
Waardeer dit antwoord (4) Misbruik melden -
Ik heb een Nederlandse handleiding gevonden.
Waardeer dit antwoord (2) Misbruik melden
Klik op deze LINK
Ik hoop dat u hier wat aan heeft.
Met vriendelijke groet,
Jeannet Geantwoord op 7-4-2021 om 20:07
