


-
hoe kan ik bij een track de lijnen herslepen naar andere plaatsen op punten Gesteld op 22-4-2022 om 10:32
Reageer op deze vraag Misbruik melden -
gpx bestand openen in map source in plaats basecamp Gesteld op 10-7-2021 om 18:23
Reageer op deze vraag Misbruik melden -
Sinds kort verschijnen er groene stippen op de kaart. Wat betekenen die ?? Gesteld op 13-2-2020 om 10:27
Reageer op deze vraag Misbruik melden -
Hoe kan ik zorgen dat mijn route aangeduid wordt zoals ik het wil,ook al ga ik over niet aangeduide wegen? Gesteld op 3-1-2019 om 23:44
Reageer op deze vraag Misbruik melden-
Garmin niet gebruiken Geantwoord op 4-1-2019 om 16:14
Waardeer dit antwoord (1) Misbruik melden
-
-
Wissen
Reageer op deze vraag Misbruik melden
opgeslagen
locaties
en dan dit alles wissen Gesteld op 25-8-2016 om 21:49-
Je kan iedere locatie apart wissen dus er gaat verder niets verloren Geantwoord op 26-8-2016 om 06:47
Waardeer dit antwoord Misbruik melden
-
-
gegevens voor routeberekening krijg ik niet aangevinkt
Reageer op deze vraag Misbruik melden
Gesteld op 14-7-2014 om 22:19-
Ik heb dezelfde vraag, Bestaat er zo'n optie is Basecamp Geantwoord op 18-3-2015 om 13:50
Waardeer dit antwoord (3) Misbruik melden
-
-
Waar kan ik de antwoorden vinden Geantwoord op 18-3-2015 om 13:52
Waardeer dit antwoord (4) Misbruik melden -
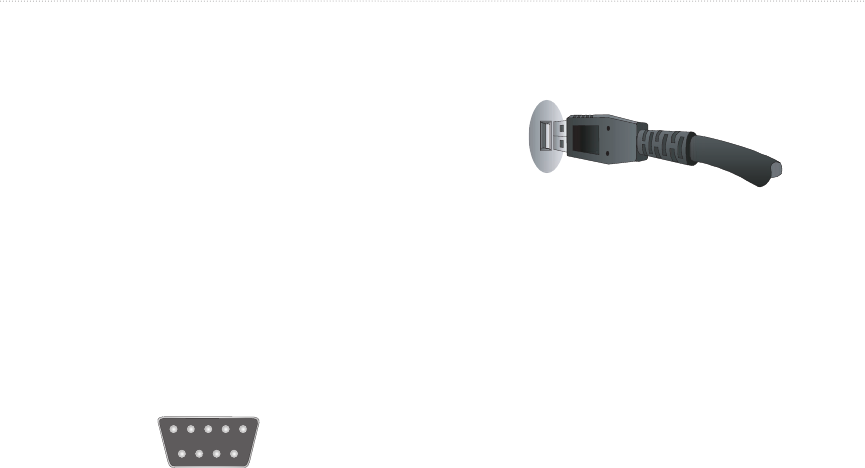
als ik de kabel in de auto plaats dan zegt de garmin geen verbinding en werkt hij niet trek ik de kabel er uit dan werkt de navigati wel wat kan dit zijn?i Gesteld op 9-6-2014 om 19:36
Reageer op deze vraag Misbruik melden-
ik denk een sluiting in de kabel deze doormeten of vernieuwen Geantwoord op 10-6-2014 om 20:17
Waardeer dit antwoord (1) Misbruik melden
-
-
Hoe krijg ik weer een nieuwe cd bij mijn carmin Gesteld op 28-3-2014 om 17:59
Reageer op deze vraag Misbruik melden-
Deze kunt u aanvragen bij de fabrikant Garmin:
Waardeer dit antwoord (1) Misbruik melden
Klik op deze LINK
Geantwoord op 28-3-2014 om 19:34
-
-
ik heb mapsource gedownload, maar hoe krijg ik kaarten in dit programma om mee te werkrn Gesteld op 30-12-2013 om 20:33
Reageer op deze vraag Misbruik melden-
kopen bij een outdoorwinkel, of internetwinkel.
Waardeer dit antwoord (2) Misbruik melden
of downloaden bij een site als pirate bay, wel illegaal. Geantwoord op 30-12-2013 om 20:58
-
-
Het kan ook gratis en legaal met de "Openstreet" mappen.
Waardeer dit antwoord Misbruik melden
Ze werken op elke Garmin en pc en krijgen regelmatig een update:
Wegenkaarten:
Klik op deze LINK
Fietskaarten: met Fietsroutenetwerk en knooppunten.
Klik op deze LINK Geantwoord op 1-1-2014 om 10:29 -
ja hallo ik heb een garmin 2547 lmt en aan de onderkant is een aansluiting ,mijn vraag is waartoe dient dat ???? Gesteld op 22-10-2013 om 19:49
Reageer op deze vraag Misbruik melden-
Hallo
Waardeer dit antwoord (2) Misbruik melden
Dat is voor een sd kaartje wel een kleintje Geantwoord op 26-1-2014 om 18:20
-
-
ik wil naar het centrum van de stad; hoe toets ik dat in? Gesteld op 19-10-2013 om 11:39
Reageer op deze vraag Misbruik melden-
gewoon de plaatsnaam intoetsen Geantwoord op 31-12-2013 om 09:35
Waardeer dit antwoord Misbruik melden
-
-
Hallo ik heb een garmen type navi 1490 hoe krijg ik de ned taal op mijn toetsenbord Gesteld op 20-8-2013 om 14:08
Reageer op deze vraag Misbruik melden-
hoe kan ik taal voor sraak in belgies nederlands zetten taal voor tekst toetsenbord is nederlands maar geen nederlans taal voor sraak dank u Geantwoord op 6-11-2013 om 18:17
Waardeer dit antwoord (6) Misbruik melden
-
-
wij hebben een garmin nuvi 1490 en willen updaten maar kunnen het serienummer niet vinden. Waar staat dit??
Reageer op deze vraag Misbruik melden
Gesteld op 18-8-2013 om 16:32-
Ik heb een antwoord gekregen op een vraag die ik niet gesteld heb.
Waardeer dit antwoord (3) Misbruik melden
Mijn vraag gaat over een Garmin Nuvi 1390. Geantwoord op 6-11-2013 om 22:38
-
-
Heb 2 route gemaakt, ik zou nu graag deze beide routes aan elkaar koppelen, ik vind nergens een aanwijzing routes samenvoegen of koppelen
Reageer op deze vraag Misbruik melden
gilbert.vanbelle@skynet.be Gesteld op 29-7-2013 om 11:22-
hey,
Waardeer dit antwoord (1) Misbruik melden
Kijk ook eens bij Garmin.Openstreetmap.nl.
Daar kun je kaarten downloaden van elk land ( gratis )
Bij deze kaarten is het gemakkelijk om een route te maken en te koppelen.
m.v.g
Eddy Wynen Geantwoord op 12-9-2013 om 20:05
-
-
taal op nederlands instellen Gesteld op 16-6-2013 om 16:43
Reageer op deze vraag Misbruik melden-
vanuit het russich naar nederlands Geantwoord op 13-7-2013 om 14:54
Waardeer dit antwoord (4) Misbruik melden
-
-
we hebben een Garmin Nüvi 2595 LMT maar nu staat bij ons links boven ZOEKEN NABIJ maar daar staat Amsterdam maar dat moet toch te veranderen zijn en ook vast te zetten wonen zelf Geleen in Limburg Gesteld op 4-6-2013 om 22:28
Reageer op deze vraag Misbruik melden-
Het laatste waar je geweest bent, die onthoudt hij. Je gps opzetten en wachten tot hij verbinding heeft, op die plaats zal hij zoeken op nabij Geantwoord op 14-6-2013 om 20:42
Waardeer dit antwoord Misbruik melden
-
-
Beste allen.
Reageer op deze vraag Misbruik melden
ik heb vorige week een Approach S3 gekregen, en wil deze installeren voor eerste gebruik.
nu zitten er een stapeltjes handleidingen bij maar geen Nederlands.
is die er, en hoe kan ik er een krijgen.
Hoor graag van u
Gijs Dorrestijn
g.c.Dorrestijn@planet.nl Gesteld op 9-12-2012 om 11:58-
Beste Gijs,
Waardeer dit antwoord (5) Misbruik melden
gisteren ben ook ik verblijd met hetzelfde golfhorloge. Ook ik mis de NL handleiding.
Graag zou ik willen weten wie of waar ik die kan opvragen?
Rijn van Baal
rhm@familievanbaal.nl Geantwoord op 18-12-2012 om 11:33
-
-
kan ik routes die ik gemaakt heb delen met mijn moter vrienden om ze via email te versturen moet ik dan nog een email account toevoegen of hoe werkt het graag wat hulp Gesteld op 19-11-2012 om 11:49
Reageer op deze vraag Misbruik melden-
gewoon opsturen als bijlage Geantwoord op 18-1-2013 om 15:03
Waardeer dit antwoord Misbruik melden
-
-
gewoon opsturen als bijlage Geantwoord op 18-1-2013 om 15:03
Waardeer dit antwoord Misbruik melden -
ik heb een garmin nuvi 1390 ,ik heb garmin mapsource geinstalleerd op mijn pc via cnet,maar erstaan daar geen kaarten op ,moet ik de kaarten nog kopen? Gesteld op 11-2-2012 om 09:21
Reageer op deze vraag Misbruik melden-
Ik zou het niet weten Geantwoord op 14-2-2012 om 17:44
Waardeer dit antwoord (14) Misbruik melden
-
-
Ben in het bezit van een Garmin zumo en mis dit programma om routes te kunnen maken voor de motor. Ik dacht dat dit bij de navigatie hoorde maar zie nu dat dit los aangeschaft dient te worden. Gesteld op 30-8-2011 om 09:54
Reageer op deze vraag Misbruik melden-
Deze zat er bij mij bij Geantwoord op 11-9-2011 om 09:45
Waardeer dit antwoord (16) Misbruik melden
-
-
Als ik een fietsroute uitstippel met masource,en overdraag naar mijn gps toestel,dan krijg ik zeer dikwijls,een eerder gemaakte route te zien op mijn Garmin,en niet de laatste route die ik verstuurd heb.Alvast bedankt.Guido Gesteld op 28-7-2011 om 21:24
Reageer op deze vraag Misbruik melden-
Waarschijnlijk staat hij er wel op maar dan als imported.gpx Via je pc kun je hem hernoemen. Nog eens checken of hij dan wel gevonden wordt. Bij mij werkte het meermalen wel.
Waardeer dit antwoord Misbruik melden
Geantwoord op 21-3-2014 om 19:05
-
-
Is het mogelijk zowel fietsroutes als wandelroutes te installeren en te volgen via deze Garmin?
Reageer op deze vraag Misbruik melden
Jef Gesteld op 26-7-2011 om 13:18-
JA Geantwoord op 19-1-2012 om 22:57
Waardeer dit antwoord (16) Misbruik melden
-
-
Ik overweeg om een garmin 660 aan te schaffen. Ik ga het toestel gebruiken op mijn motorfiets. Gesteld op 25-6-2011 om 14:38
Reageer op deze vraag Misbruik melden-
goede keus
Waardeer dit antwoord Misbruik melden
Geantwoord op 28-8-2011 om 20:34
-
-
wij zijn wandelaars en bezigmet de GR5. ik sla elke dag het gelopen deel op als track . wij rijden met fiets of auto dan weer terug naar het beginpunt,halen daar de caravan op en rijden dan weer circa 25/30 km verder. bij het uitlezen ontstaan er dan lange strepen (recht van begin naar eindpunt) dit vind ik erg hinderlijk,maar ben op zoek naar een oplossing om deze strepen verwijderd te krijgen. wie heeft de oplossing? Gesteld op 12-6-2011 om 22:06
Reageer op deze vraag Misbruik melden-
In wezen niet zo moeilijk. Hij koppelt waarschijnlijk de tracks aan elkaar. De strepen kun je weghalen door in de tracks te gaan en er een aantal met een oudere datum dan dat je gelopen hebt te verwijderen. Meestal de eerste serie van de trackpunten. Wel opslaan onder een andere naam voor alle zekerheid. Als het echt klopt dan kun je de tracks de definitieve namen geven. Geantwoord op 21-3-2014 om 19:09
Waardeer dit antwoord Misbruik melden
-
-
weet ik nog niet maar de handleiding bij het toestel(gpsmap62s)is verre van volledig en geeft zeker niet alle gegevens prijs (spijtig) ik had bij zo'n toestel toch een wat uitgebreide handleiding verwacht Gesteld op 29-5-2011 om 11:41
Reageer op deze vraag Misbruik melden-
ik heb zojuist ook zo'n toestel gekocht en ik sluit me hierbij volledig aan er staan veel zaken niet in uitgelegd Geantwoord op 6-6-2011 om 14:53
Waardeer dit antwoord (1) Misbruik melden
-
-
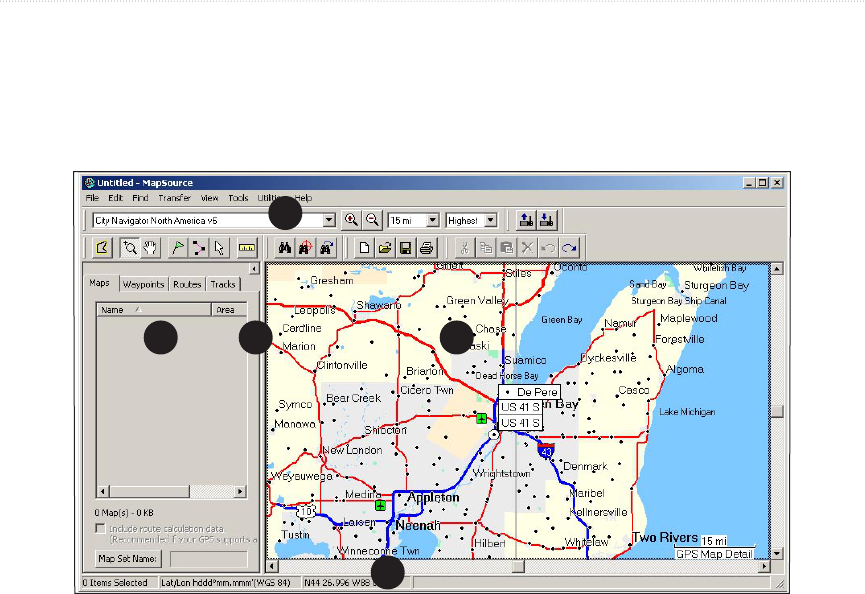
heb zopas GPS-garmin Map60CX aangeschaft en Topo Benelux kaart op microSD (inclusief adapter); gps werkt maar hoe kan ik de kaarten op scherm-laptop te zien krijgen om routes uittestippelen/te bekijken? (het basecamp gedownload maar zonder succes)
Reageer op deze vraag Misbruik melden
dank bij voorbaat
Gesteld op 15-7-2010 om 10:52-
had hetzelfde probleem. bleek dat dat niet kan met de microSD. Werkt wel met de DVD versie icm Mapsource.
Waardeer dit antwoord (1) Misbruik melden
Ik kon bij de winkel de microSD ruilen voor een DVD gelukkig.
Garmin heb ik gebeld over de slechte info op verpakking en website.
Succes ermee.
Jos Geantwoord op 12-8-2010 om 21:26
-
-
Ik heb een route gemaakt met Map Source. Ik wil graag het traject wat herleggen, maar weet niet hoe ? Gesteld op 2-7-2010 om 18:20
Reageer op deze vraag Misbruik melden-
Je moet de waypoints in de route bewerken (wijzigen,van plaats verwisselen, bijvoegen, verwijderen)om zo een ander traject te krijgen. Je kan dat op je pc doen (route bewerken kiezen)en dan de veranderde route doorsturen naar je GPS.Je kan dit ook doen rechtstreeks op je GPS. Is overzichtelijker op PC. Geantwoord op 23-9-2010 om 22:14
Waardeer dit antwoord Misbruik melden
-
-
Zoeken naar Geantwoord op 15-6-2013 om 19:25
Waardeer dit antwoord (1) Misbruik melden
