21
Further Tips for Baking
You are advised to use dark metal baking forms.
You may also use light baking forms in the hot air
mode. In this case, the baking time is longer.
The values in the cooking tables apply to the
preheated oven. The temperature and duration
depend on the quantity and consistency of the
dough. This is why the tables list temperature
ranges. You are advised to begin with the lowest
temperature the first time. If required, set it higher
the next time.A lower temperature ensures more
even browning.
To find out if your cake has baked properly, insert a
wooden stick at the highest point of the cake after
expiry of the baking time specified in the recipe.
The cake is ready if dough no longer sticks to the
wood.
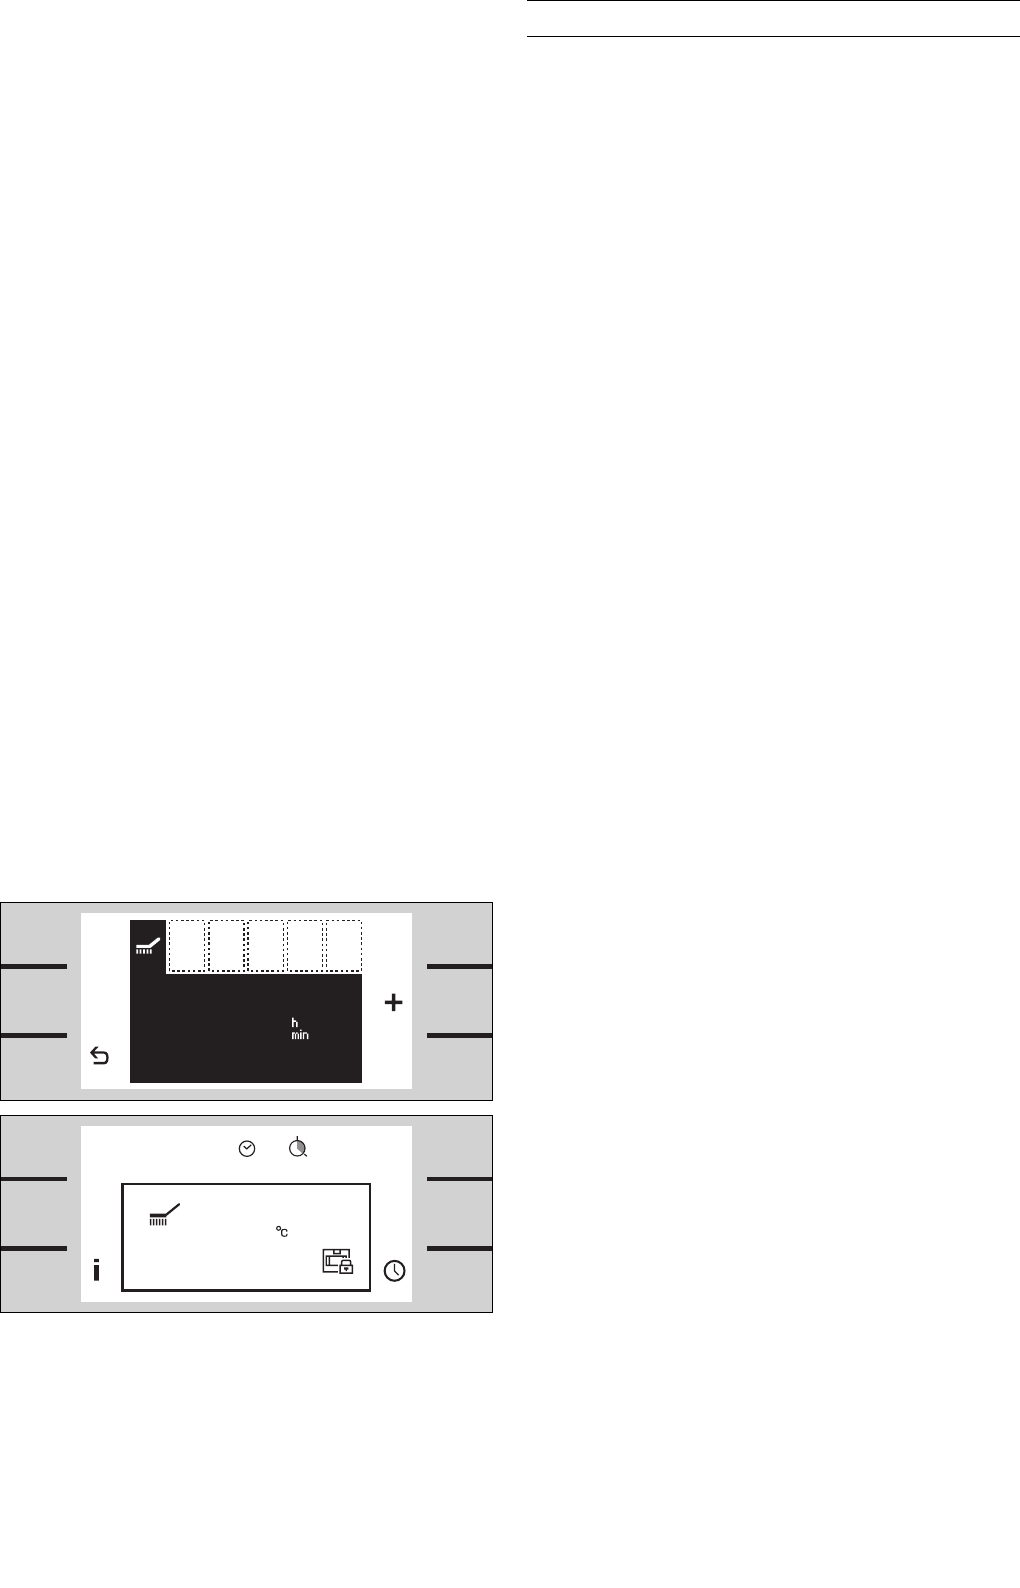
Rising Dough (Fermenting)
Use the fermenting mode. Set the temperature to
38 °C.
For large amounts of dough (for example bread) set
the temperature between 38-40 °C. The dough will
rise evenly from the middle to the edge.
For small pieces of dough (for example bread rolls)
set the temperature between 40-45 °C.
Tips for Roasting and Grilling
You can use any heat-resistant dishes.
Place dishes in the middle of the wire rack.
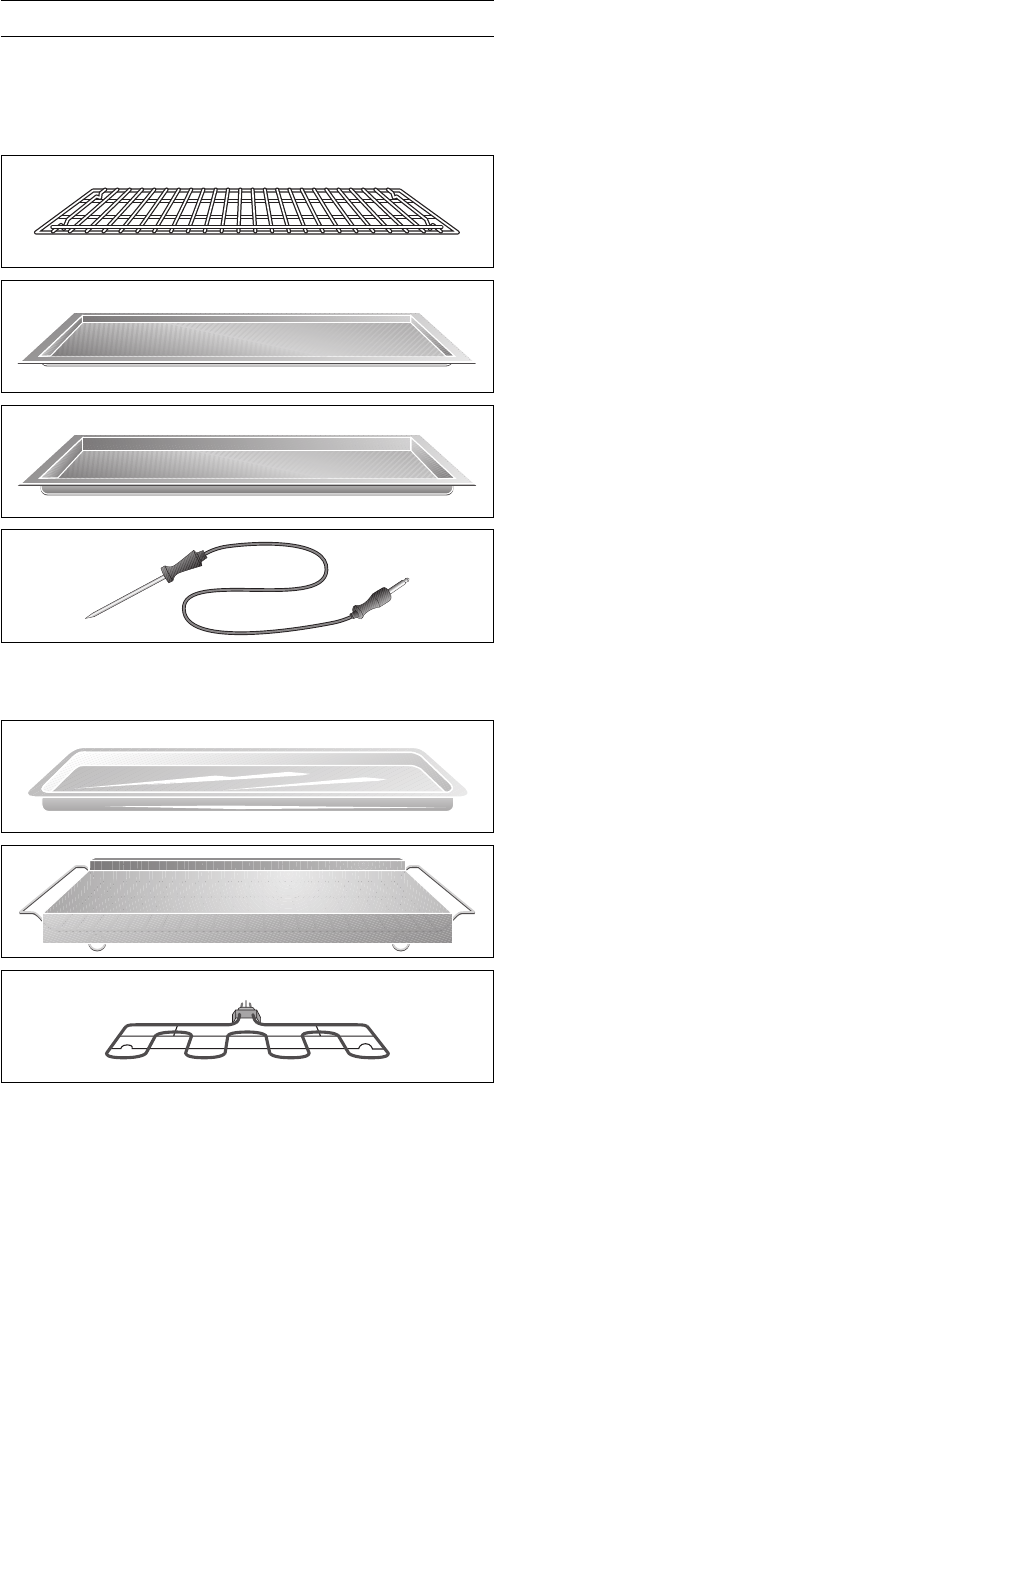
You can also use the grilling tray for large roasts.
After removing glass dishes, place them on a dry
kitchen cloth or cooling grill. Do not place them on
a cold or wet support surface. The glass could
crack.
Before serving, allow the roast to rest for
10 minutes with the oven switched off and closed.
This keeps the roast juicy.
Always grill in the closed oven. If possible, grilled
pieces should be equally thick, at least 2 to 3 cm.
When this is the case, they will brown evenly and
will stay nice and juicy. Never grill steaks salted!
Place pieces for grilling directly on the wire rack.
Poultry becomes particularly crispy brown if you
coat it with butter, salt water, dripped-off fat or
orange juice.
For roasting use the wire rack that fits the grilling
tray (accessory or special accessory, depending on
the version). Put a small amount of water into the
grilling tray. This ensures that the juices of the meat
are collected and the oven stays clean.
In the case of duck or goose, pierce the skin under
the wings to allow the fat to drain off.
What to do, if…
…a roast has become dark and parts of the crust
are burnt?
Check the insertion height and the temperature.
…a roast looks good, but the sauce is burnt?
The next time, choose a smaller roasting dish and
add more fluid.
…a roast looks good, but the sauce is too light and
has become watery?
The next time, choose a larger roasting dish and
use less fluid.
…the table does not list a weight for the roast?
Choose the next lowest weight in the list and
prolong the roasting time.
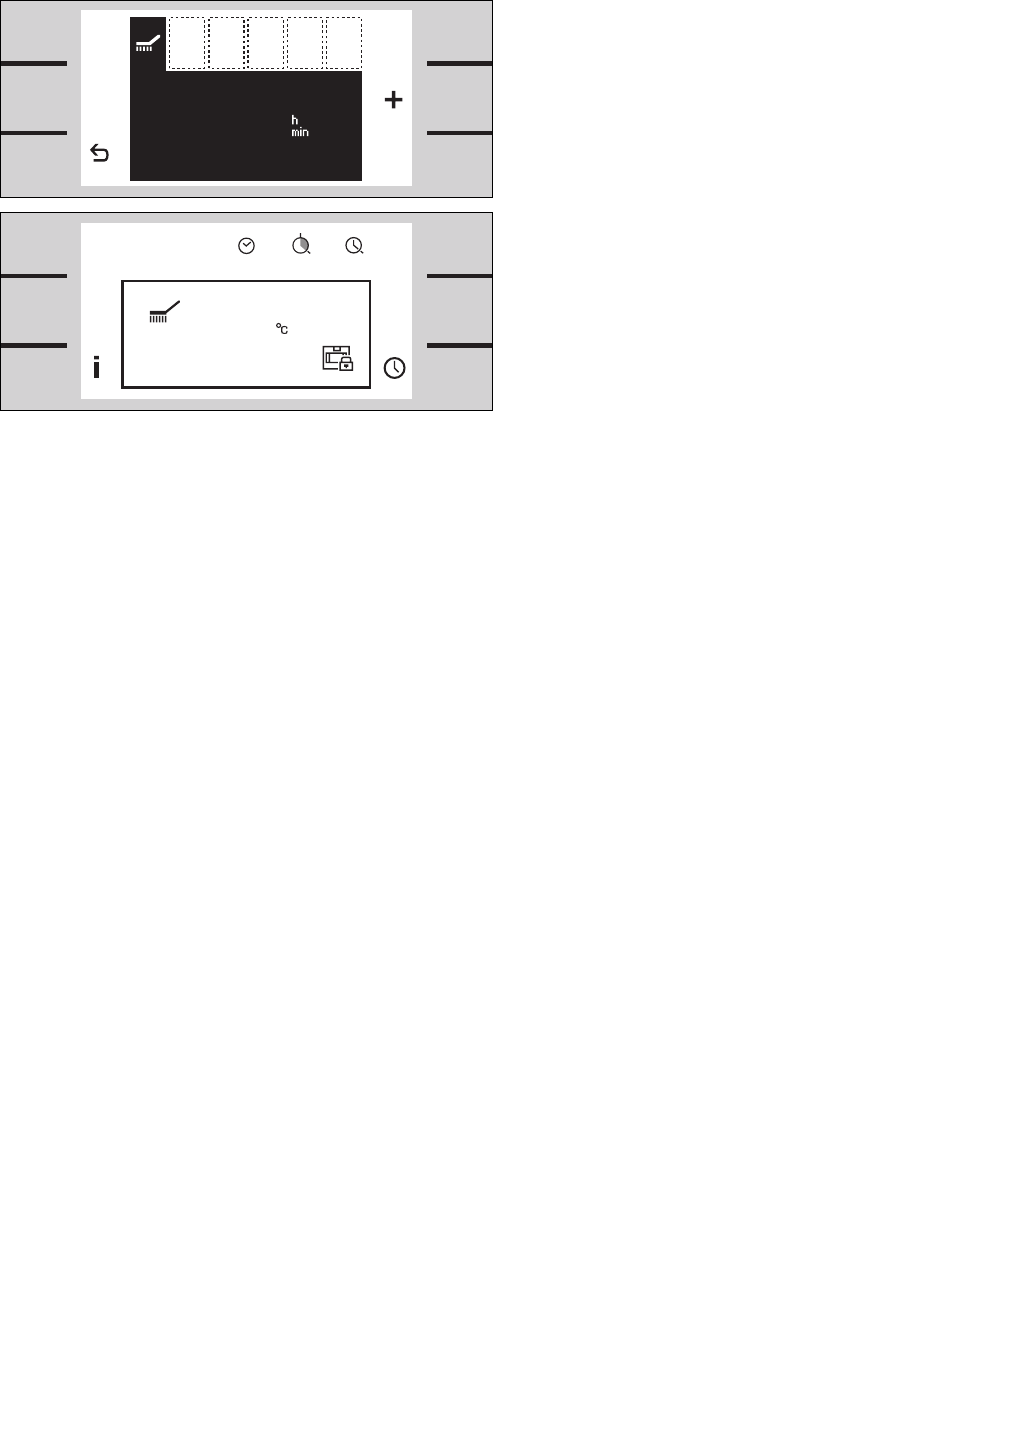
Defrosting
Use the defrosting mode. Set the temperature
between 40-60 °C.
Insert the wire rack with the frozen food on the
second level. Insert the grilling tray below to collect
the liquid.
Important: pour away the defrosting liquid.
Defrost large pieces of meat (roasts, chicken, etc.)
between 45-50 °C, otherwise the outer part may
start to brown.
You can defrost small or flat pieces between
50-55 °C.