Remove the packaging from the appliance and
dispose of it according to local regulations.
Be careful to remove all accessories from the
packaging. Keep packaging elements and plastic
bags away from children.
Check the appliance for transport damage after
unpacking it. Do not connect the appliance if it has
been damaged.
The appliance must be connected by an authorised
specialist. No warranty claims can be lodged for
any damage resulting from incorrect connection.
Observe the installation instructions.
Thoroughly clean the appliance before using it for
the first time. This will eliminate any ‘newness’
smells and soiling.
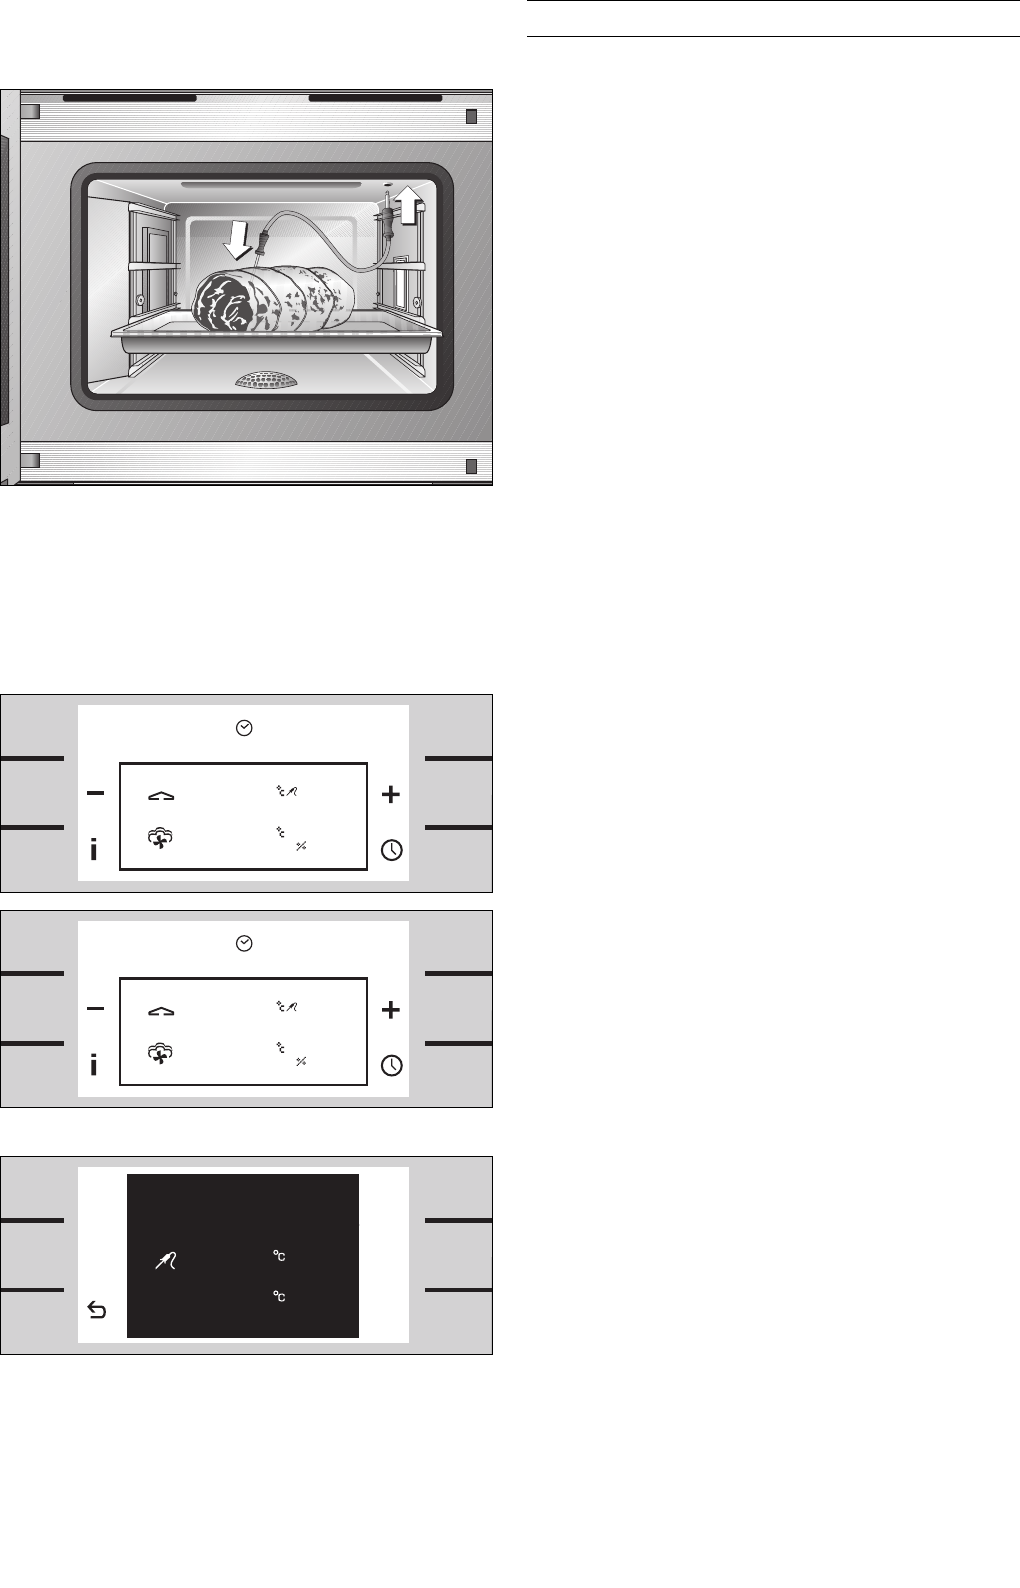
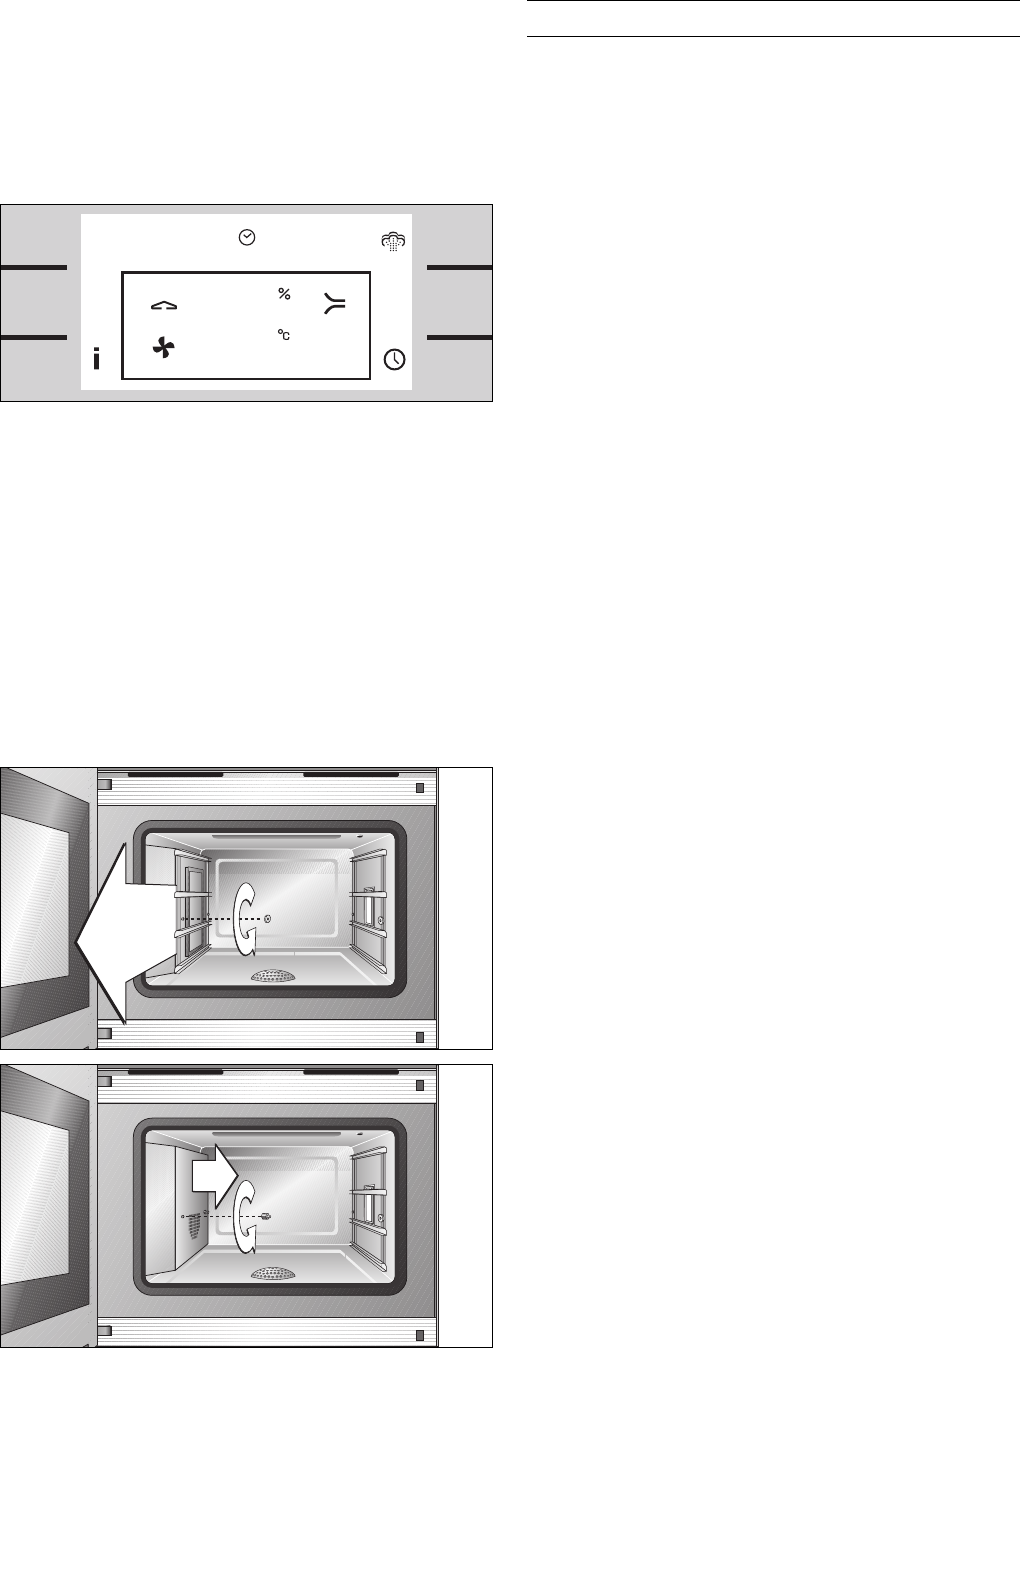
Before operating the appliance fit the included
grease filter to the inside left wall. First remove the
left shelf:
– undo the knurled nut on the front side
– pull out the left shelf towards the front
This appliance is labelled in accordance
with the European Directive 2002/96/EG
concerning used electrical and electronic
appliances (waste electrical and electronic
equipment – WEEE). The guideline
determines the framework for the return and
recycling of used appliances as applicable.
Avoiding Damage to the Appliance
and the Cabinet
Steam Oven and Cabinet Fronts
Do not cover the ventilation openings of the steam
oven.
Do not take off the door seal. A damaged door seal
must be changed immediately.
After taking the food out of the oven, allow the oven
to cool down with the door closed. Do not leave the
oven door half open, the hot air can cause damage
to adjacent cabinets. The cooling fan will continue
to run for a while and will then switch off
automatically.
Avoiding Damage to the Oven
Interior
Observe the following tips to avoid corrosion in the
oven. No warranty claims can be lodged for any
damage resulting from non compliance with these
notes.
•
Clean the oven interior after it has cooled
down. After cleaning, use the drying function to
dry the oven interior.
•
Aggressive cleaners may cause corrosion. Only
use hot soapy water to clean the oven interior.
Use the cleaning function.
•
Do not use oven cleaner or caustic cleaners.
Do not use cleaners containing chloride.
•
For regular care of the stainless steel interior
we recommend the Gaggenau oven care
product. Please observe the notes in the
cleaning chapter.
•
Salt in the oven reacts aggressively. Salt
residues on the oven interior may cause spots
of corrosion. Always remove residues
immediately.
•
Spicy sauces (e.g. ketchup, mustard) and
salted food (e.g. salted roasts) contain chloride
and acids. These act aggressively on stainless
steel. Always clean the oven interior after use.
•
Only use original accessories in the oven
interior. Rusting materials (e.g. serving plates,
cutlery) may cause corrosion of the oven
interior.
•
Only use original small parts (e.g. knurled
nuts). Order small parts from our after-sales
service, should you loose any.
Door Panel
Using aluminium foil in the oven compartment:
aluminium foil in the oven compartment should not
touch the glass panel of the oven door. This could
cause permanent marks on the glass panel.
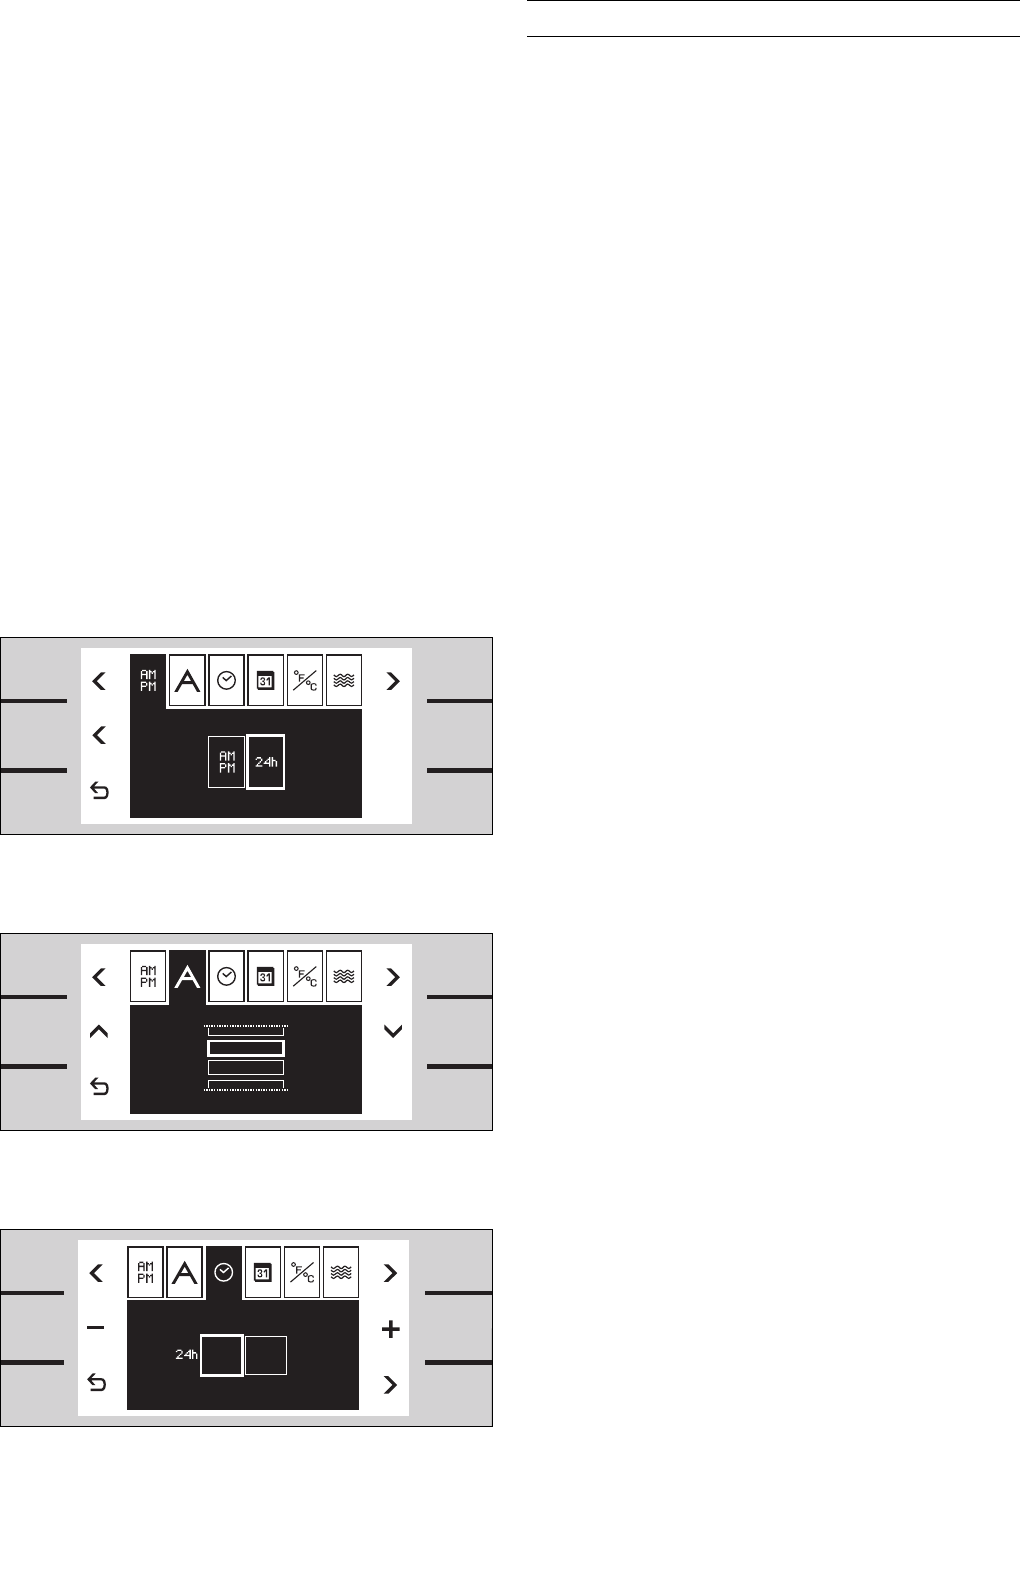
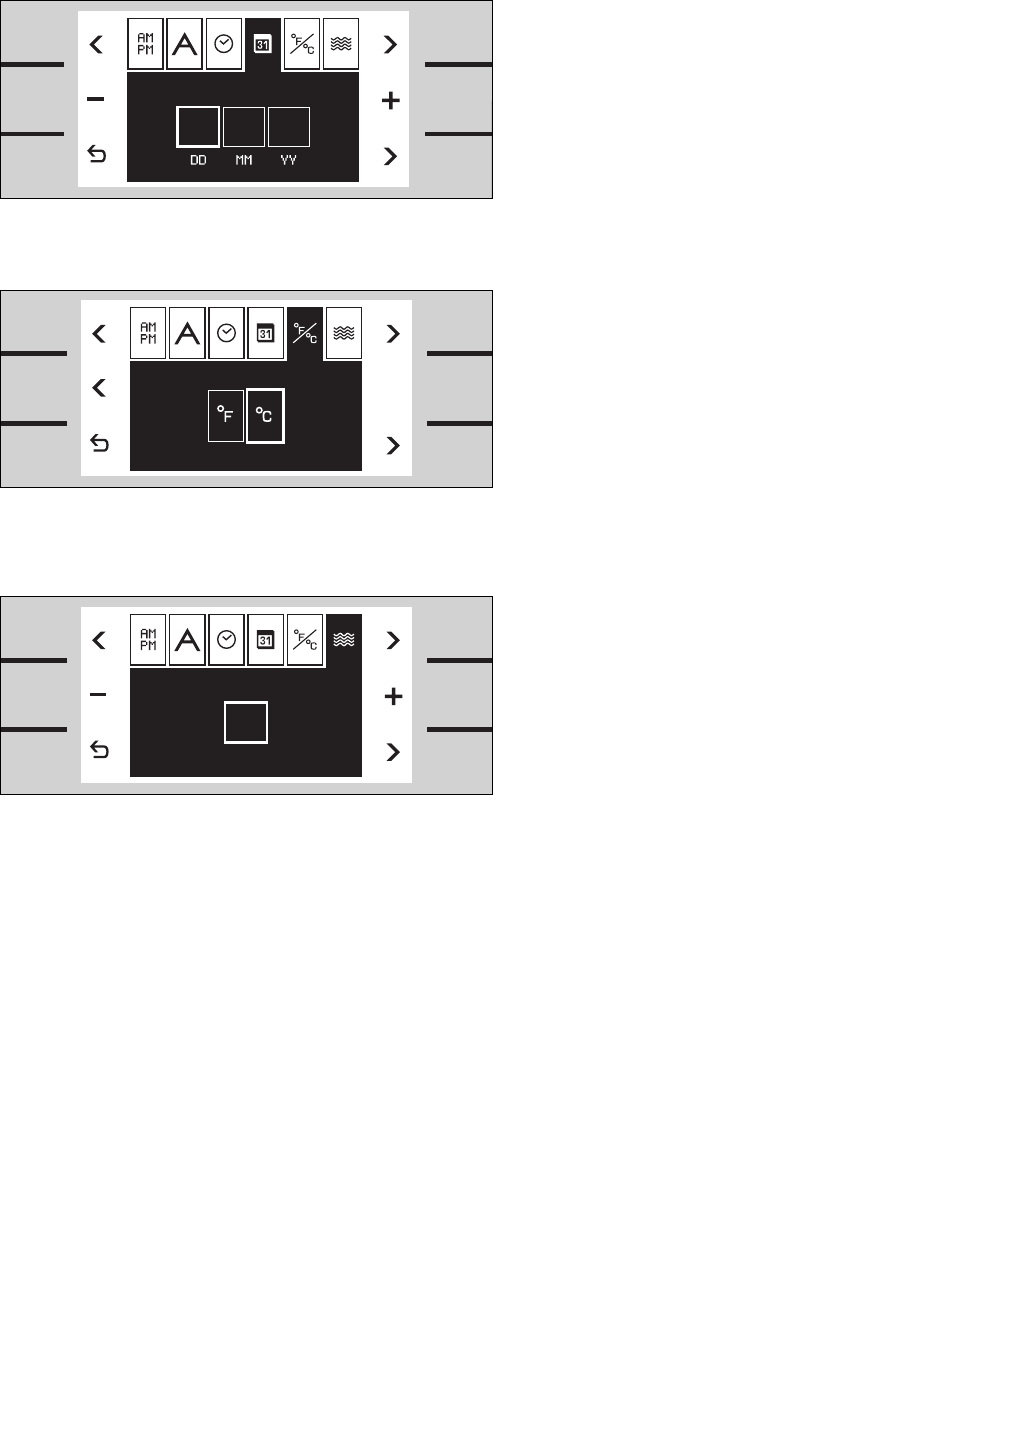
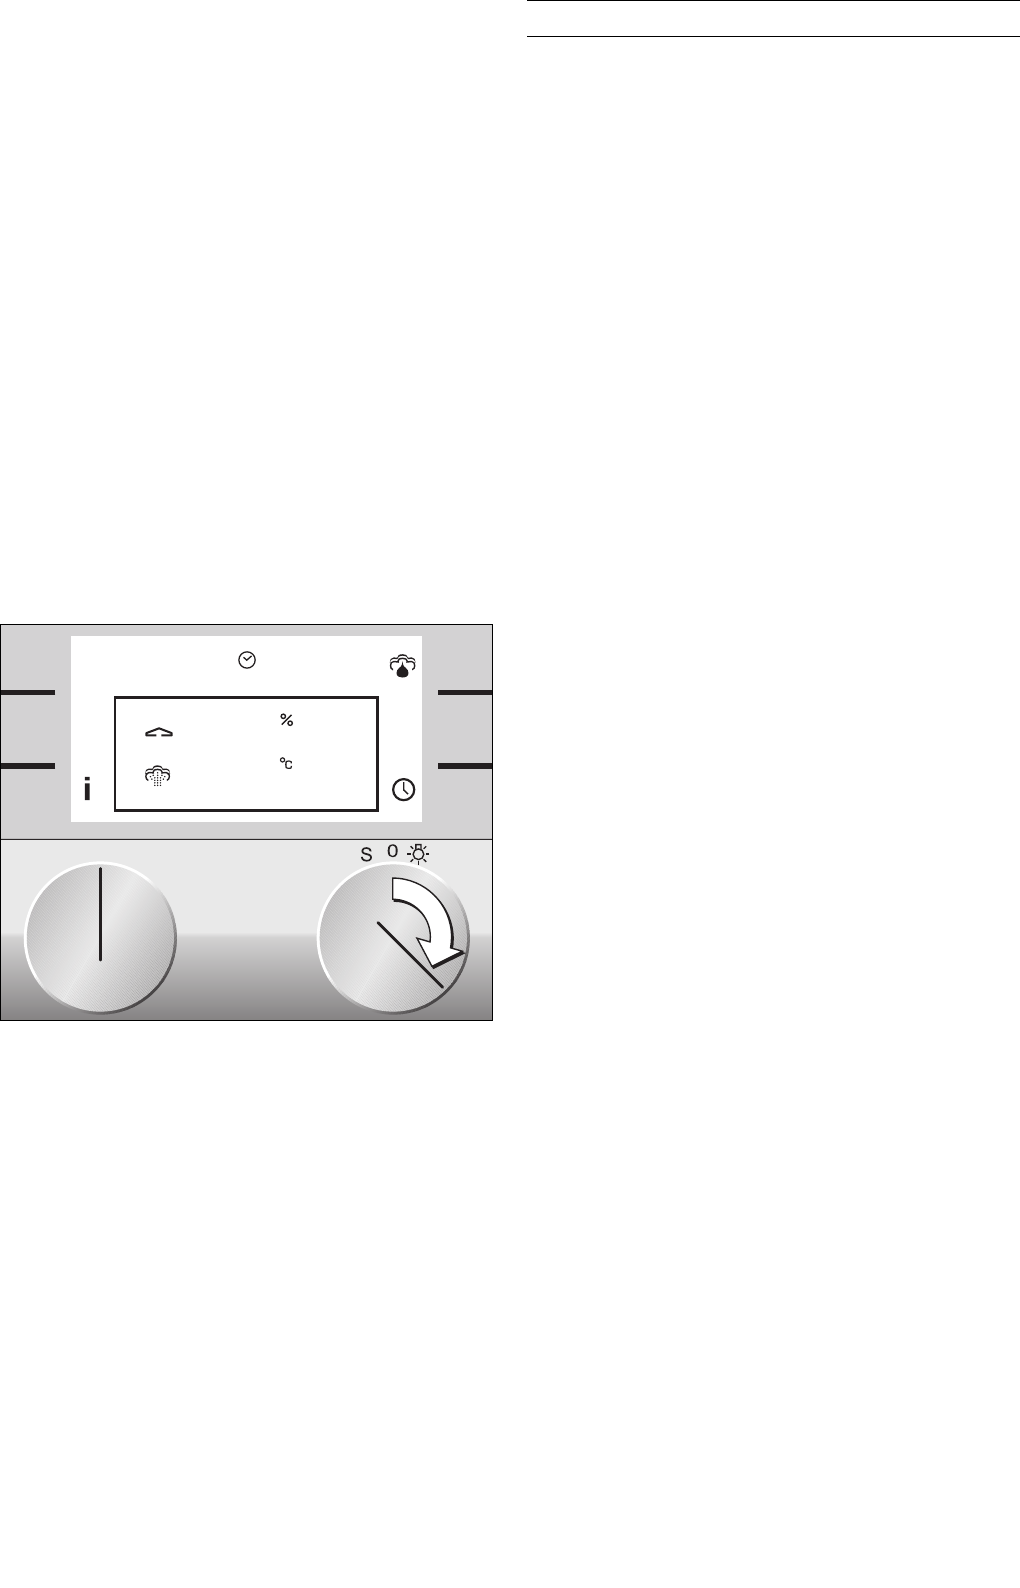
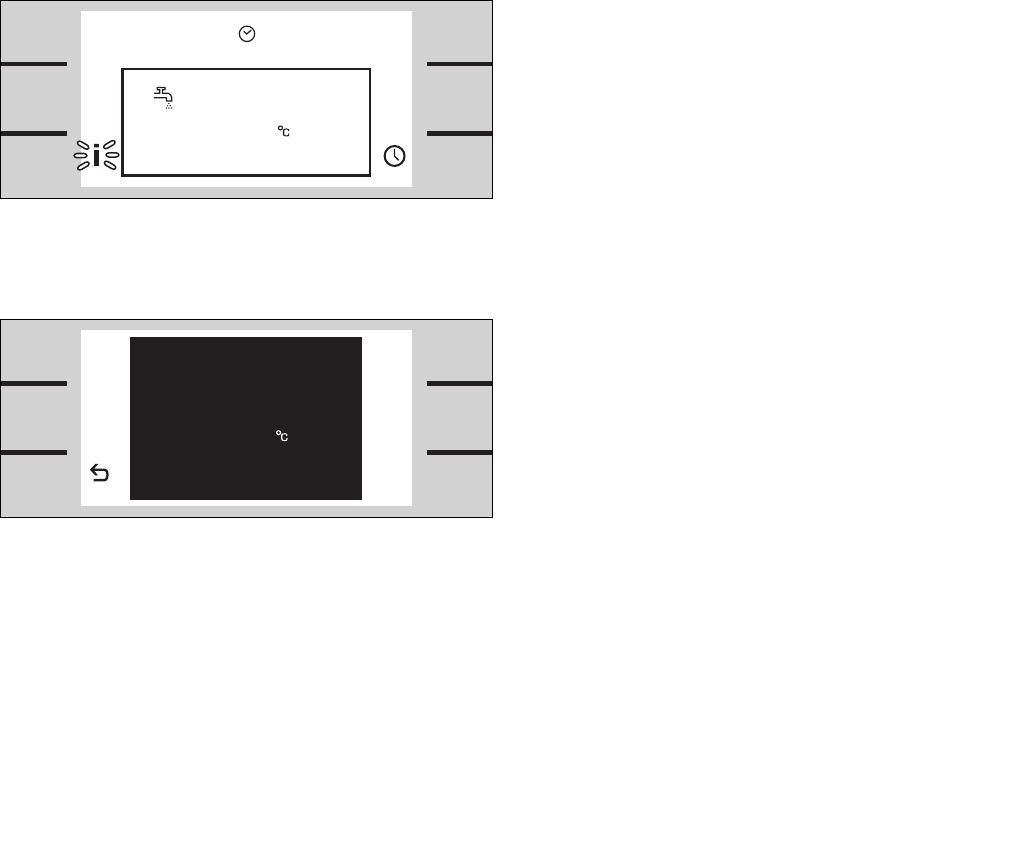
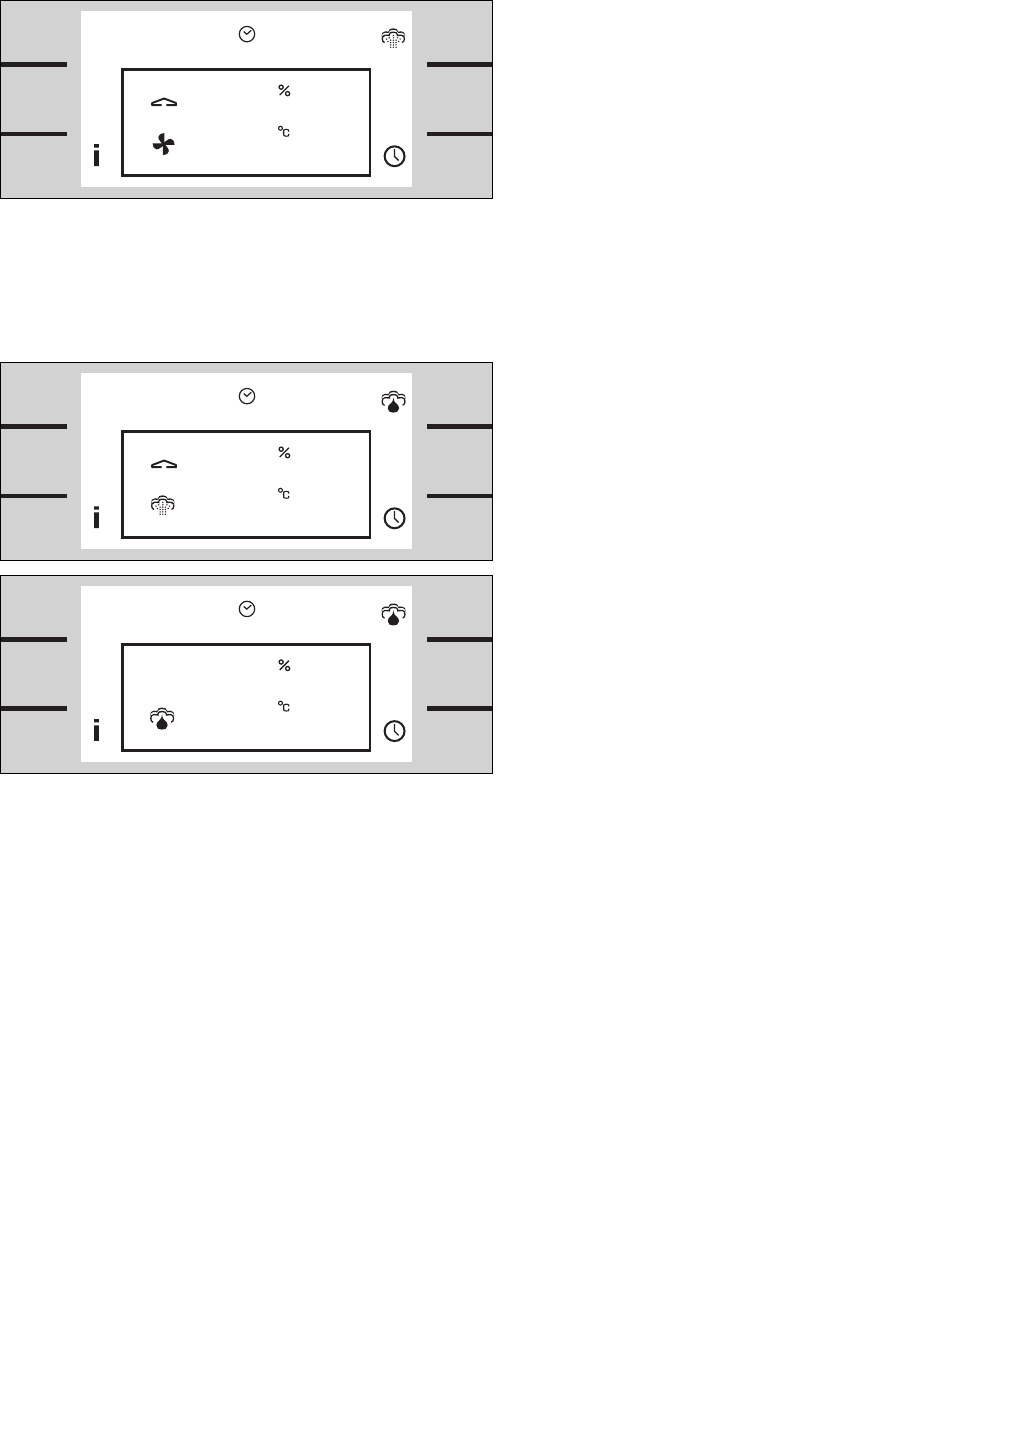
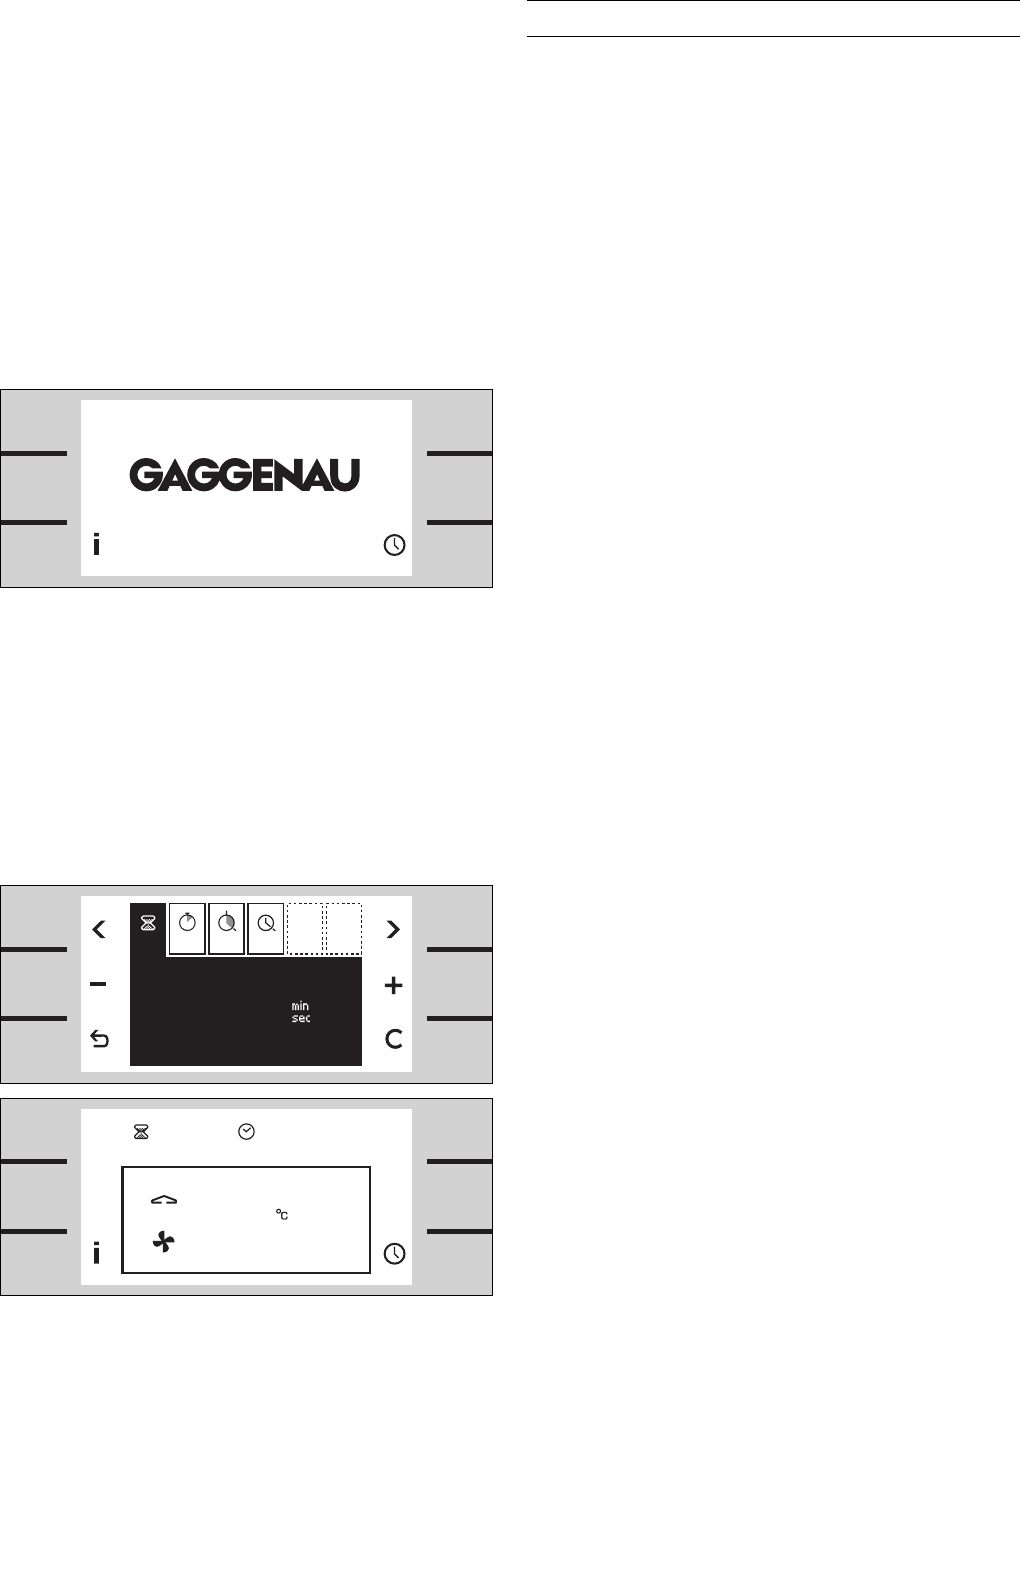
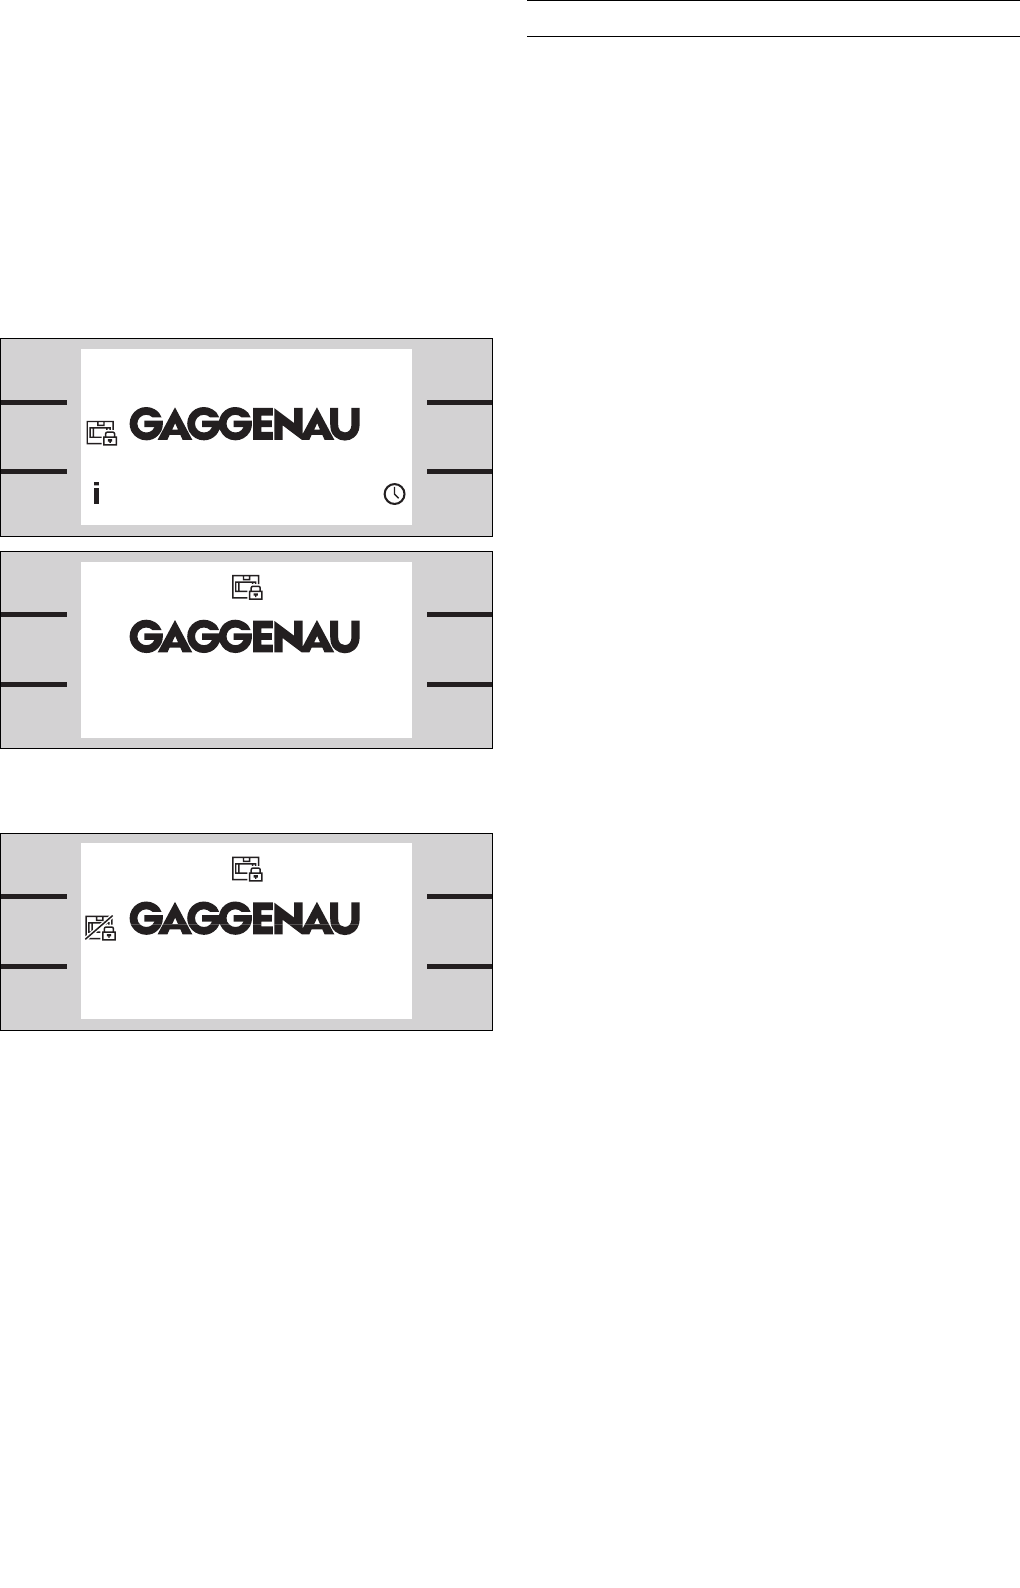
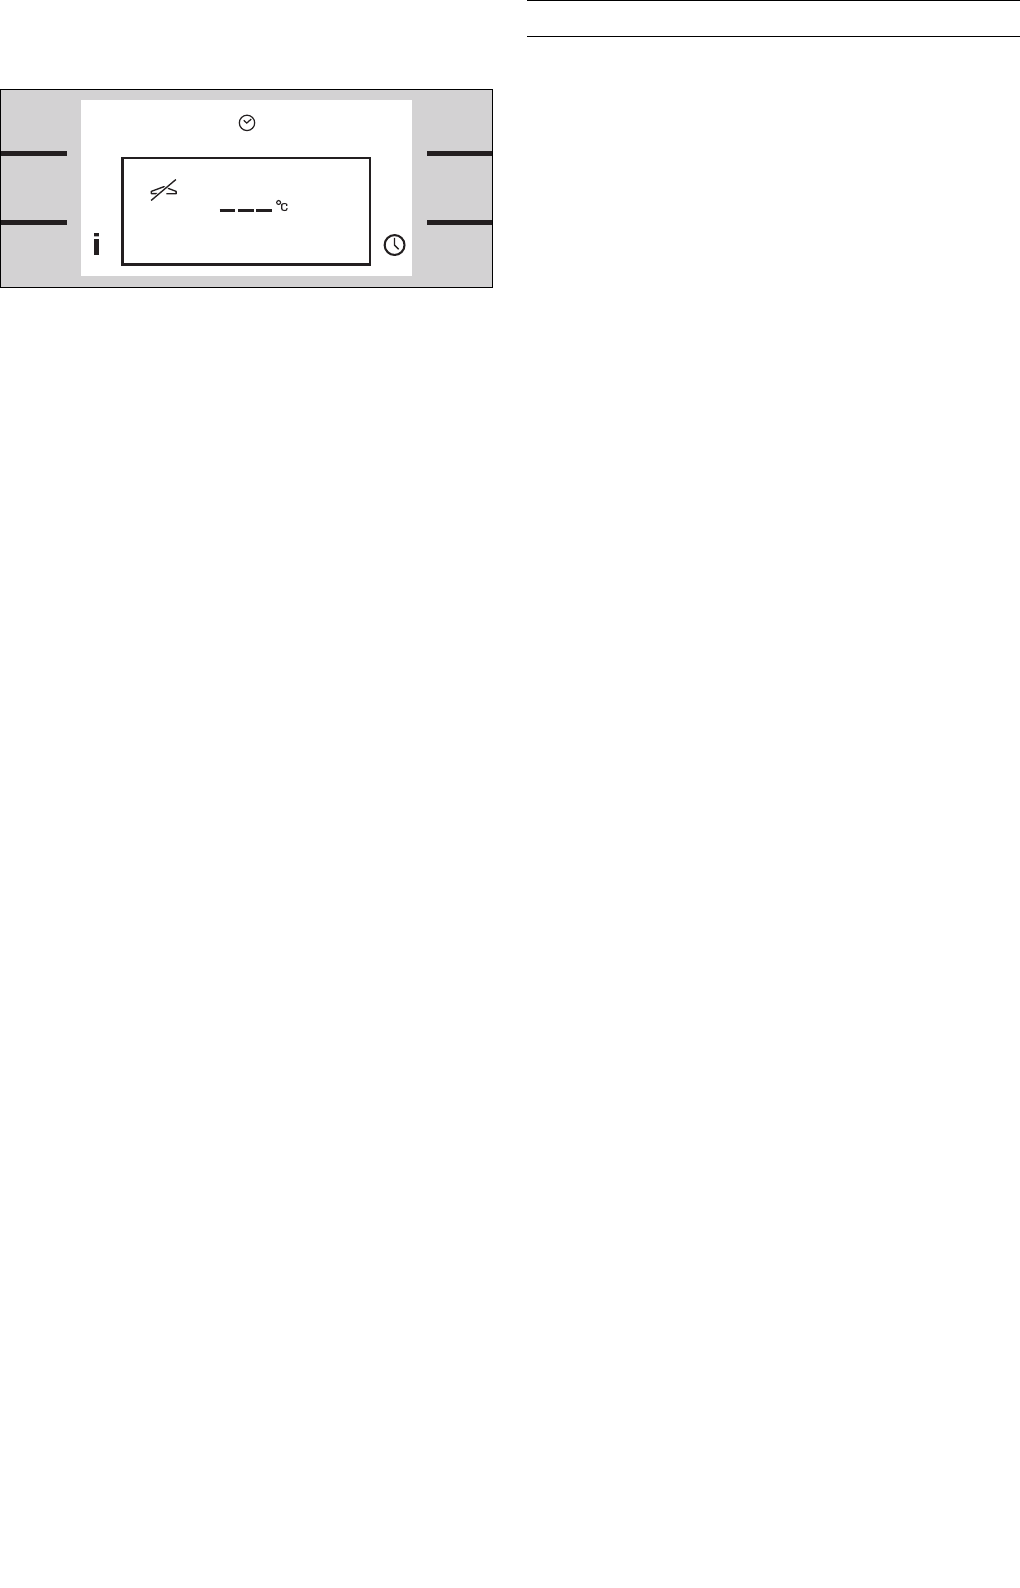
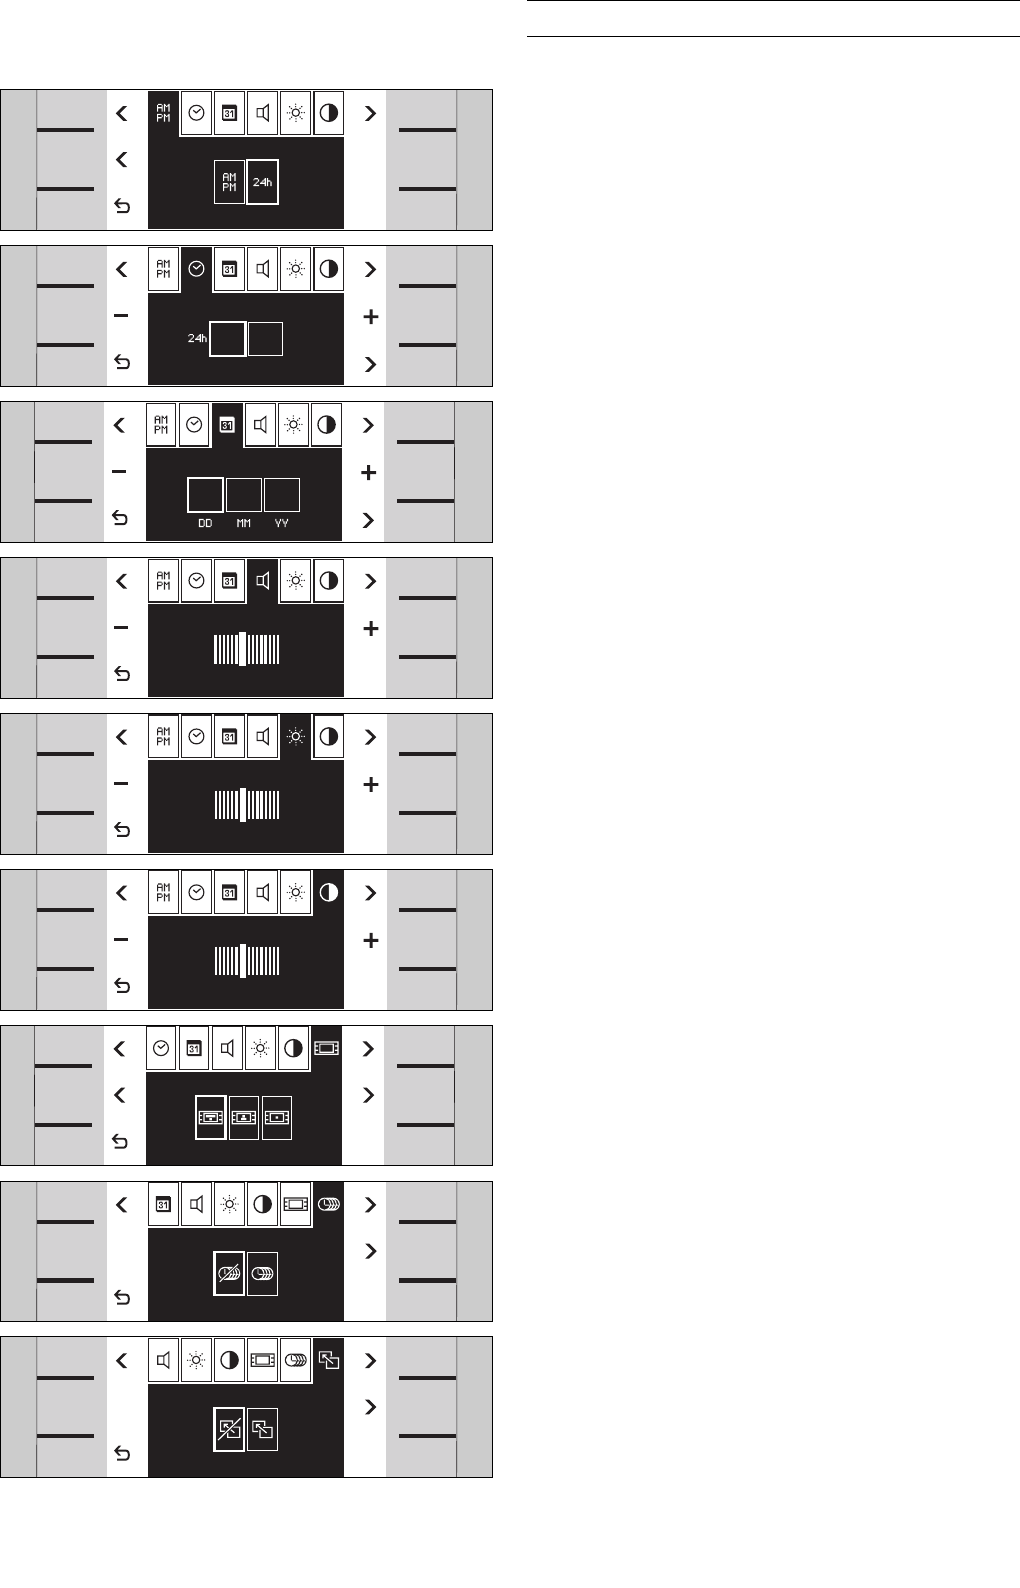
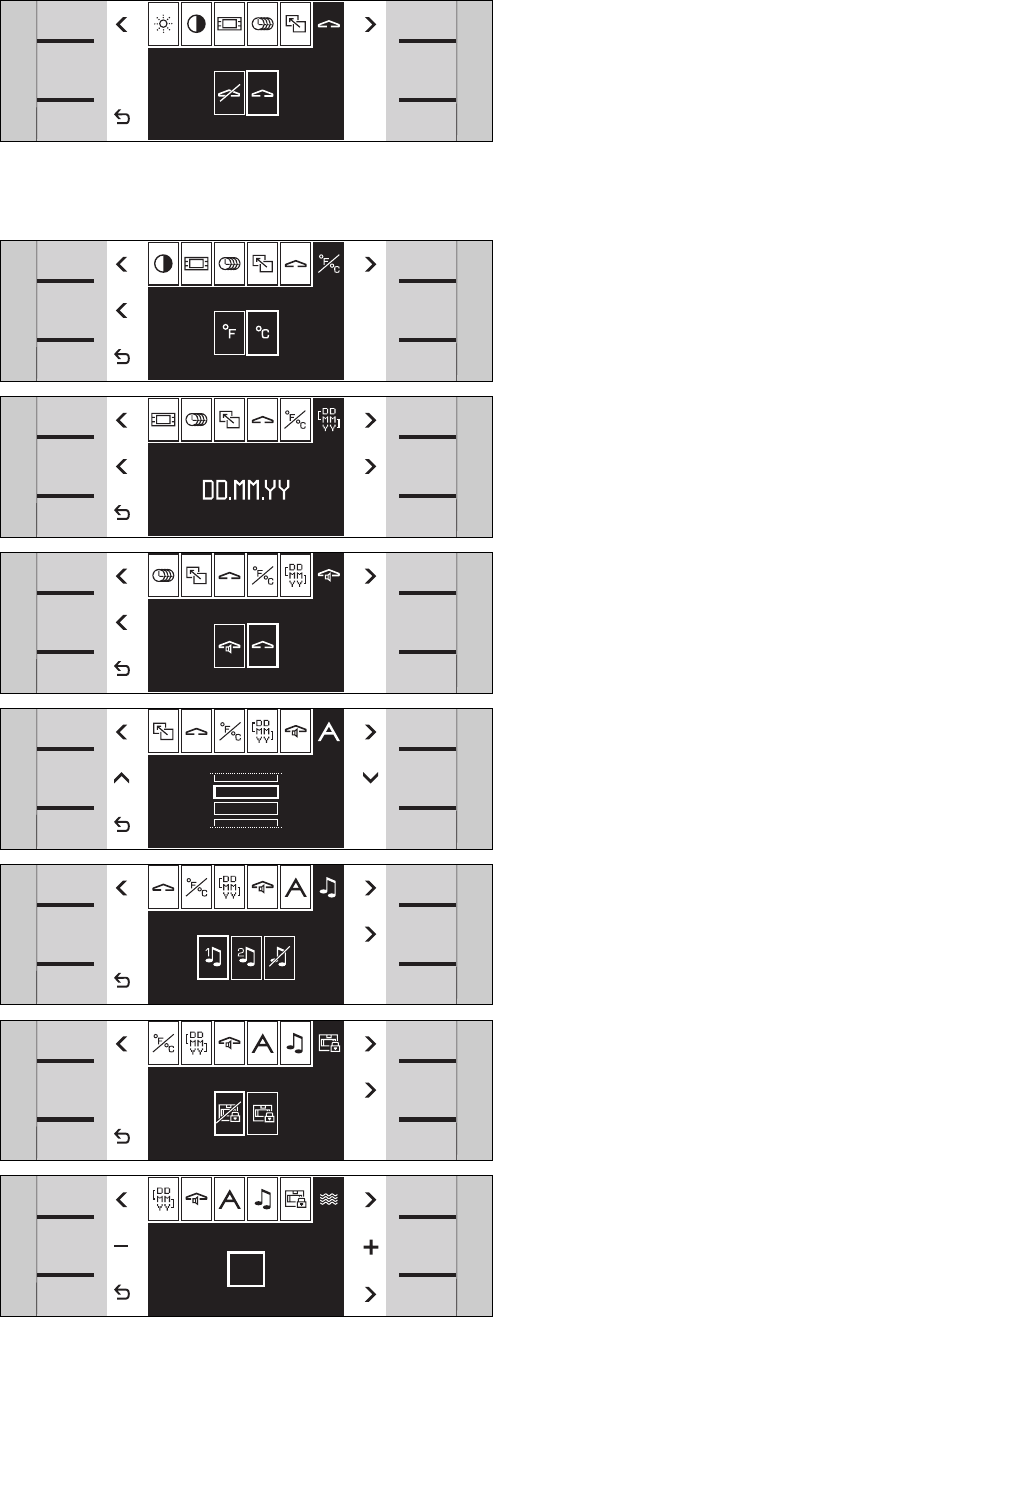
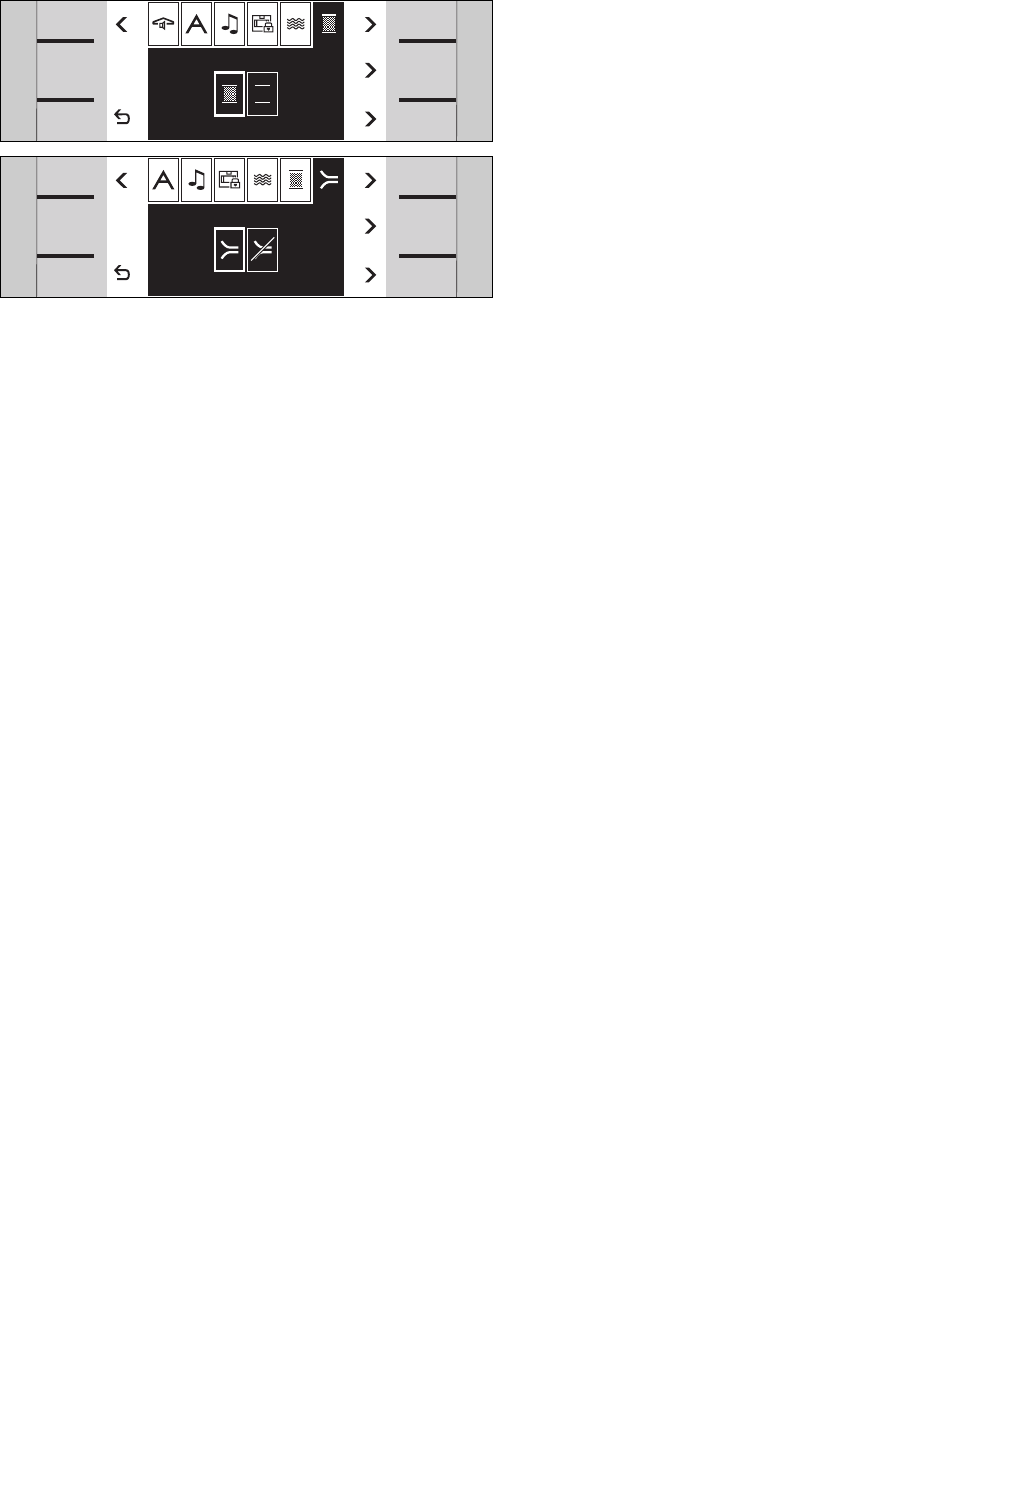
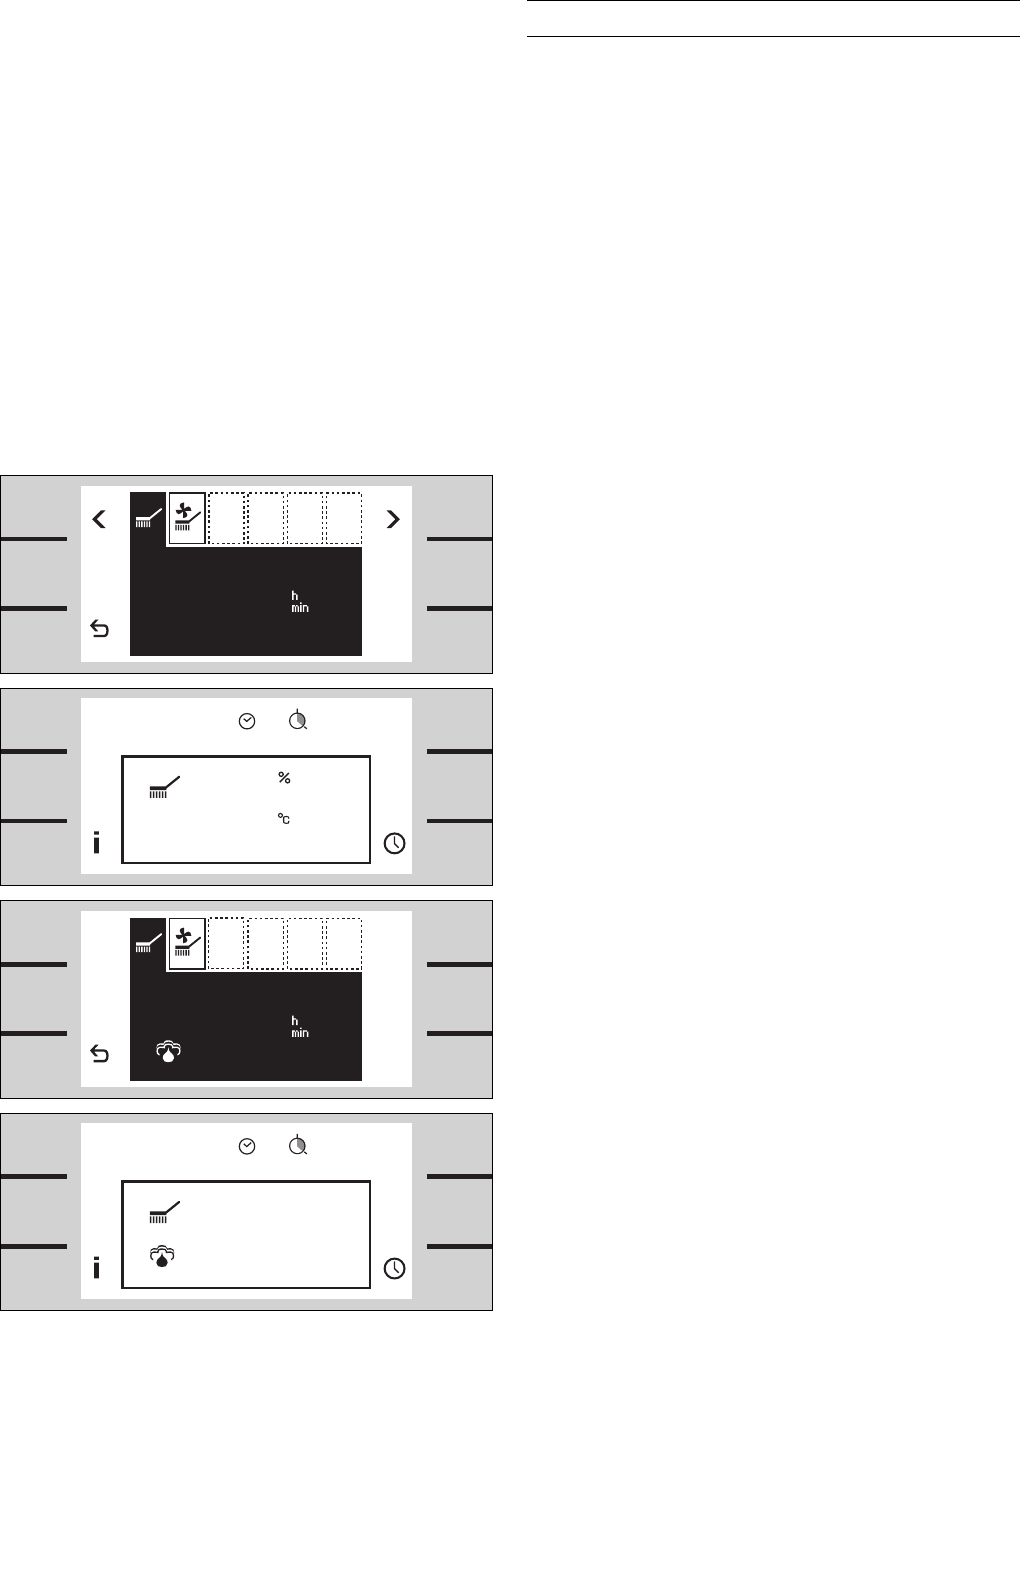
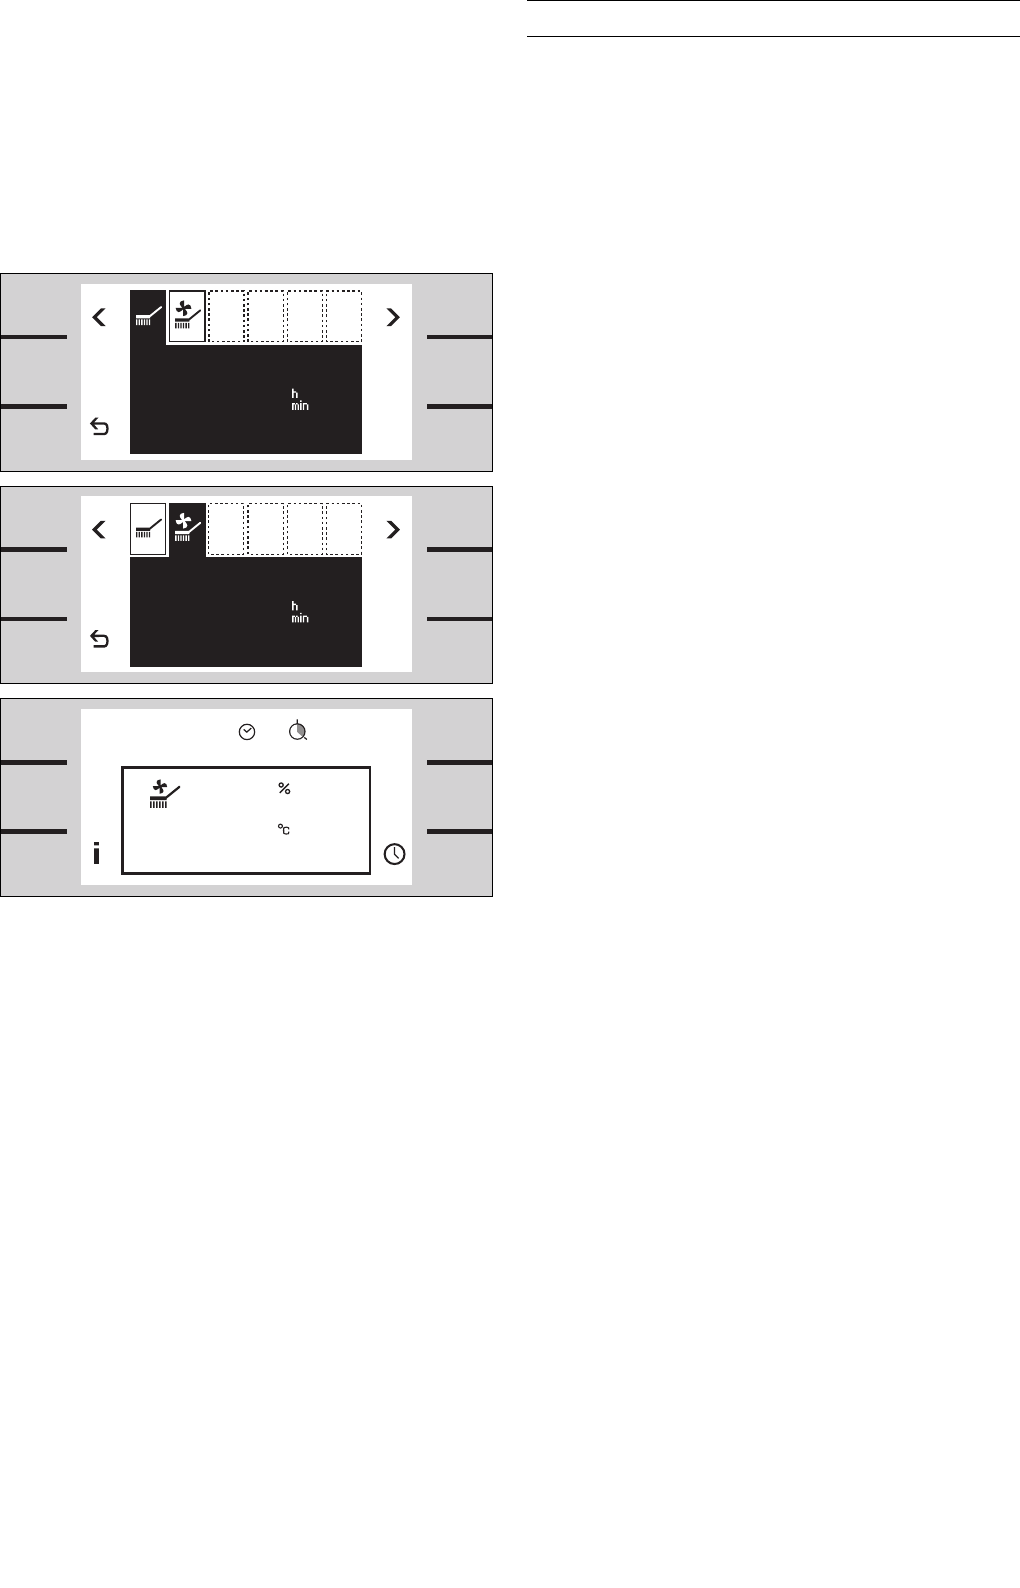
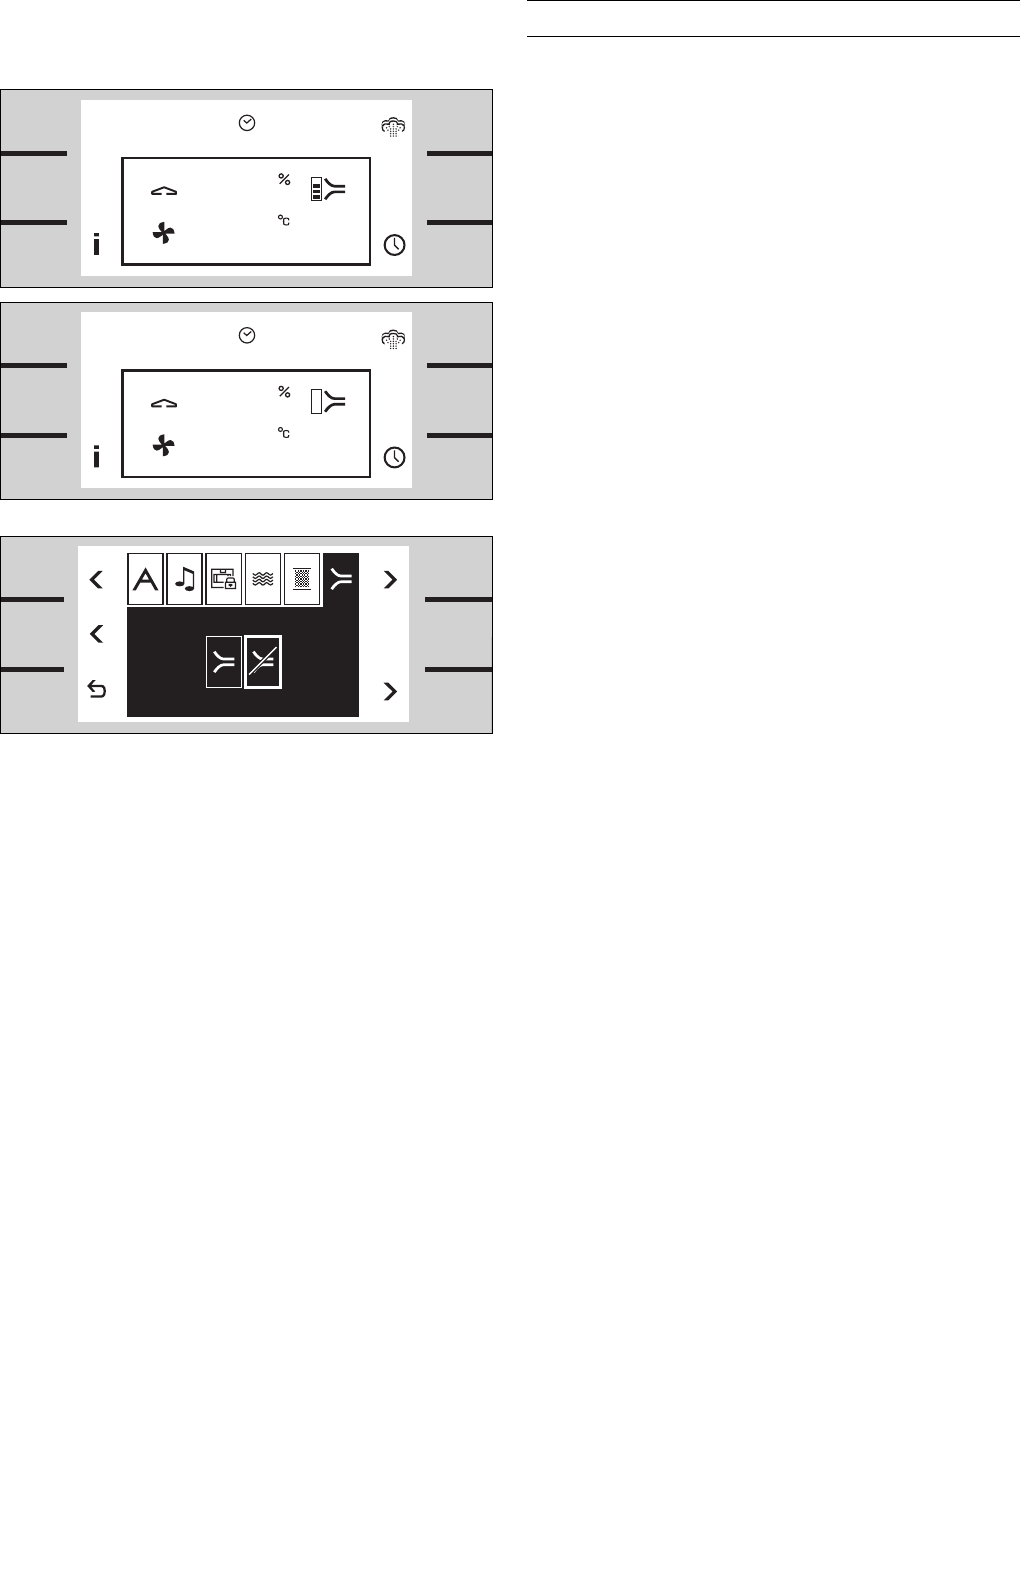
Operating for the First Time
5