


-
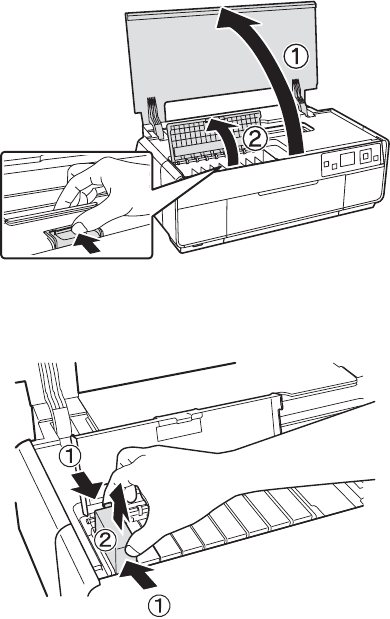
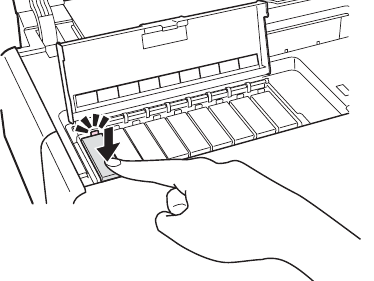
Mijn Epson 3000 printer meldt dat ik een van de cartridges niet goed geplaatst heb. Nieuwe orig. LC T 1575 geplaatst zoals altijd goed erin geklikt. Zelfde melding blijft komen... stekker verwijderd en opnieuw oranje lampje en melding. Wie heeft er een tip? Gesteld op 2-2-2022 om 22:10
Reageer op deze vraag Misbruik melden -
drukt het formaat A3+ niet af, a4 wel. Geeft steeds een foutmelding . drukt een deel van de foto af en meer dan de helft van het fotoblad blijft onbedrukt. De instellingen zijn correct Gesteld op 8-8-2021 om 10:50
Reageer op deze vraag Misbruik melden -
Mijn afdrukken zien er niet uit, flauwe kleuren lijkt veel op een matte uitstraling.
Reageer op deze vraag Misbruik melden
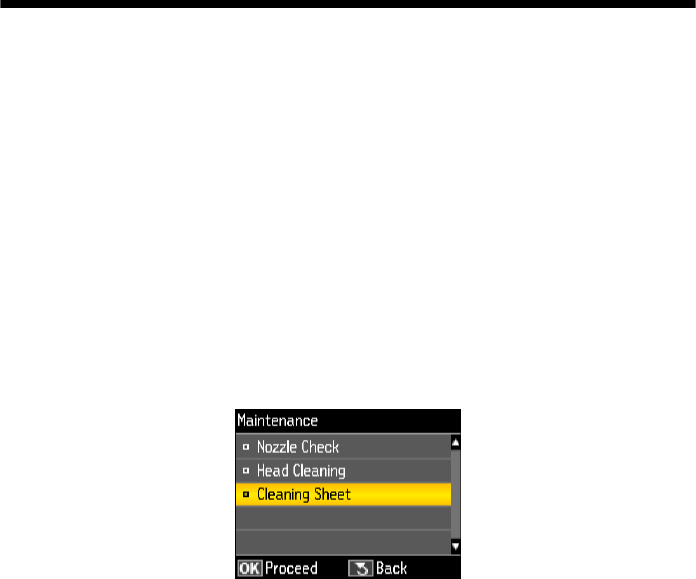
Ik heb Spuitstuk controle ,Printkop reiniging, Reinigingsblad uitgevoerd, helaas geen resultaat.
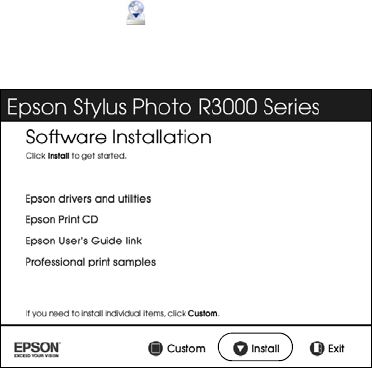
Ook heb ik de software verwijderd gehad en weer geïnstalleerd, geen resultaat.
Heeft iemand misschien een oplossing voor mijn probleem.
Afz Ben Verbeet. Gesteld op 15-7-2021 om 10:05-
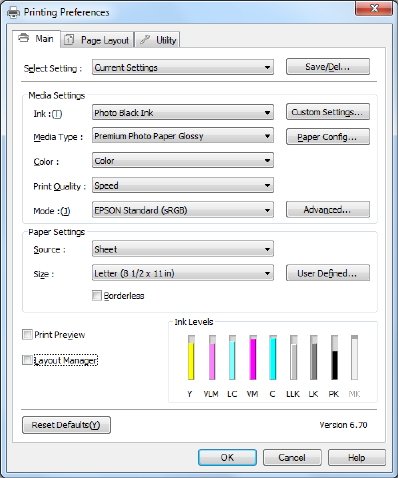
De software lijkt dus juist te werken (formaat e.d klopt wél) mogelijke oorzaken zijn dan:
Waardeer dit antwoord Misbruik melden
- papiersoort past niet bij de instelling (controleer printerinstellingen)
- “ printer controleert kleuren” ipv “ photoshop beheert kleuren)
- inferieure inkt van derden gebruikt?
Anders zou ik het ook niet weten Geantwoord op 15-7-2021 om 12:40
-
-
de printer geeft een foutmelding bij het afdrukken en drukt niet meer af Gesteld op 30-9-2020 om 16:40
Reageer op deze vraag Misbruik melden -
Mijn photo printer Epson Sylus Photo R3000heeft na vernieuwiingen patronen de vervelende afwijking voor iedere print uit opnieuw het hele schoonmaak ritueel te door lopen. Is niet alleen tijdrovend maar kost ook nog eens onnodig veel dure inkt. In het verleden ook al eens gebeurd maar een reparateur van 'n Epson reparatie bedrijf kon dit oplossen in het menu op de printer. De man is er niet meer en nu wordt ik naar de handleiding verwezen. Daar staat niets over in. Wie helpt mij svp.
Reageer op deze vraag Misbruik melden
Ab Gesteld op 8-4-2020 om 15:05 -
Beste mensen van Epson,
Reageer op deze vraag Misbruik melden
Ik heb problemen met het afdrukken. het is net alsof de printer (r3000) de papiermaat kwijt is. Hij print een deel van de foto maar laat een witte brede rand van 5 cm leeg en het lijkt alsof hij dan toch print, inkt afgeeft, op het deel wat naast het A4tje valt. Wat kan ik doen? Alles staat goed ingesteld verder.
gr Ida van Boekel
ivboekel@ziggo.nl Gesteld op 16-2-2020 om 16:04-
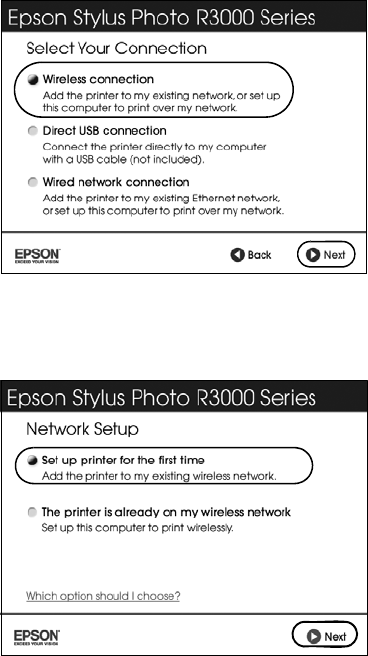
Ik heb iets vergelijkbaars ooit gehad. Omdat ik geen oorzaak kon vinden heb ik de printer volledig verwijderd en vervolgens opnieuw geinstalleerd. Bij mij was het probleem daarna verholpen (imac-r3000-originele epson software) Geantwoord op 16-2-2020 om 16:32
Waardeer dit antwoord (1) Misbruik melden
-
-
Dank je wel. Ga ik doen! Geantwoord op 16-2-2020 om 17:03
Waardeer dit antwoord Misbruik melden -
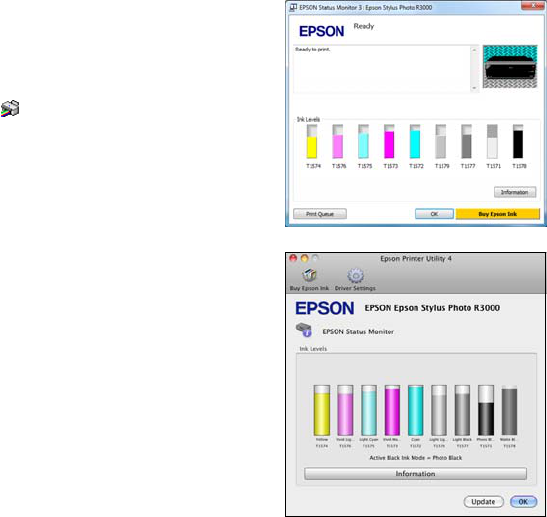
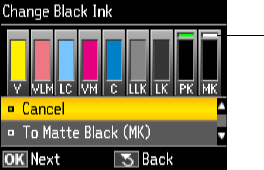
De zwarte cartridge wijkt af van de cartridge die in de printer is geïnstalleerd.
Reageer op deze vraag Misbruik melden
Vervang de zwarte cartridge in de printer.
Ik gebruik alleen de originele cartridges en er zit nog voldoende inkt in. Wat nu? Gesteld op 6-4-2015 om 23:10-
ben je er al uit, ik krijg hetzelfde probleem nu Geantwoord op 30-4-2015 om 14:46
Waardeer dit antwoord (3) Misbruik melden
-
-
alle pagina"s van de R3000 vanaf bladzijde 45 Gesteld op 29-8-2013 om 17:32
Reageer op deze vraag Misbruik melden-
afdrukken op mijn computer Geantwoord op 29-8-2013 om 17:40
Waardeer dit antwoord (3) Misbruik melden
-
