6
GB
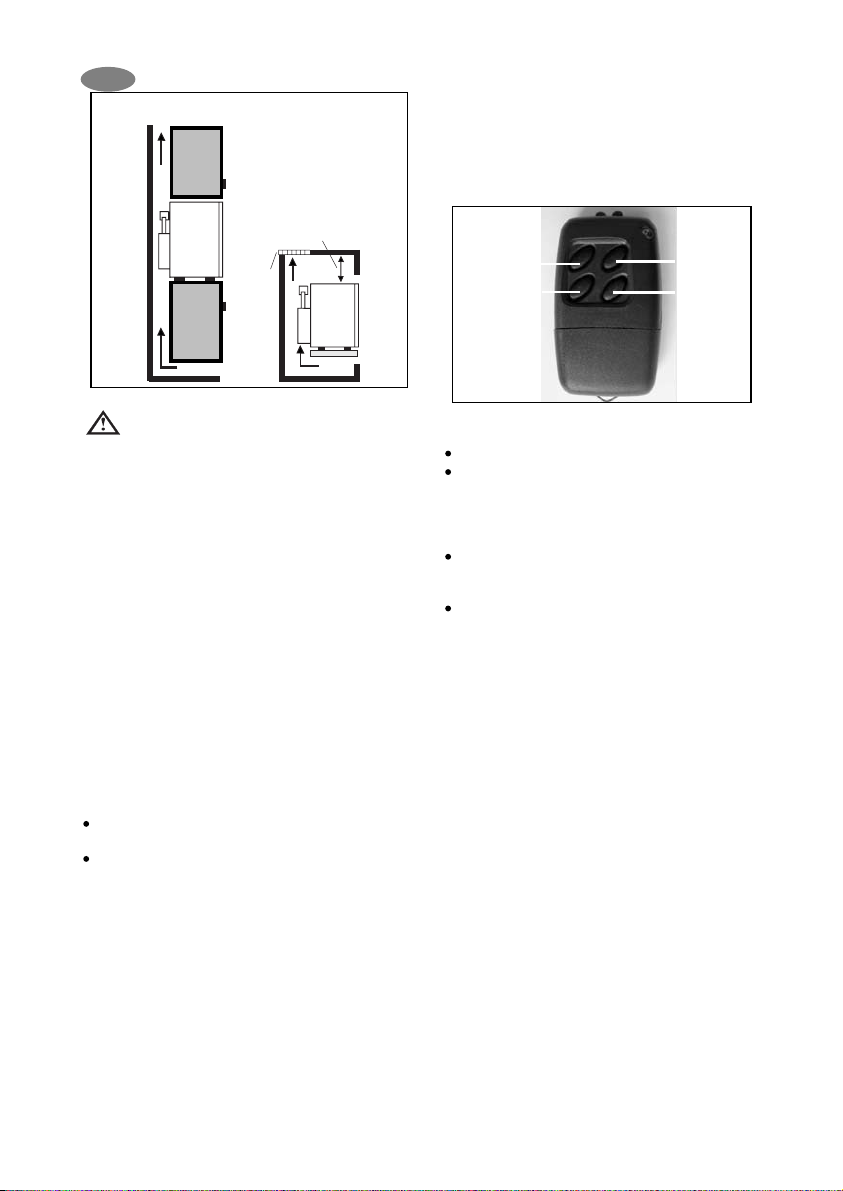
Figure 4.
During installation, please ensure the
mains plug is accessible at all times.
4.1.2. Free-standing version
This version is supposed to be used free-standing.
The cowl of the appliance is supposed to protect the
user from the hot parts of the cooling unit of the
appliance. The ventilation of the appliance is assured
by the appropriate height of the castors; therefore the
freestanding version must not be used without
castors.
Do not use the refrigerator without installing the
castors, because in this case there will be no proper
ventillation!
5. Using the appliance
Chek prior to initial operation that the voltage noted on
the data label corresponds to the mains voltage.
To start the refrigerator connect the plug to the socket
outlet. The empty refrigerator needs about 6-7 hours
at normal ambient temperature to reach the proper
temperature in the storage compartment.
5.1. Initial operation
The device must be plugged into a properly earthed
socket.
The miniBar starts automatically with a self-test. If
the electronics do not detect any fault, the LED for
the interior lighting illuminates for 2 seconds after
approxiametly 10 seconds. If no fault is detected,
the illumination of the cooled compartment will be
permanent when the door is open. If a fault is
detected, the illumination changes to a
continuously flashing light. If this occurs, please
consult your authorised Customer Service.
5.2. Temperature regulation
The appliance is fitted with a fully automatic electronic
temperature regulator. The inner temperature of the
refrigerator can be set by using the optional 4-button
remote control device. There are 4 different
temperature preset values: 3°C, 5°C, 7°C, and
12°C. Two buttons of the remote serve for the
temperature setting:
- Yellow button: 3°C and 7°C.
- Blue button: 5°C and 12°C.
For setting e. g. 7°C, please proceed like this:
Open the door of the appliance.
Hold the remote in front of the door sensor, at a
distance of approx. 10 cm. Push the yellow
button once and count the number of flashes of
the interior LED light. If it flashes 3 times, the
preset has been modified to 3°C.
For having 7°C as desired, push the yellow
button once again. The LED will flash 7 times,
and the temperature preset will be 7°C.
For setting e. g. 12°C, please follow the
procedure as above, this time using the blue
button.
5.3. Cooling unit control (CUC)
System
The control system checks the function after every
defrosting period (first defrosting phase
commences 39 hours after the start, then later
every 24 hours) by measuring the evaporator
temperature drop. If it registers a problem the
refrigerator will shut down and the LEDs of the
interior light will begin to flash continuously. If this
happens in many cases this is due to an
overloading of the fridge (too many warm foods
and/or drinks in), or the door was not properly
closed, or the cooling unit ventilation is not correct
and/or a refrigerator is not levelled. Please check
and after that reset the refrigerator by using the
remote control Fig 9.) against the door opening
sensor (Fig 6. B) and push the "black" button, or
unplug the refrigerator at least for 10 seconds and
plug it in again. This resets the unit and it will
function again. If the continuous flashing comes
back than there is a real problem with the cooling
unit and you should contact the Dometic service.
min. 60 mm