16
(see Important notes on installation).
The indoor and outdoor devices must only ever
be installed in a vertical position.
2. Installing the indoor device
It is imperative that you comply with the installation
instructions.
2.1 Before you start installation
Select the location for the indoor device (follow
the previous notes on selecting the location for
installation).
Check that the available mains voltage is the
same as the voltage specified on the rating plate.
Fit appropriate insulation, supplied by the
customer, to the coolant tubes.
2.2 Fitting the mounting plate
The mounting plate for the indoor device must be
fitted horizontally to the wall. In doing so, it is
imperative that you comply with all specified
distances. Mark and drill the holes for fastening
the mounting plate, and then firmly fasten with
dowels and screws. In order to prevent vibrations
on the indoor device, make sure that there are no
gaps between the wall and the mounting plate.
2.3 Drilling a hole through the wall
Drill a hole through the wall for the lines/hoses
using a 65 mm drill bit, drilling from the inside to
the outside at a downwards angle of approx. 5°.
2.4 Fitting the condensation water drainage hose
The drainage water hose must be run to the
outside with a drop. It is imperative that there are
no bends or kinks. The end of the drainage hose
must not be situated in a container of any kind in
which water can collect. Any water held back in
the drainage water hose could lead to water
damage.
Slide the additional drainage hose onto the
mounts on the drainage hose already fixed to the
indoor device. Fasten this connection point with
adhesive tape, checking that it is fully sealed as
you do so. Wrap the section of the drainage hose
in the hole in the wall, plus approx. 10 cm in front
of the wall on both the inside and outside, in
insulation material.
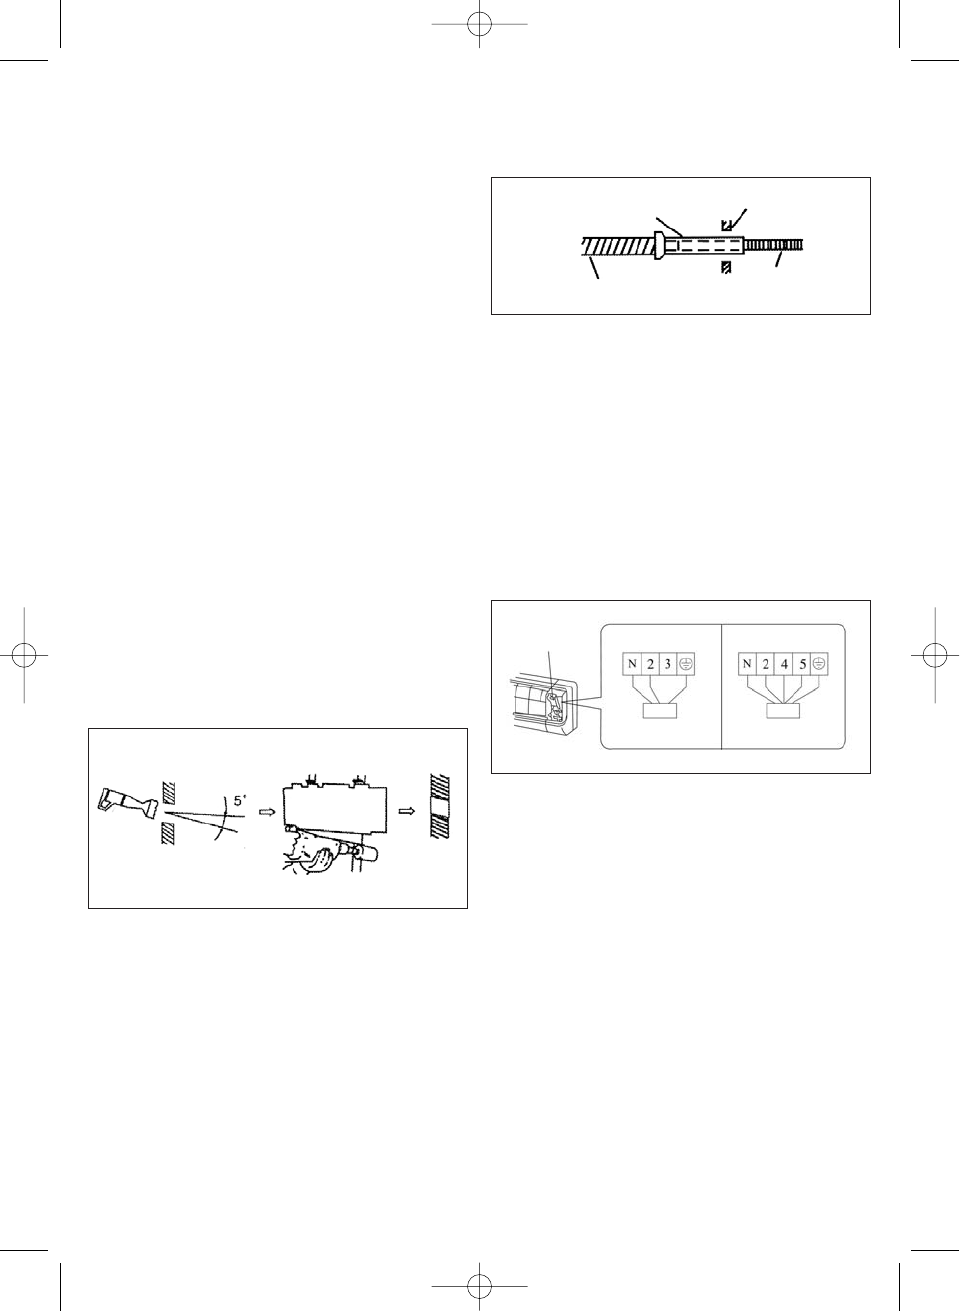
2.5 Making the electrical connection to the indoor
device
Note that only a qualified electrician approved by the
local electricity supply company may make the
electrical connection.
Open the panel of the indoor device.
Remove the power connection cover (1).
Attach the indoor/outdoor device connection
cable to the supply terminals as shown. Now pull
the connection cable back to the rear of the inner
housing and reinstall the power connection
cover.
Close the panel of the indoor device.
2.6 Connecting the refrigerant lines to the indoor
device
Route the refrigerant lines from the indoor device to
the outdoor device.
Remove the plastic seals on the refrigerant
connection coupling on the indoor device and on
the respective refrigerant line.
Fit the gland on the coolant tube straight on the
thread on the indoor device.
Screw the first turns of the thread by hand in a
counterclockwise direction.
Then use suitably sized open-ended wrenches to
tighten the glands. Please refer to the following
table for the applicable torque. Check the torque
using a torque wrench.
SKA 2502 C
Ø 6 mm tube = 15 - 20 Nm
Ø 9.5 mm tube = 31 - 35 Nm
SKA 2502 C
to outdoor device
to outdoor device
blue
yellow
green
blue
yellow
green
1
SKA 3502 C+H
inside Outside
Inside
Inside
Insulation
Drainage hose
additional drainage
hose
Wall