4
ENGLISH
SAFETY INFORMATION
USER/INSTALLER
• The product is not designed for use by
people, including children, with limited
physical, sensory and mental abilities.
• The appliance is not designed for cooking
purposes.
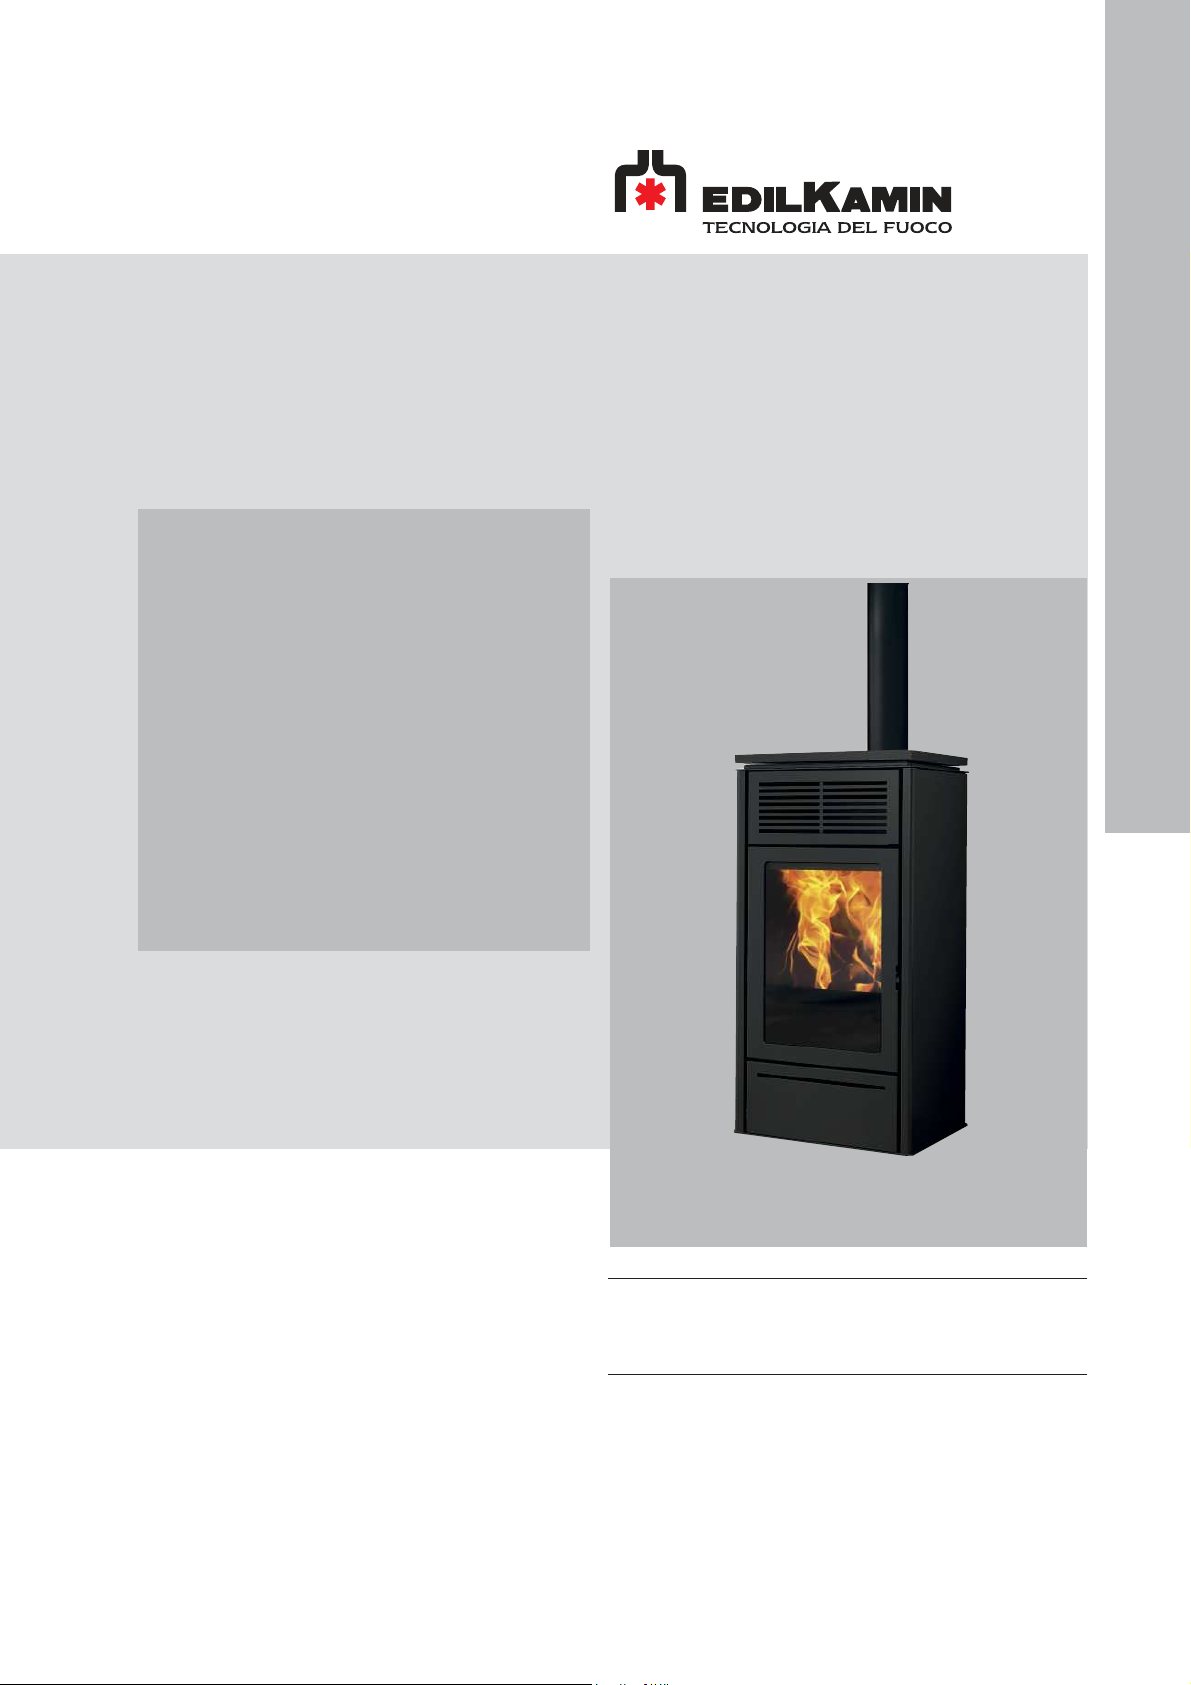
• The appliance is designed to burn UNI EN
ISO 17225-2 category A1 wood pellets, in
the amounts and manner described in
this manual.
• The appliance is designed for indoor
use and in areas with normal humidity
conditions.
• Keep the product in a dry place out of the
weather.
• For the legal and company warranties,
refer to the warranty certificate inside the
product: specifically, neither Edilkamin nor
the retailer are liable for damage resulting
from incorrect installation or maintenance.
Safety risks may be caused by:
• installation in non-suitable settings, in
particular those that are subject to fire
risks. DO NOT INSTALL THE PRODUCT
IN AREAS SUBJECT TO THE risk of fire.
• contact with fire and hot parts (e.g. glass
panel and pipes). DO NOT TOUCH HOT
PARTS and, when the stove is switched
off and still hot, always wear the glove.
• contact with live electrical equipment
(internal). DO NOT ACCESS THE
INTERNAL ELECTRICAL EQUIPMENT
WHILE THE APPLIANCE IS POWERED
ON. Electrocution hazard.
• use of improper ignition aids (e.g.
alcohol). DO NOT IGNITE OR BOOST
THE FLAME WITH FLUID SPRAYS OR
A FLAME TORCH. Serious risk of burns,
damage and injury.
• use of fuel other than wood pellets. DO
NOT BURN WASTE MATTER, PLASTIC
OR MATERIALS OTHER THAN WOOD
PELLETS IN THE COMBUSTION
CHAMBER. The product may become
soiled, the flue may catch fire, and
environmental damage may ensue.
• cleaning of the combustion chamber
when hot.
DO NOT CLEAN THE COMBUSTION
CHAMBER WITH A VACUUM CLEANER
WHILE IT IS HOT. You could damage the
vacuum cleaner and risk letting smoke
into in the room.
• cleaning of the fume duct with various
substances. DO NOT ATTEMPT HOME-
GROWN CLEANING SOLUTIONS USING
INFLAMMABLE PRODUCTS. Risk of fire
or blowback.
• cleaning of the glass while hot or using
unsuitable cleaning products. DO NOT
CLEAN HOT GLASS WITH WATER.
ONLY USE RECOMMENDED GLASS
CLEANING PRODUCTS. There is a risk
of cracking and permanent irreparable
damage to the glass.
• storage of flammable materials at a
distance below the safety distances
specified in this manual. DO NOT PLACE
LAUNDRY ON THE APPLIANCE. DO NOT
PLACE DRYING RACKS WITHIN THE
SAFETY CLEARANCE. Keep flammable
fluids away from the appliance. Risk of fire.
• blocking of the aeration vents and air
intakes in the room. DO NOT BLOCK THE
AERATION VENTS OR THE FLUE. This
may cause smoke to return into the room
resulting in damages to property and
personal injury.
• use of the product as a support or ladder.
DO NOT CLIMB ONTO THE PRODUCT
OR USE IT AS A SUPPORT. Risk of
damage and injury.
• use of the stove with the combustion
chamber door open. DO NOT USE THE
PRODUCT WITH ITS DOOR OPEN.
• incandescent material projected following
opening of the door. DO NOT throw
incandescent material outside the
appliance. Fire hazard.
• use of water in case of fire. CALL THE
AUTHORITIES if a fire breaks out.
Connect the product to the elec-
tricity supply only after having com-
pleted its assembly and mounted
the cladding. Otherwise there is a
risk of having live electrical parts
accessible.
For reasons of safety, read the user instructions
included in this manual.
If you have doubts, please do not take any
action, but contact the dealer or the installer.
The names of Edilkamin official authorised
technical assistance centres (TAC)
and distributors are available ONLY at
www.edilkamin.com