E6
PTY music group ---- PTY speech group ---- OFF
MUSIC SPEECH
1.POP M, ROCK M 1.NEWS, AFFAIRS, INFO
2.EASY M, LIGHT M 2.SPORT, EDUCATE, DRAMA
3.CLASSICS, OTHER M 3.CULTURE, SCIENCE, VARIED
4.JAZZ, COUNTRY 4.WEATHER, FINANCE, CHILDREN
5.MATION M, OLDIES 5.SOCIAL, RELIGION, PHONEIN
6.FOLK M 6.TRAVEL, LEISURE, DOCUMENT
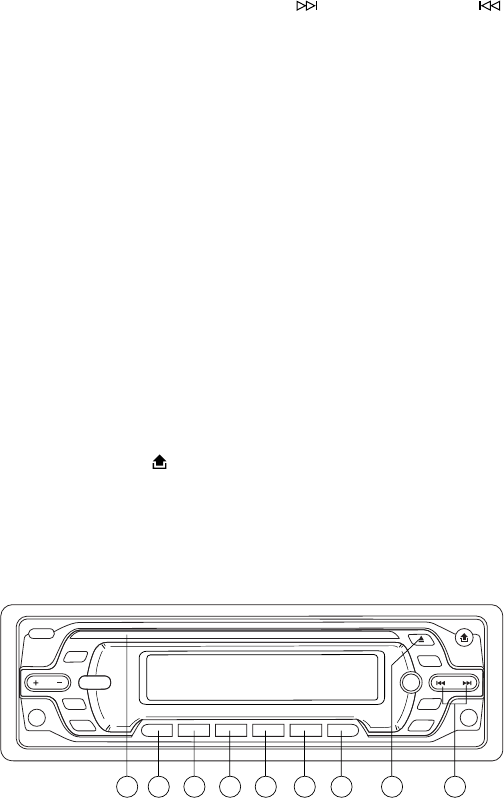
(B) CD/MP3 PLAYER MODE:
1. PAUSE 2. INTRO 3. REPEAT 4. RANDOM
USING THE RDS FUNCTION
What is RDS?
The RDS (Radio Data System) is a digital information system developed by the EBU (European
Broadcast Union). Piggy-backed on normal FM broadcasts, RDS offers a variety of information
services and automatic retuning functions for RDS-compatible car stereos.
In 1988, RDS became available in the United Kingdom, France, West Germany, Ireland and
Sweden. Test transmissions are being conducted in many other european countries. It is expected
that RDS will be available in most western european countries in the near future.
5. 'AF' function (ALTERNATIVE FREQUENCIES)
When pressed short, AF switchig mode is selected.
When AF switching mode is selected, the radio check the signal strength of the AF all the
time. When pressed long, it is activated as regional mode ON/OFF.
– Regional mode ON:
AF switching or PI SEEK is implemented to the station which have all PI codes are same as
current station. REG segment is turned on, in LCD display.
– Regional mode OFF
The regional code in the format of PI code is ignored when AF switching or PI SEEK is
implemented.
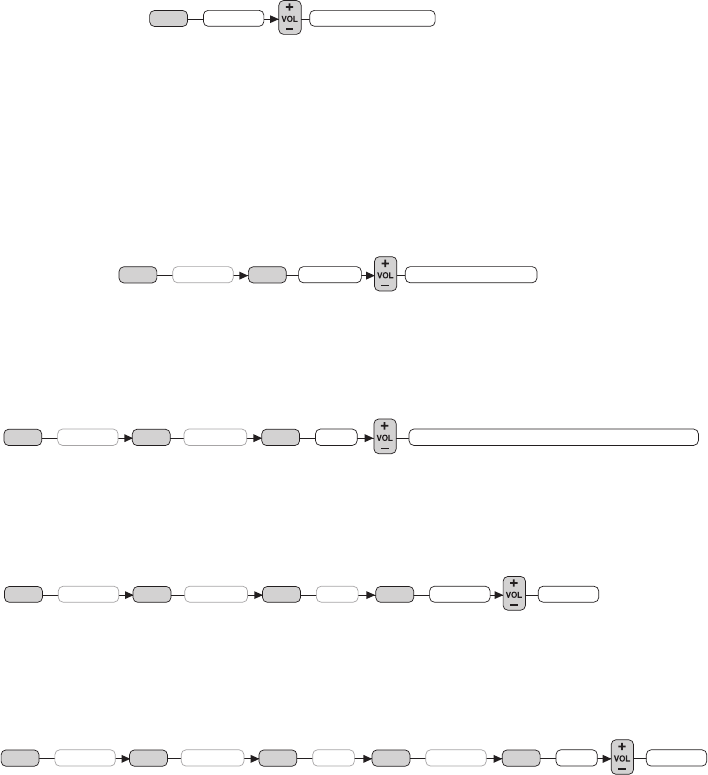
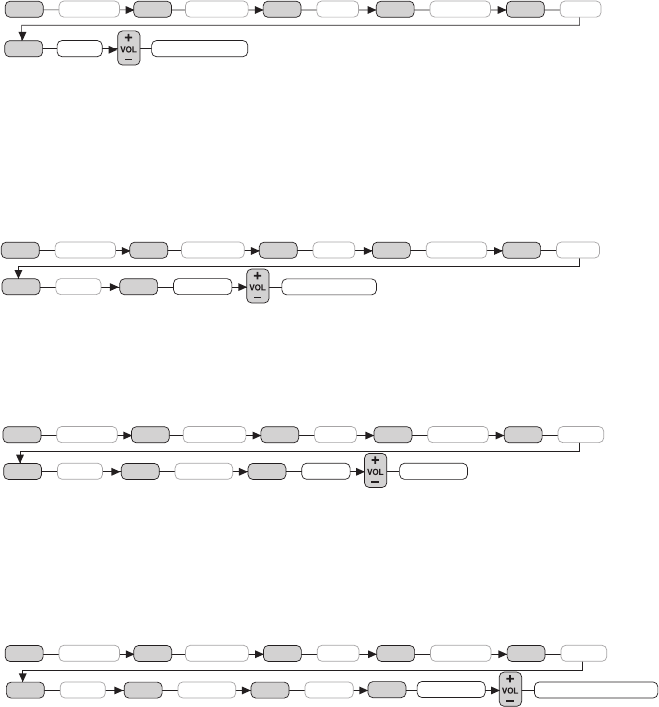
6. 'TA' function (TRAFFIC ANNOUNCEMENT)
When pressed short, it is activated as TA mode on or off
When TA mode is on and traffic announcement is transmitted.
– When the unit is it CD/MP3 mode, it will switch to radiomode temporarily.
– If the volume level was under the threshold point, it will be raised to the threshold point.
– When TP station is received, TP segment is turned on in LCD display.
7. 'PTY' function (PROGRAM TYPE)
PTY MUSIC ---- PTY SPEECH ---- PTY OFF
While selecting PTY type, its selection is impremented by preset buttons as described in
preset key. When PTY is selected, the radio starts to search corresponding PTY information,
and stops if the corresponding PTY information is detected.
8. DISPLAY (DISP)
When this key is pressed, it is operated as the conversion of each display mode as follow.
1) In case of receiving RDS station.
RADIO MODE
PS ---- CT ---- FREQ ---- PTY
CD/MP3 PLAYER MODE
CDP ---- CT ---- PS ---- FREQ ---- PTY