66
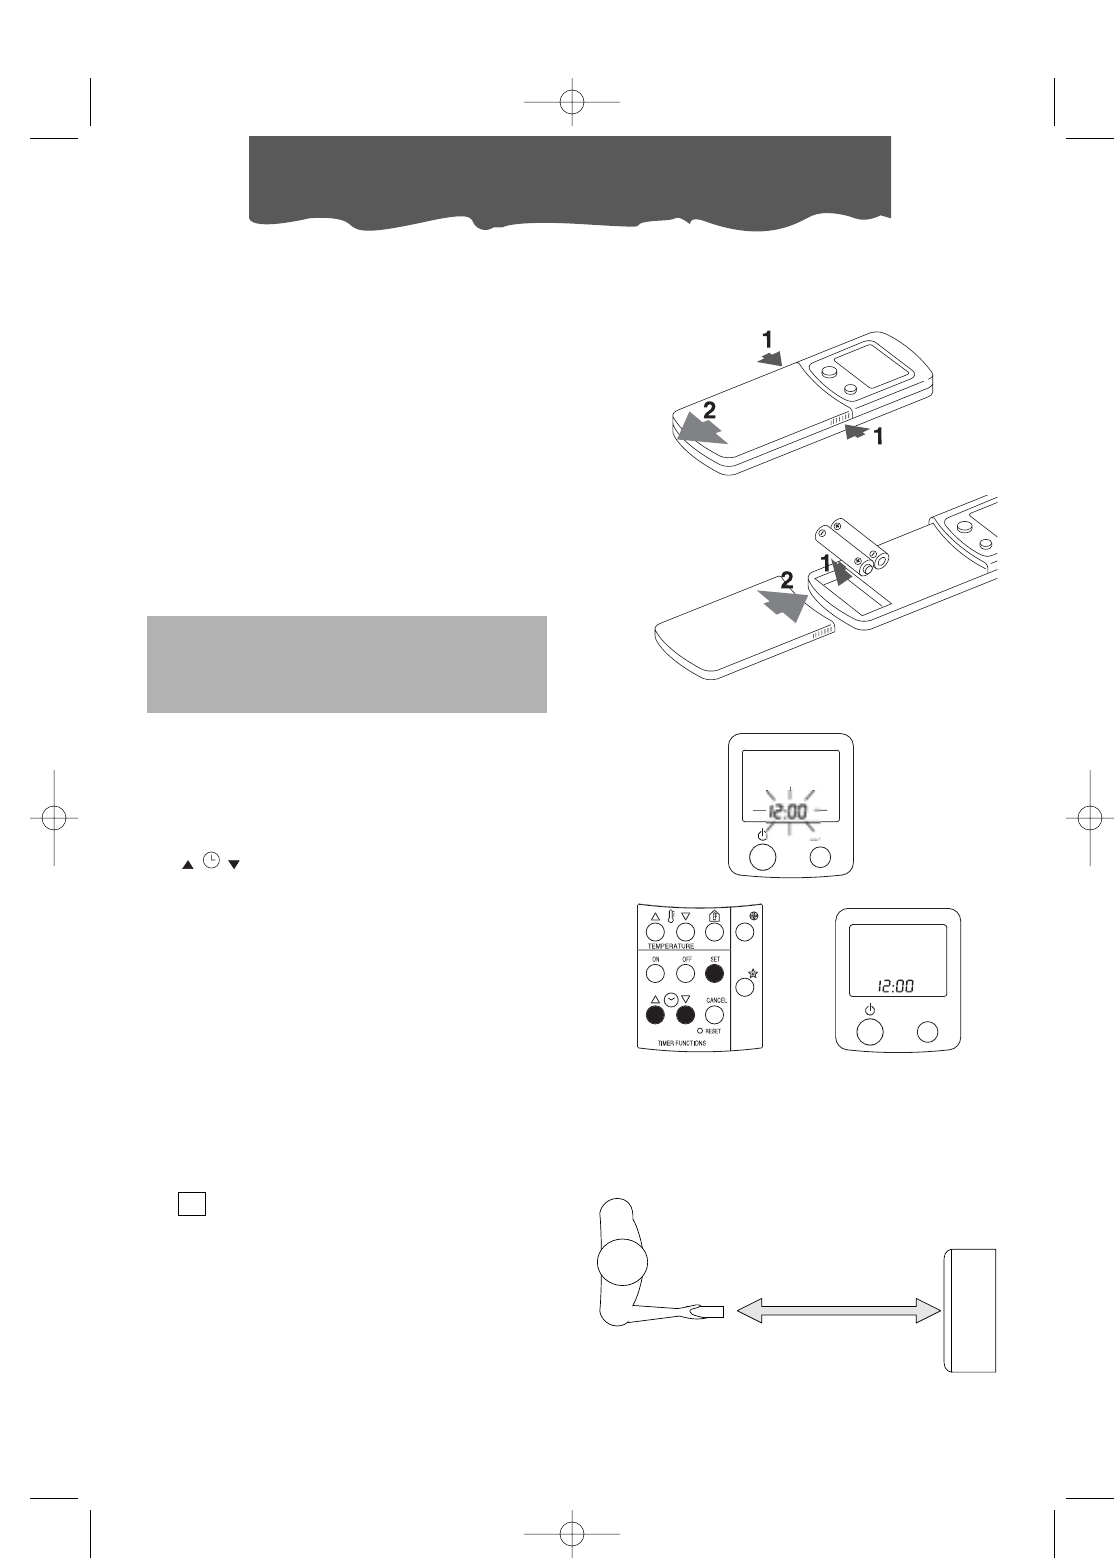
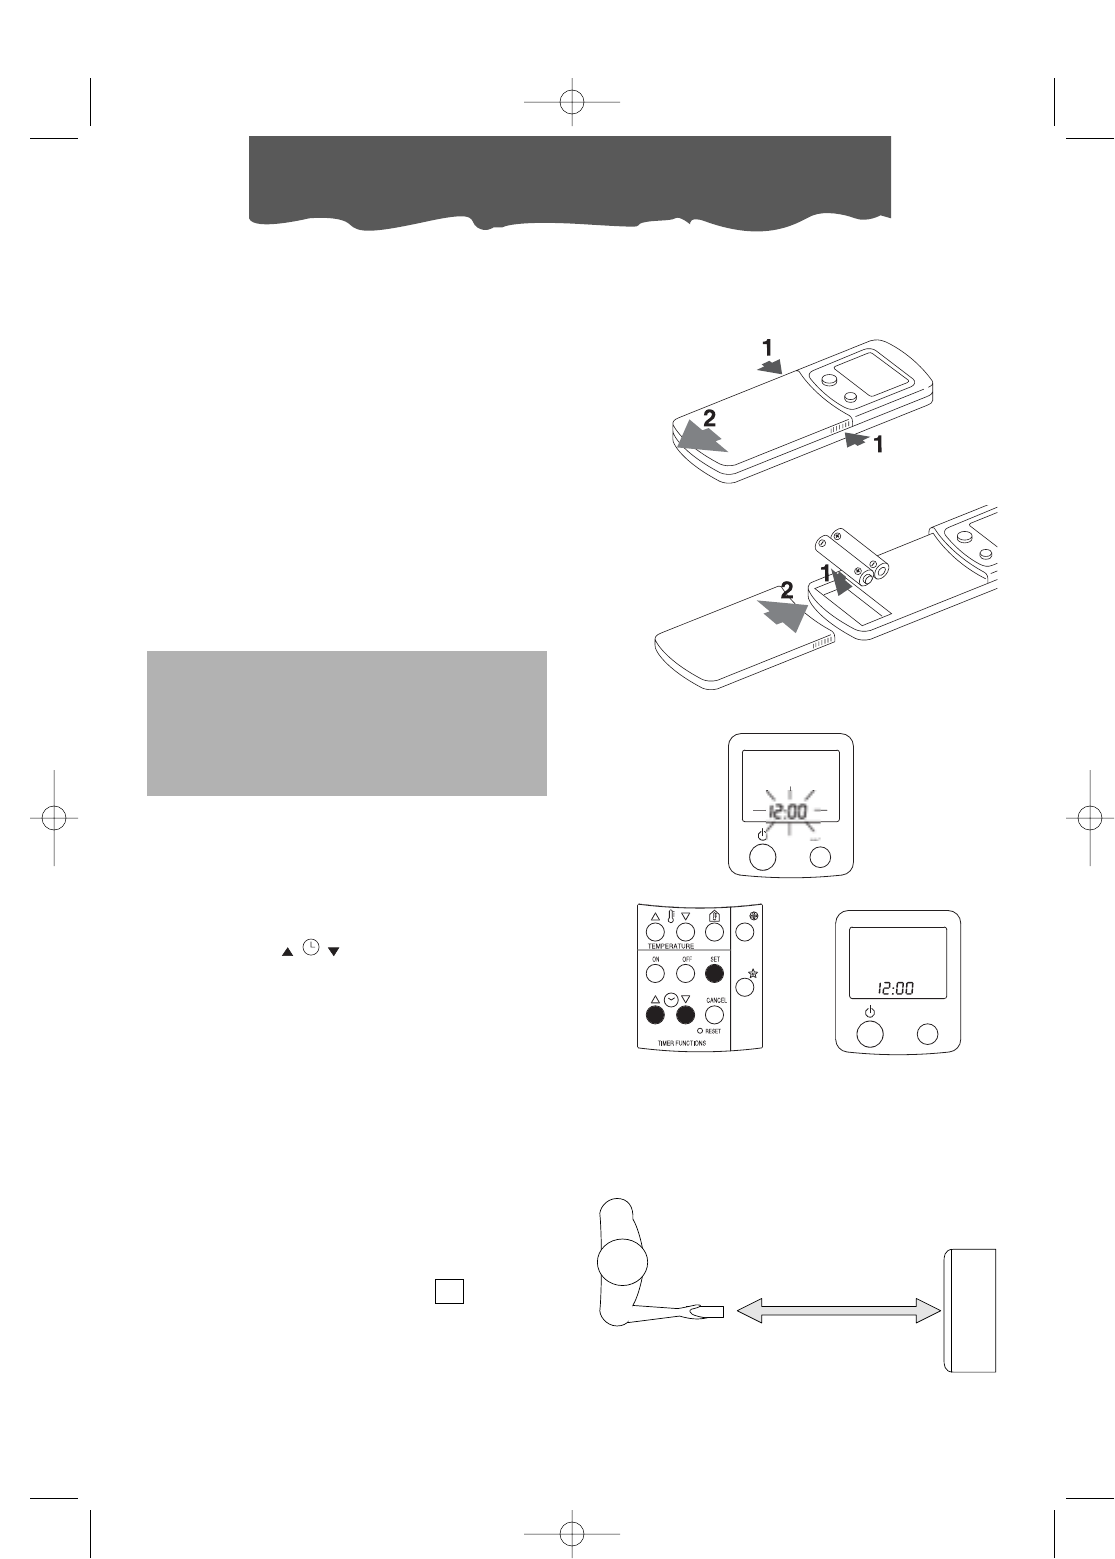
Beschrijving van de afstandbediening/
De elektrische annsluiting
DE ELEKTRISCHE AANSLUITING
Alvorens de stekker in het stopcontact te steken dient men te controleren dat:
• De netspanning overeenkomt met de waarde aangegeven in de technische gegevens;
• Het stopcontact en het elektriciteitsnet van dien aard zijn dat ze de vereiste belasting kunnen
verdragen;
• lHet stopcontact van het geschikte type is voor de stekker, indien dit niet het geval is het stop-
contact vervangen.
• Het stopcontact geaard is. De fabrikant stelt zich niet aansprakelijk indien deze veiligheid-
snorm niet in acht genomen wordt.
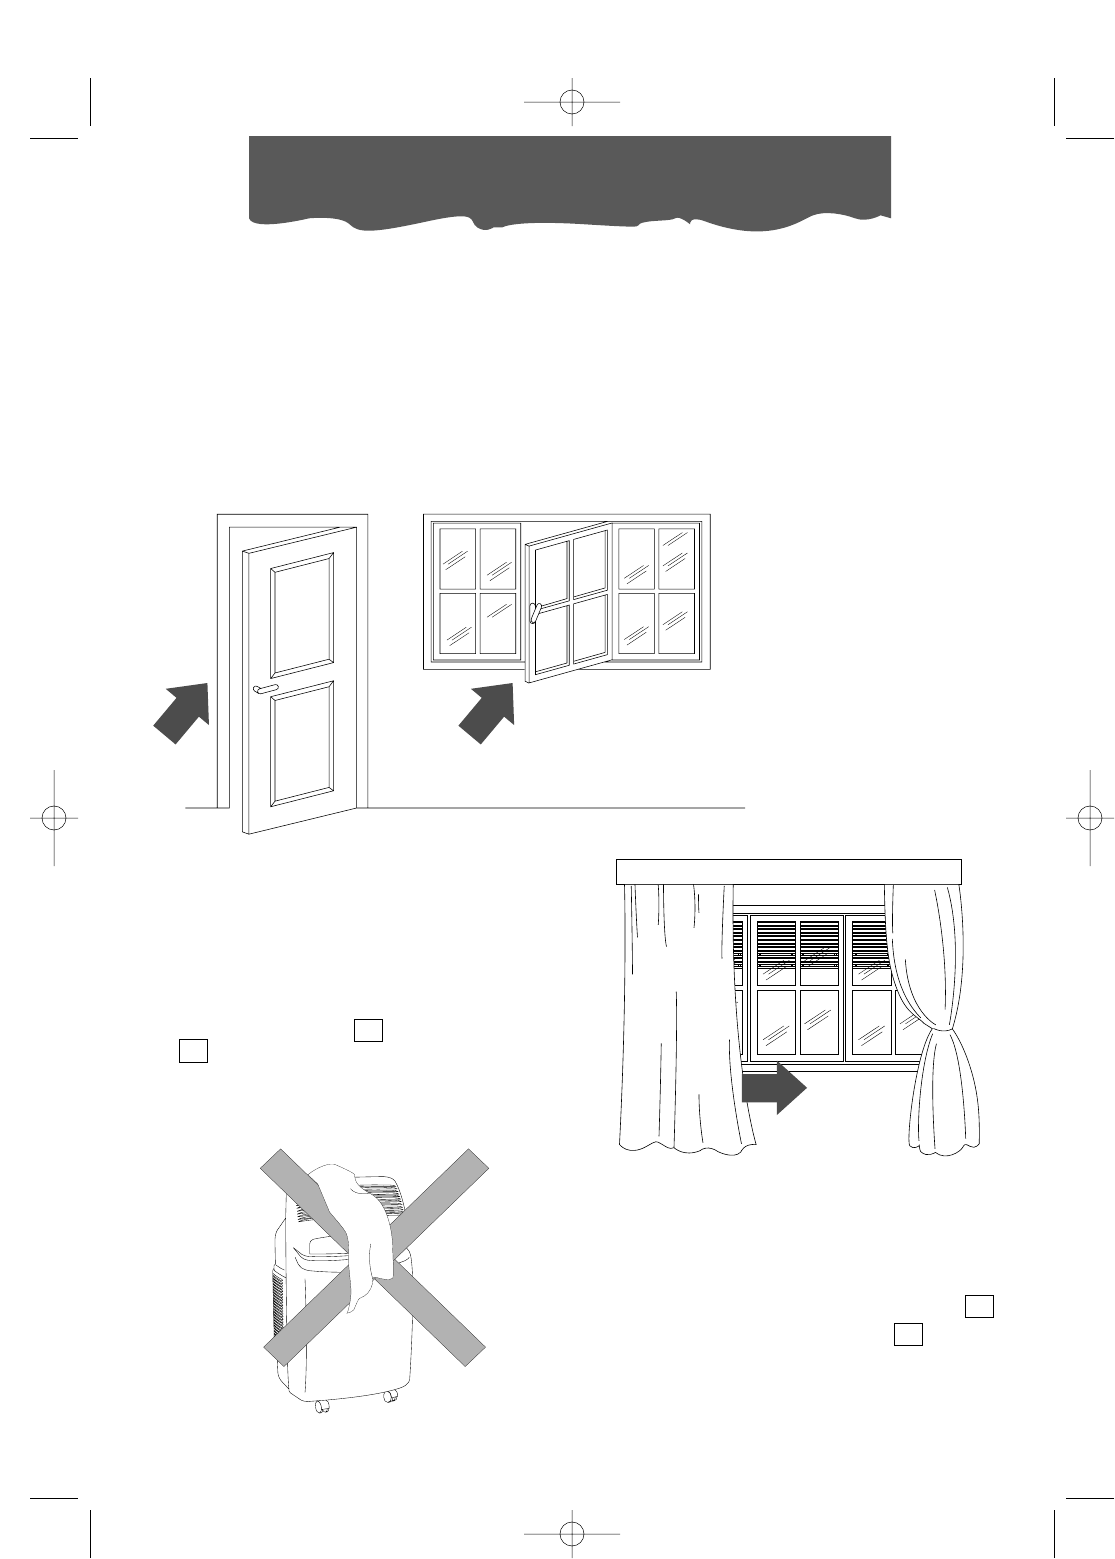
Indien men de functie airconditioning kiest op het moment dat er een vermindering optreedt in
de electriciteitstoevoer, kan het gebeuren dat het beveiligingsmechanisme in werking treedt. Dit
blokkeert het functioneren van het koelcircuit, waardoor het apparaat functioneert alsof het
geprogrammeerd is voor ventilatie/luchtzuivering. Om de functie airconditioning weer op te star-
ten, het apparaat afzetten en de stekker uit het stopcontact halen en houden gedurende min-
stens 30 seconden. Hierna weer aansluiten.
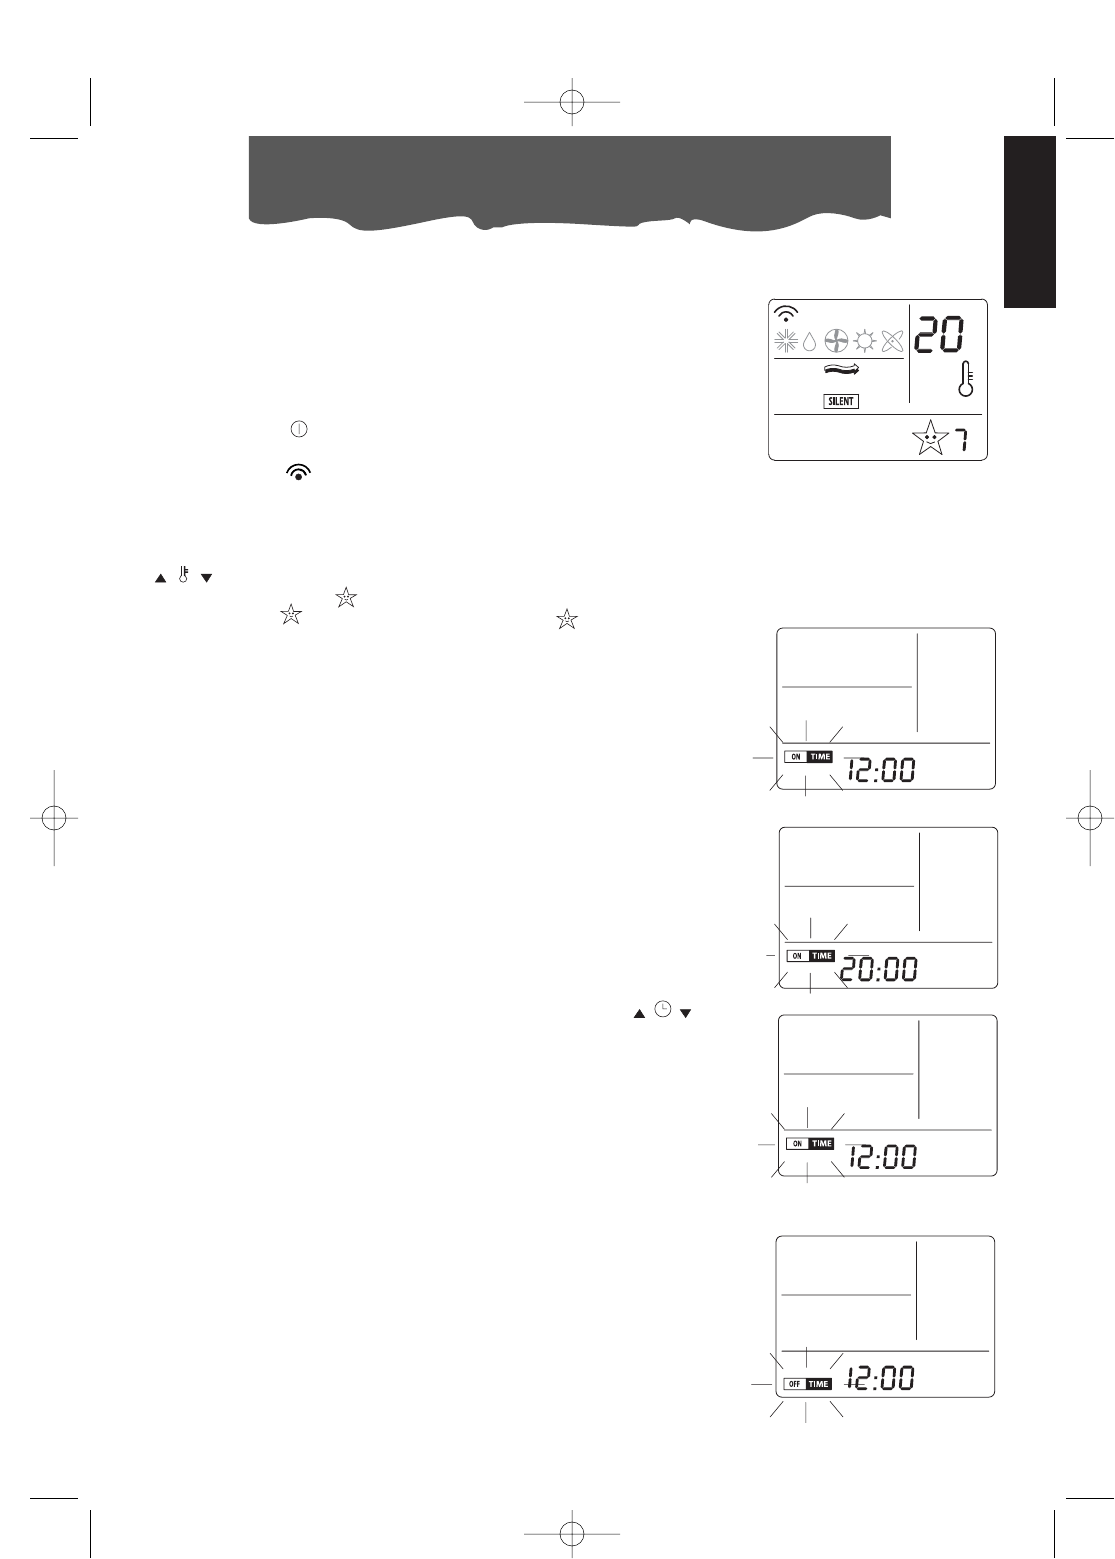
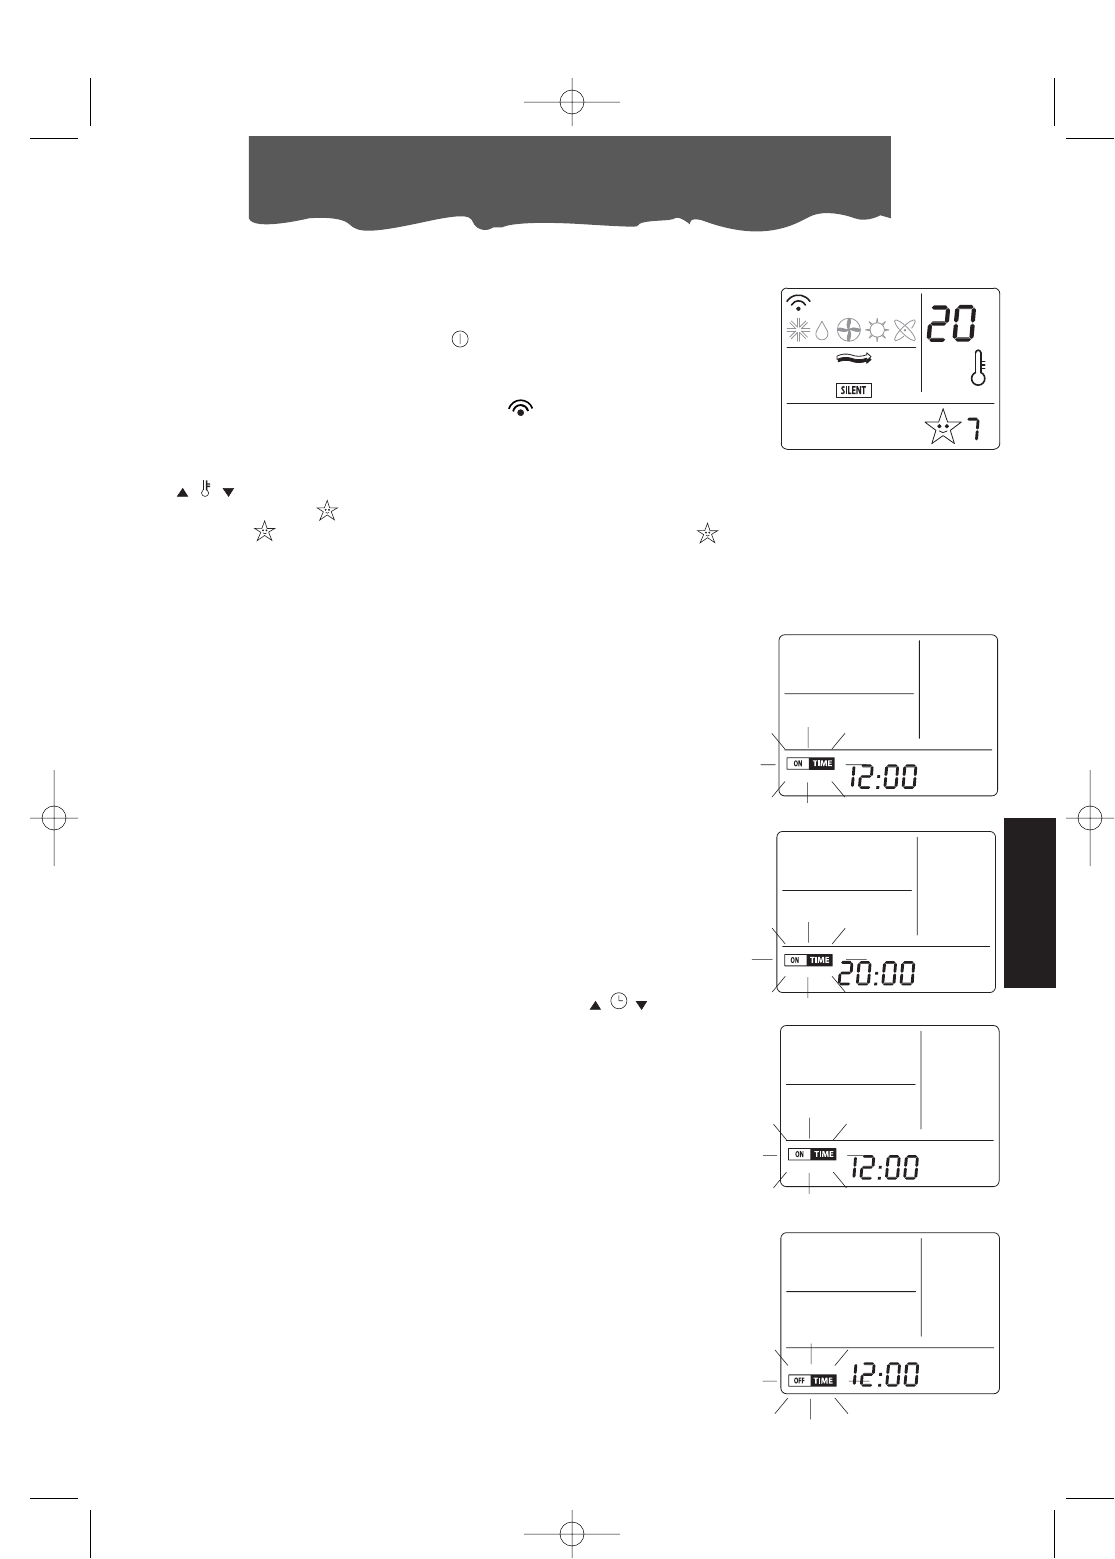
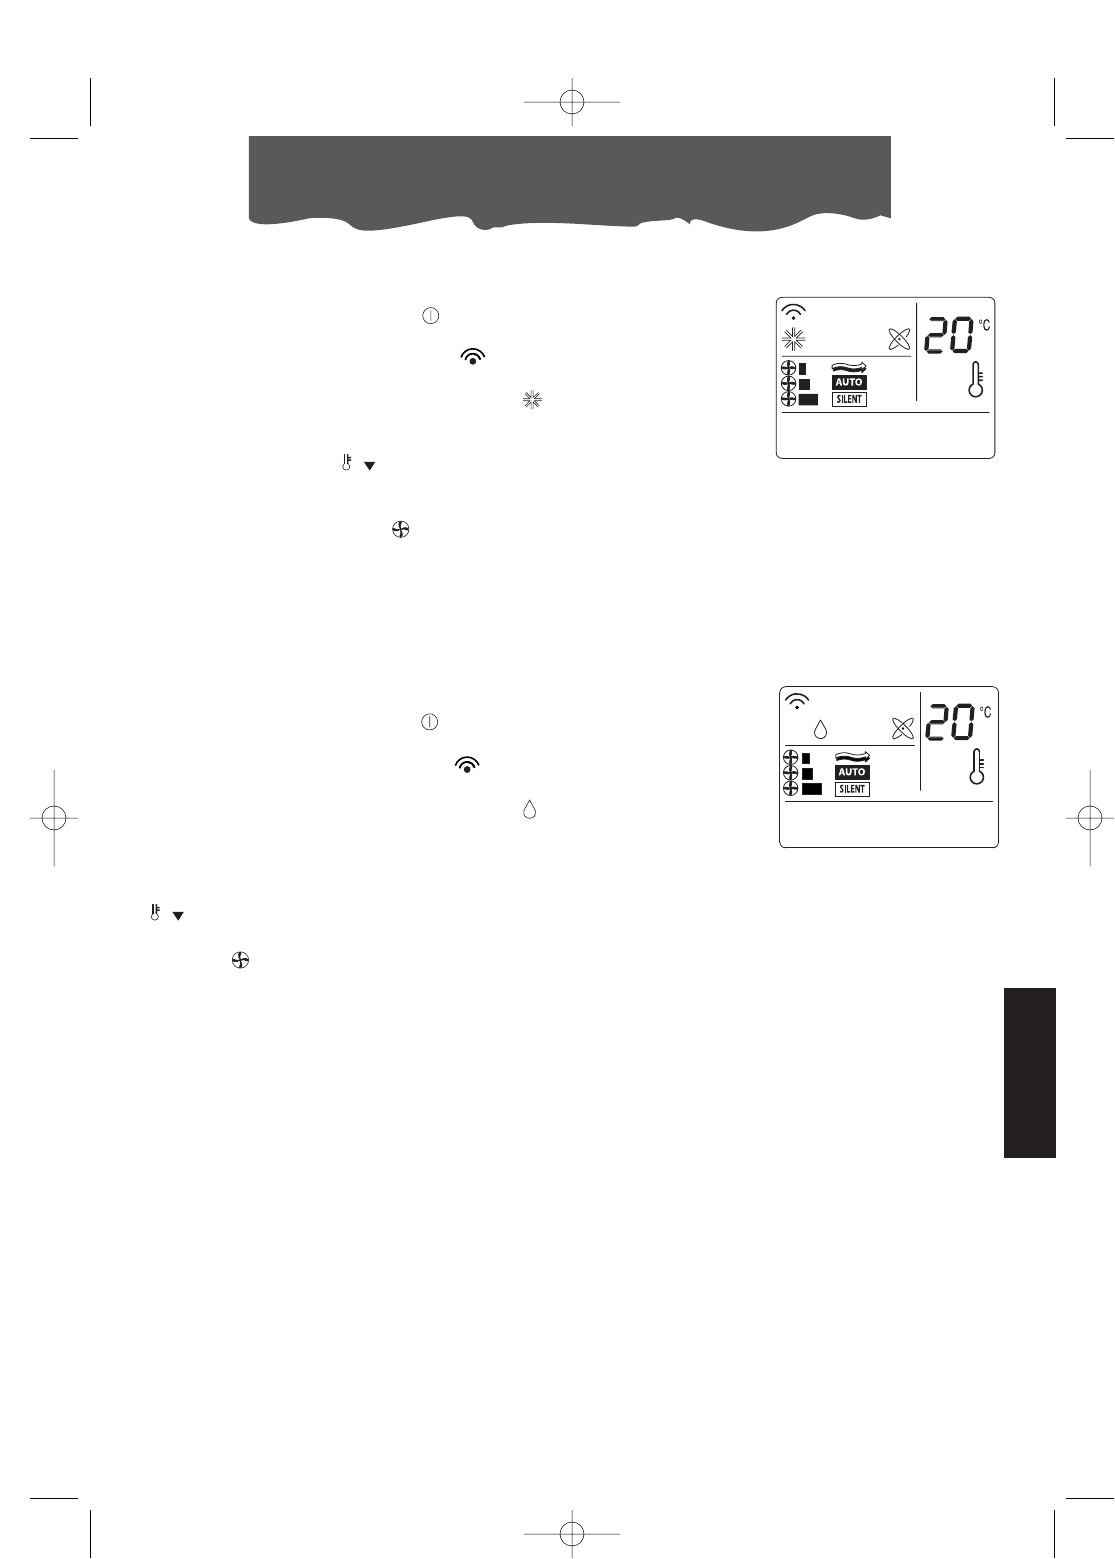
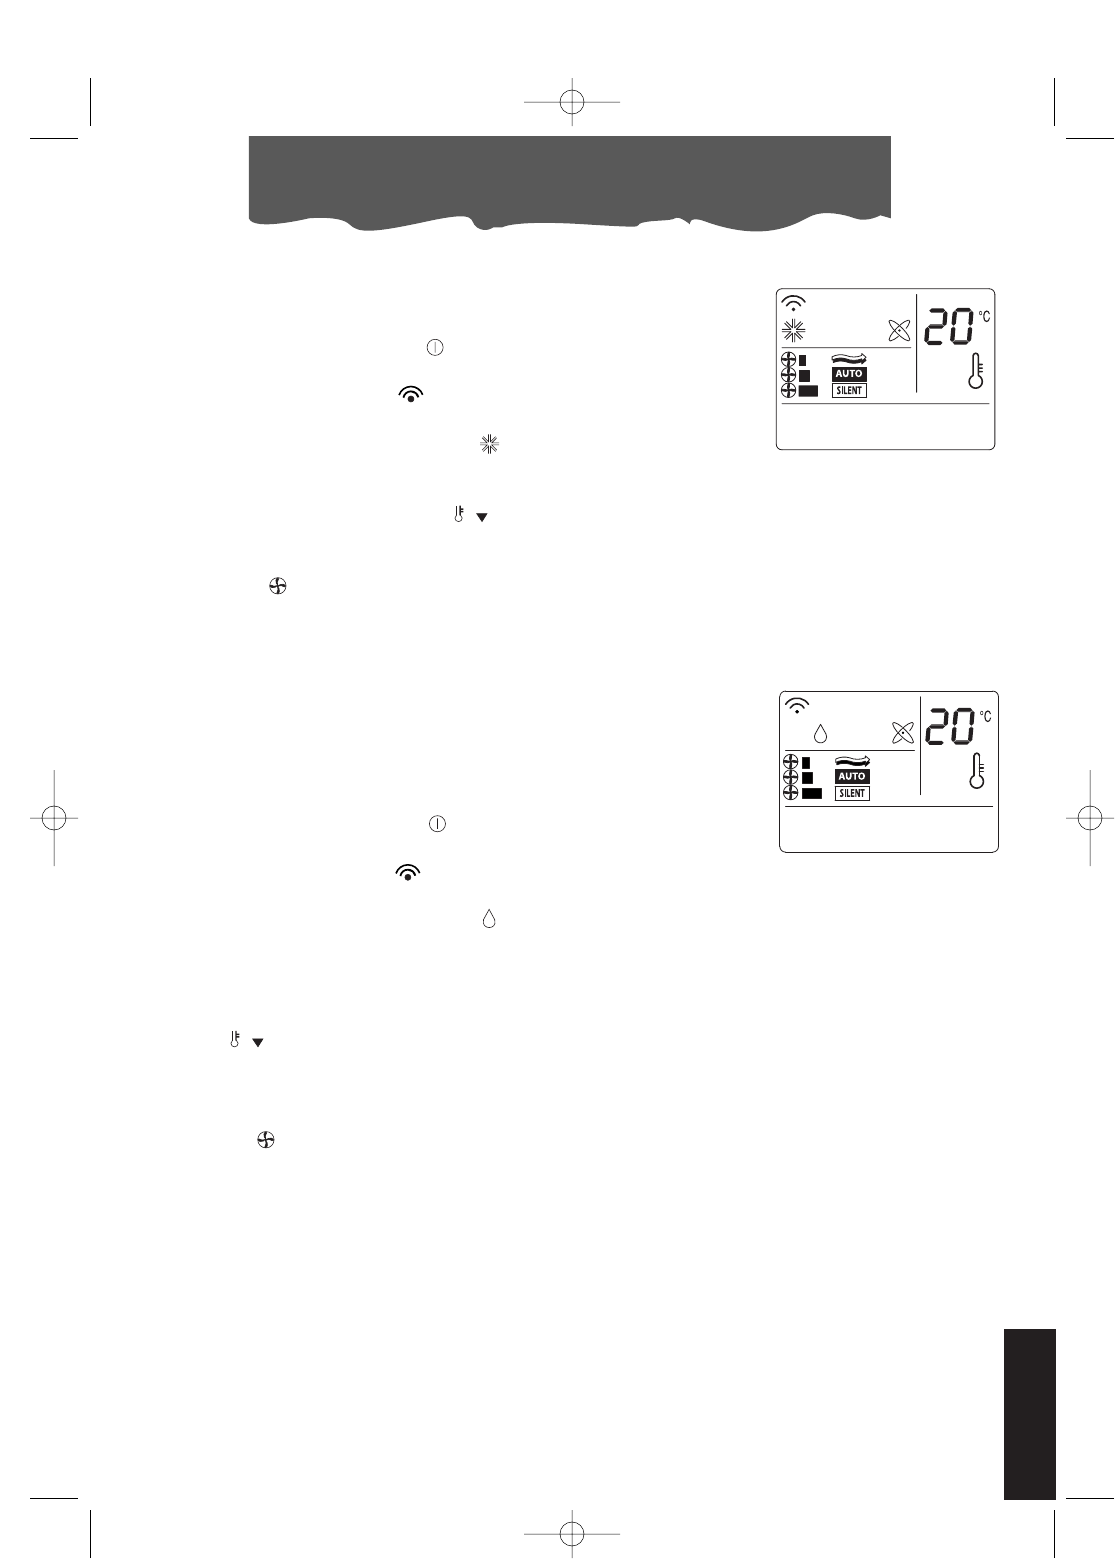
HET PANEEL
Bij het aanzetten van de airconditioner wor-
den alle symbolen zichtbaar. Bij het uitzetten,
blijft alleen de klok zichtbaar.
A. Beep
Hiermee wordt de pieptoon zichtbaar
gemaakt bij het aanzetten van de aircon-
ditioner, bovendien gaat dit symbool bran-
den bij elke handeling die verricht wordt.
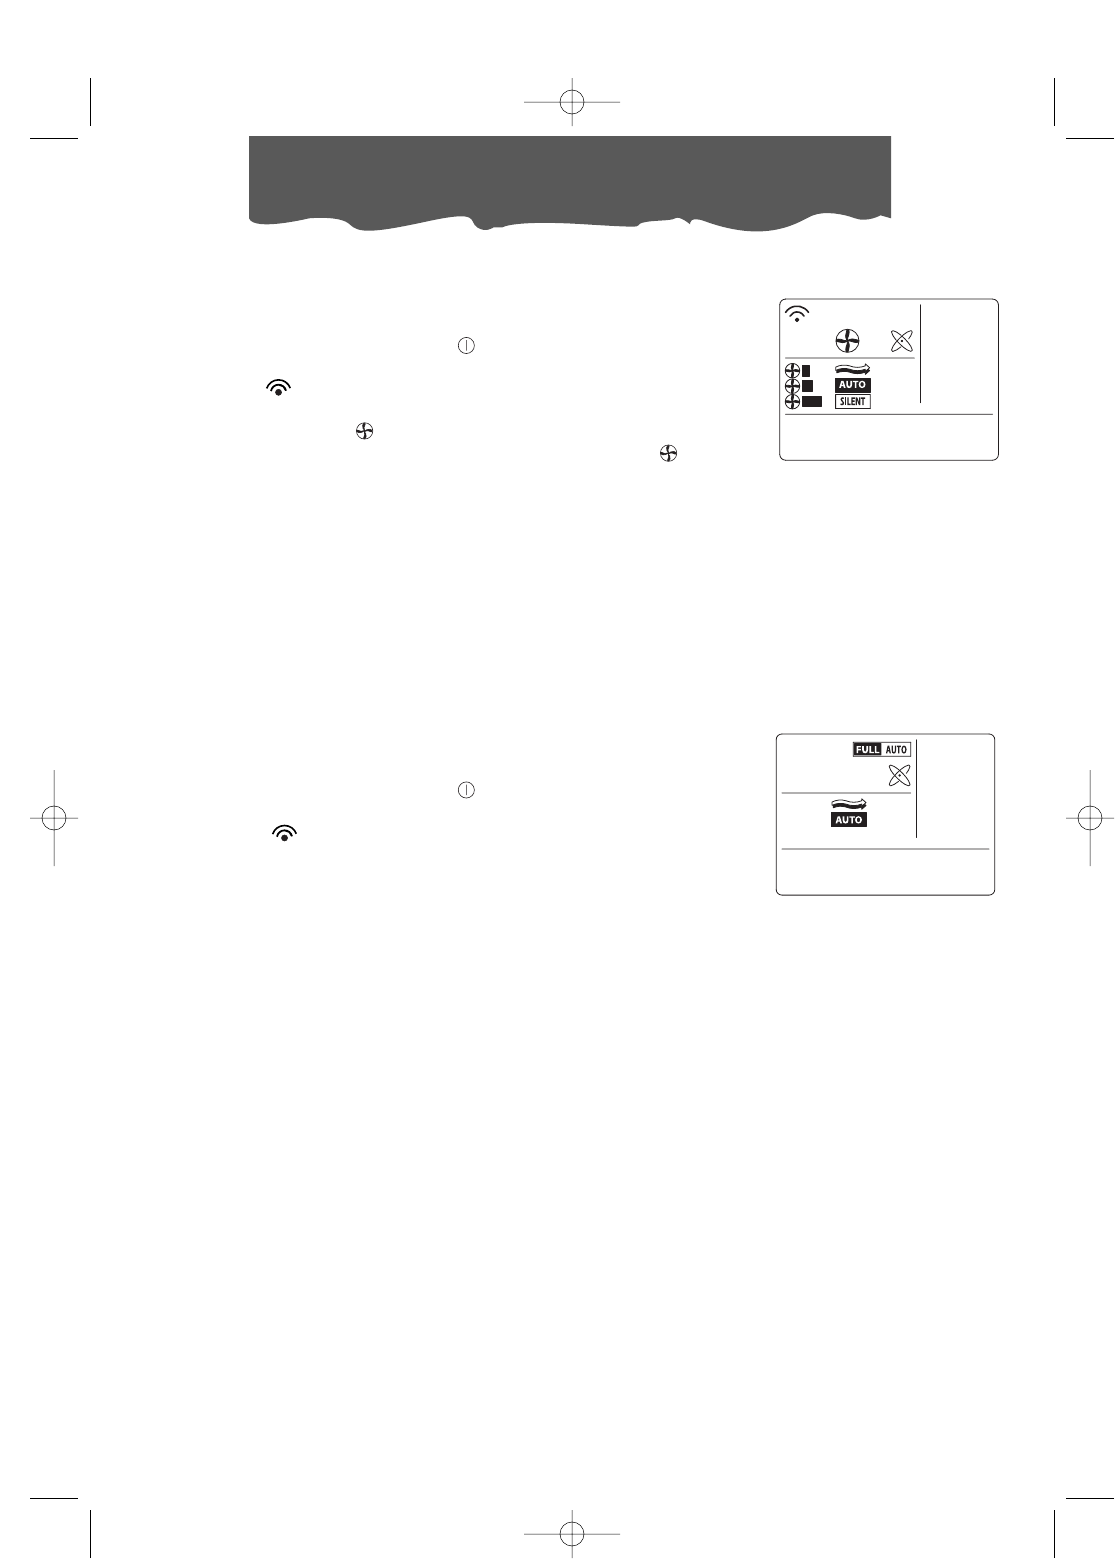
B. Symbolen van de verschillende functies
Airconditioning, ontvochtiging, ventilatie,
verwarming (niet voor alle modellen), vol
automatisch.
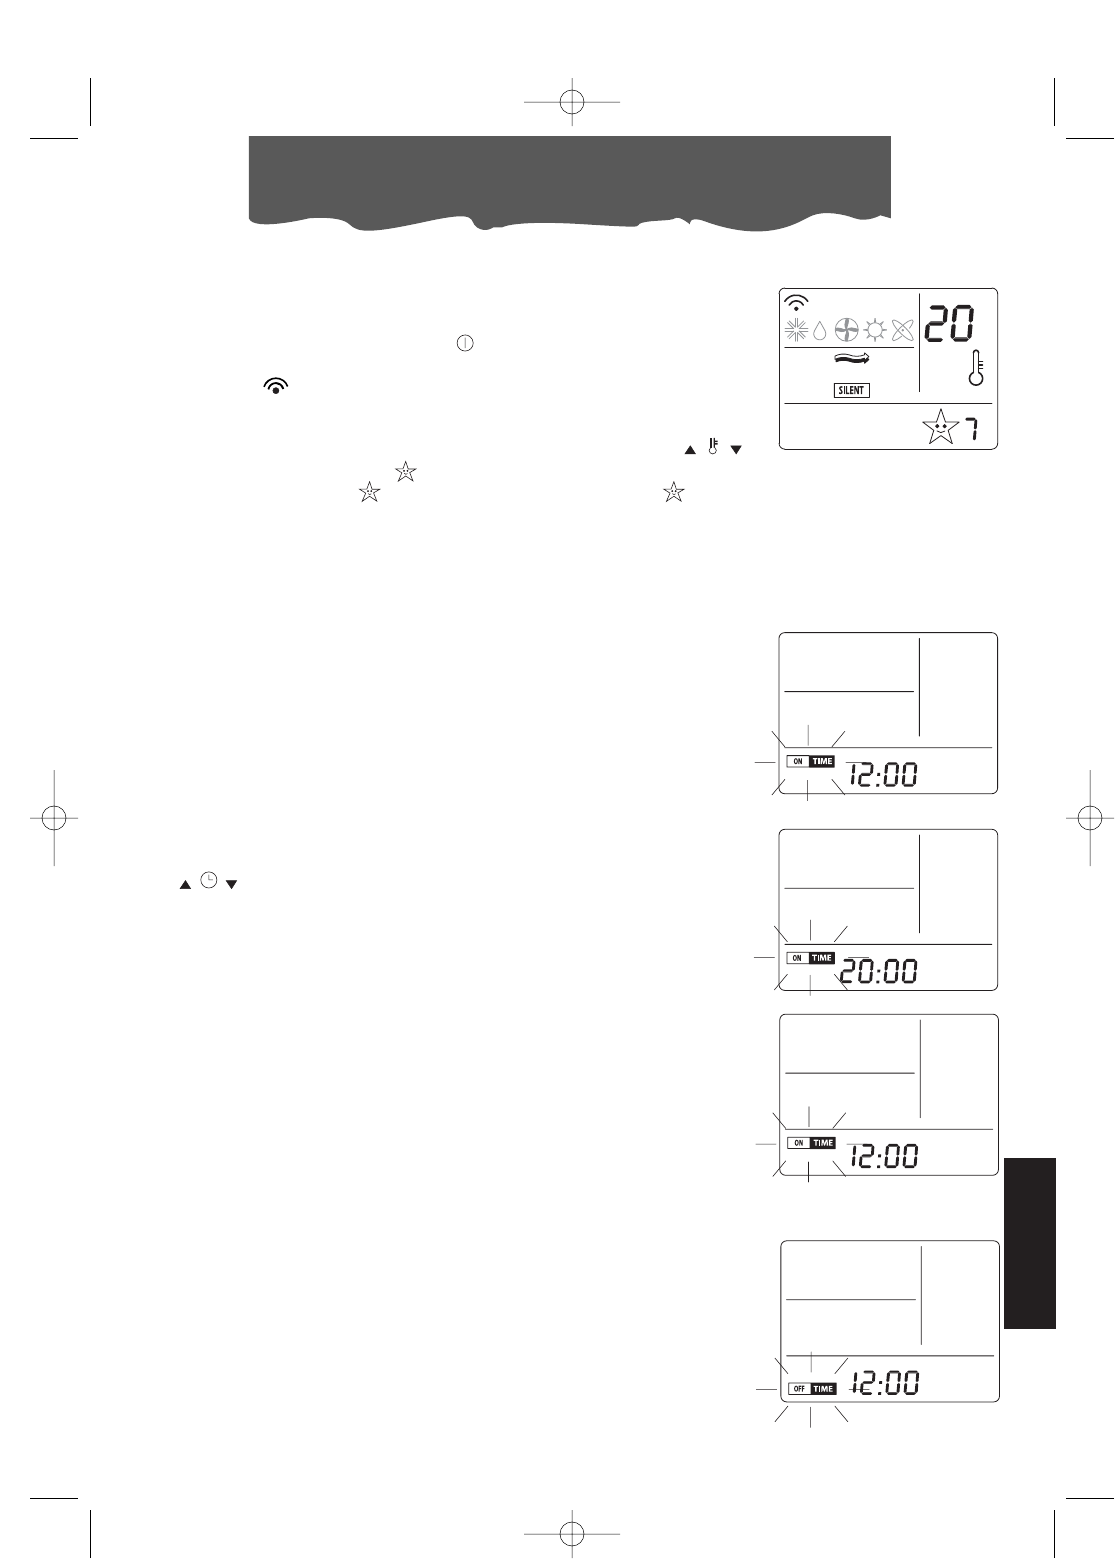
C. Omgevingstemperatuur
Geeft de temperatuur in de ruimte aan.
D. Ventilatorsnelheid
Geeft de verschillende snelheden aan:
minimum, gemiddeld, maximum, auto-
matisch en geruisloos
E. Timer aan en uit
Geeft de geprogrommeerde tijden aan
voor het aan-en uitgaan van de aircondi-
tioner.
F. Timer sleep/geruisloos
Geeft de gewenste uren aan tijdens
welke en sleep functie.
G. Aanduiding dat de batterijen aan vervan-
ging toezijn.
H. Zuivering van de lucht
Het symbool blijft zichtbaar omdat, wan-
neer de airconditioner aanstaat, de lucht
altijd gefiltreerd wordt.
I. Geprogrammeerde temperatuur
Geeft de geprogrammeerde temperatuur
aan.
J. De klok
Geeft de tijd aan.
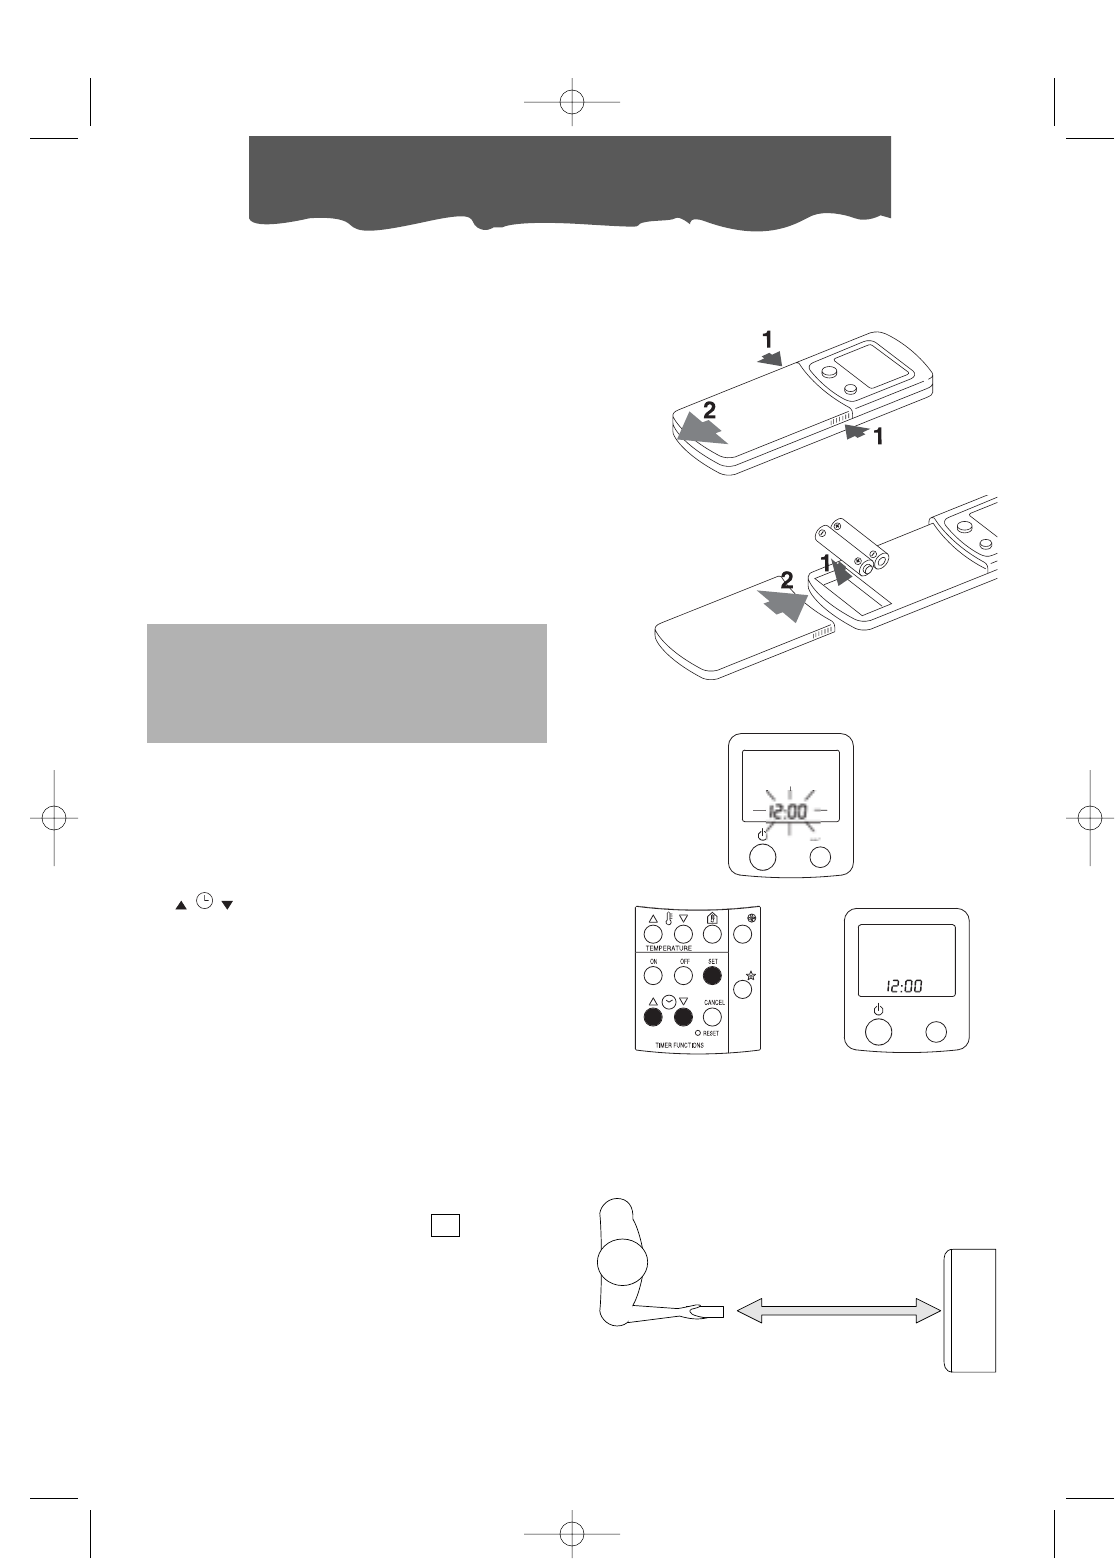
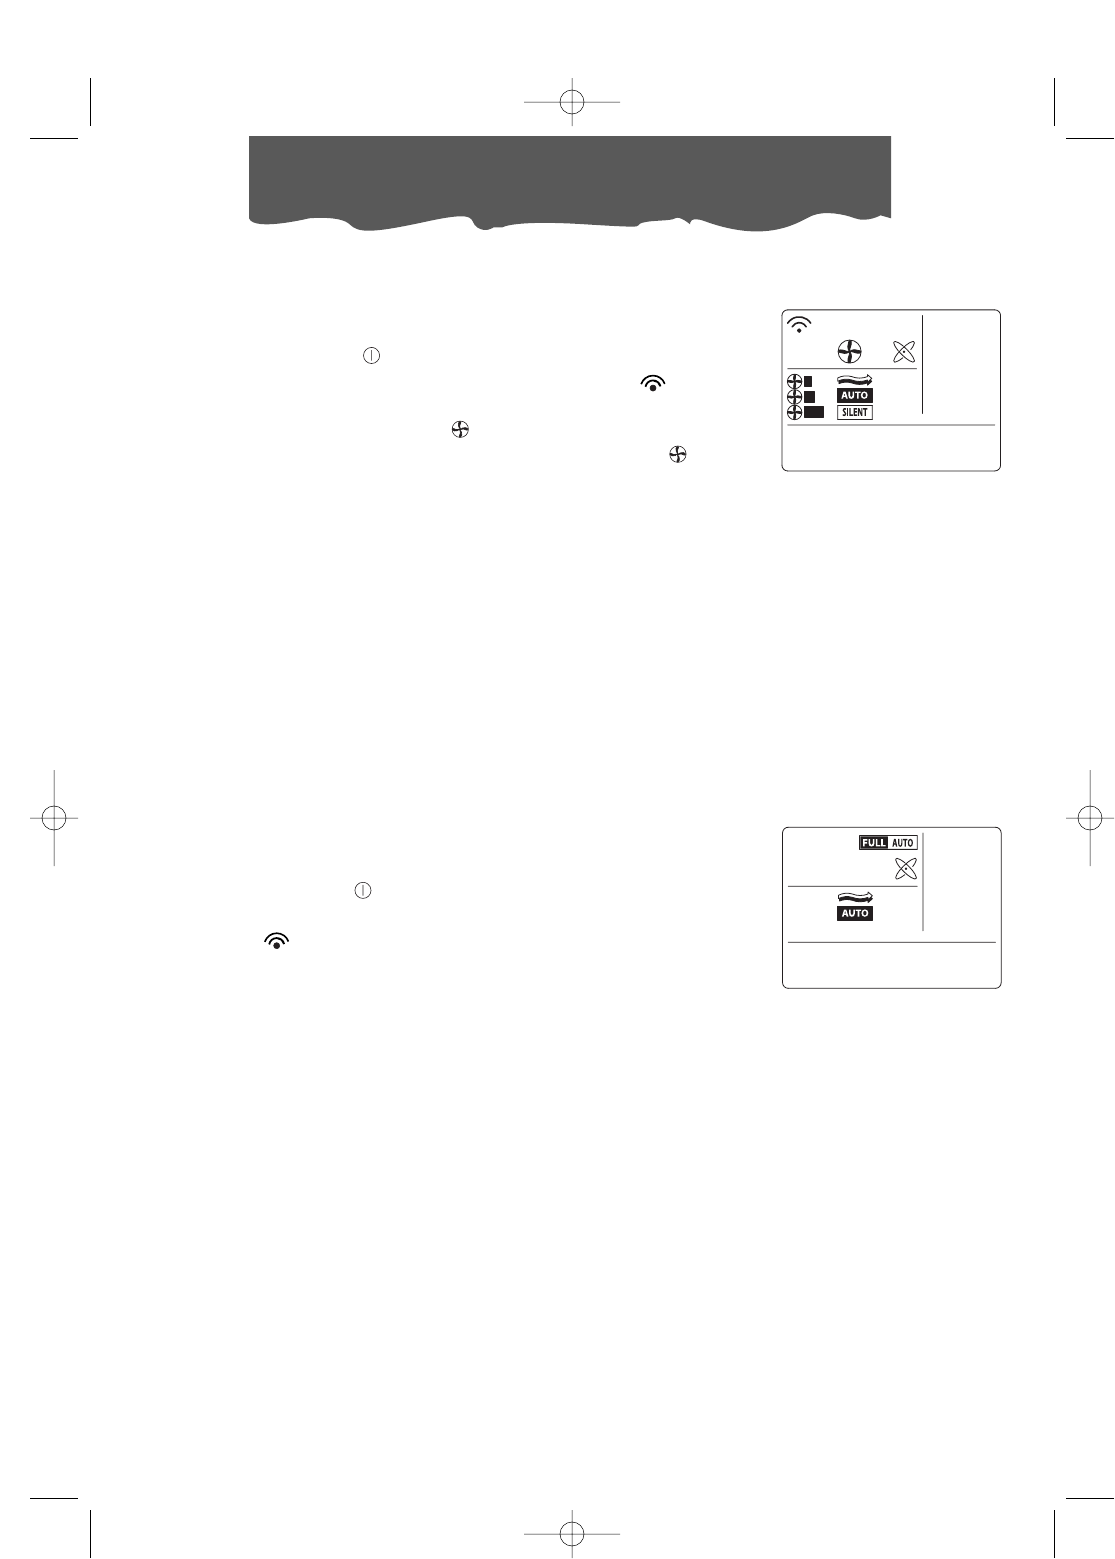
DE TIPTOETSEN
K. Aan/Uit
L. MODE: keuze van de functies
Door op deze toets te drukken worden de
verschillende functiemogelijkheden geko-
zen: airconditioning, ontvochtiging,venti-
latie/Zuivering, Verwarming (niet voor alle
modellen) en Full Auto.
M. Ruimte thermostaat.
Deze twee toetsen kiezen de gewenste
temperatuur in de ruimte,
N. Aanduiding omgevingstemperatuur
Deze toets geeft de huidige temperatuur
in de ruimte aan. Na ongeveer 4 secon-
den zal de voorheen geprogrammeerde
temperatuur weer verschijnen.
O. Keuze ventilatorsnelheid
Deze toets kiest de ventilatorsnelheid:
minimum, gemiddeld, maximum en auto-
matisch/silent.
P. SET: bevestiging klok of timer
Deze toets bevestigd de programmering
van de klok of van de Timer AAN/UIT.
Q. AAN/UIT Programmering Timer
Deze toetsen programmeren het aan- en
uitgaan van de airconditioner.
R. CANCEL: Annuleren van de timer.
Deze toets annuleert de programmering
van de Timer AAN/UIT
S. RESET
T. Programmering klok of timer
Deze toetsen programmeren de uren en
de minuten van de klok en van de timer.
U. Sleep
Deze toets stelt de nachtfunctie in.
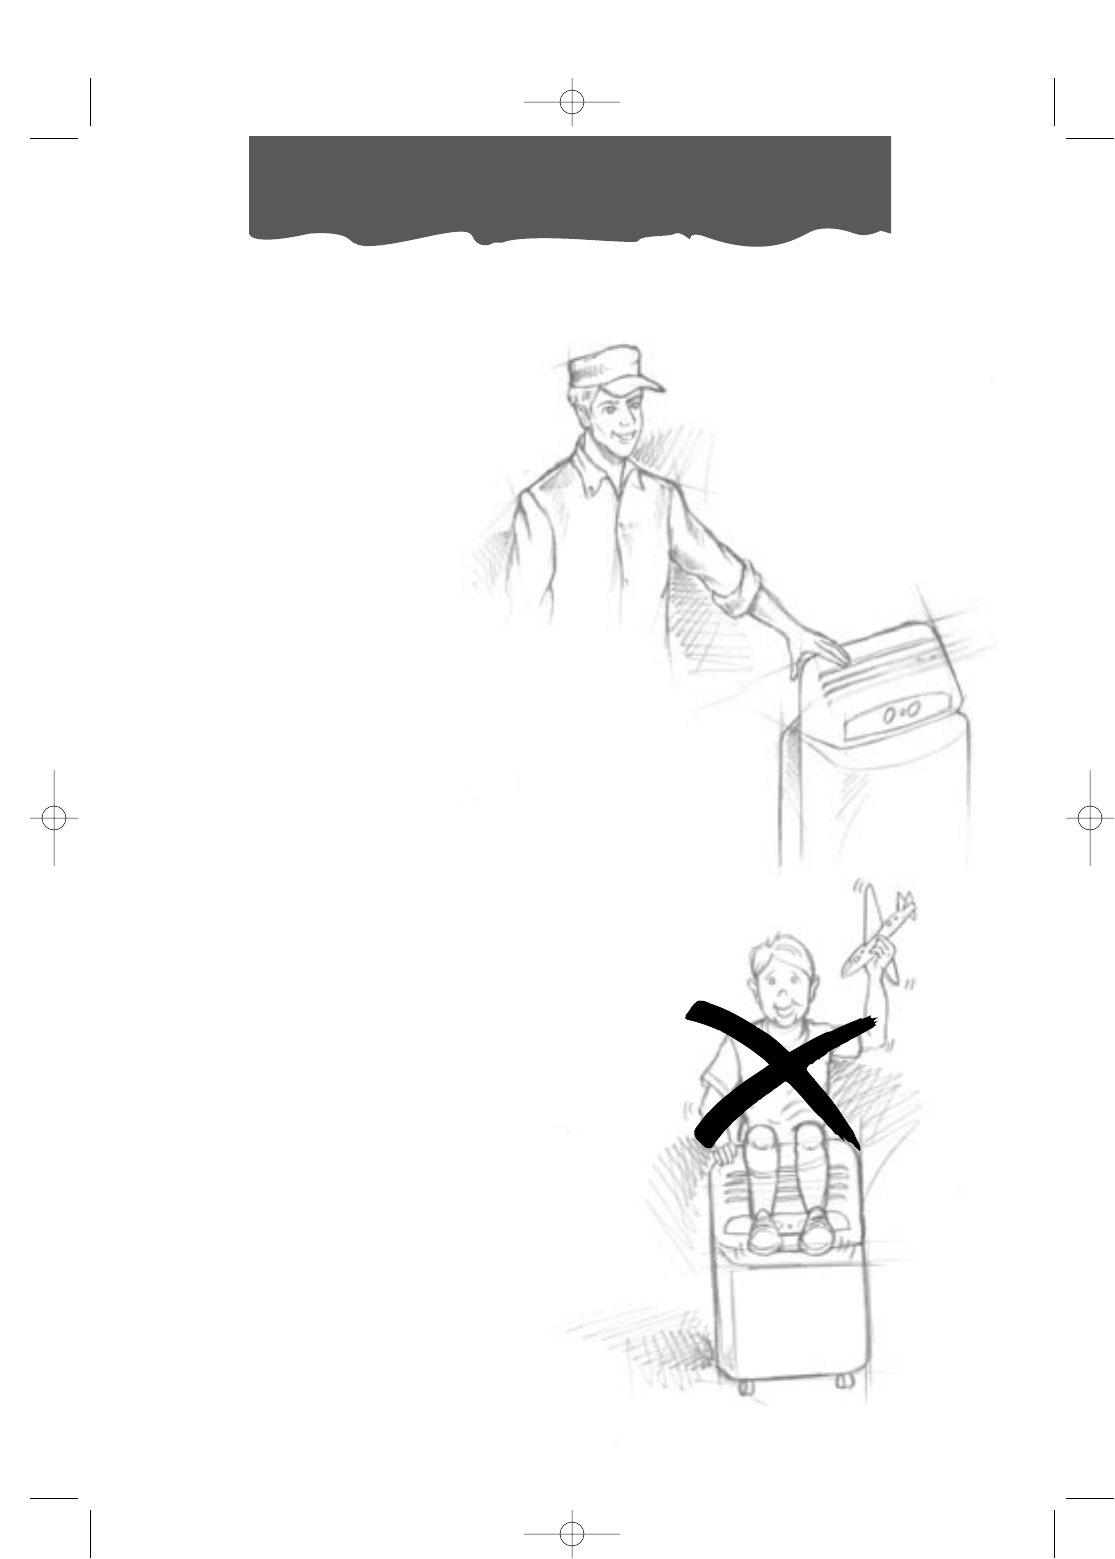
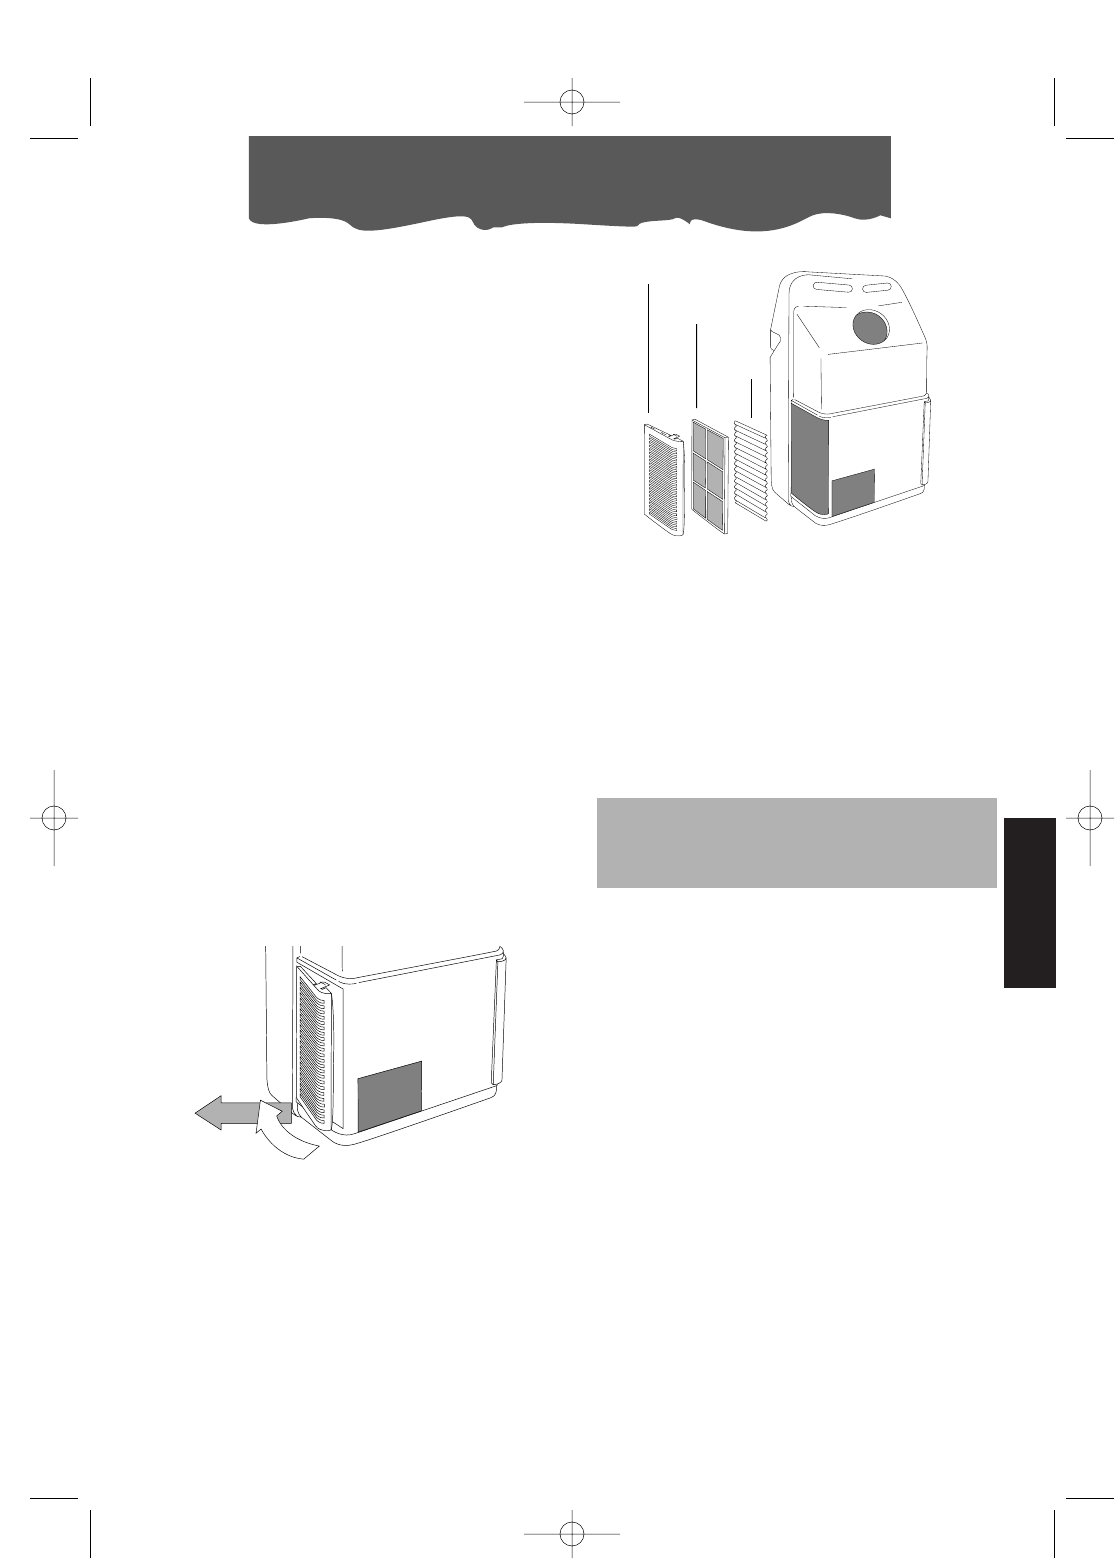
De vervanging van de voedingskabel mag alleen door geautoriseerd personeel worden uitgevoerd.
2
10