48
ENGLISH
3
CHAPTER 3: AUTOMATIC MODE
e - MEAT
Types of cooking possible
Notes / Tips
To defrost, respect these quantities: min. 600 g, max. 1600 g
To cook, respect these quantities: min. 600 g, max. 1600 g
NAME/RECIPE
LAMB
e01
Respect these quantities: min. 200 g, max. 800 g
FROZEN MINCED BEEF
e02
To defrost, respect these quantities: min. 600 g, max. 1600 g
To cook, respect these quantities: min. 600 g, max. 1600 g
RABBIT
e03
Respect these quantities: min. 200 g, max. 800 g
FROZEN STEAK/CHOPS
e04
To defrost, respect these quantities: min. 400 g, max. 1000 g
To cook, respect these quantities: min. 400 g, max. 1000 g
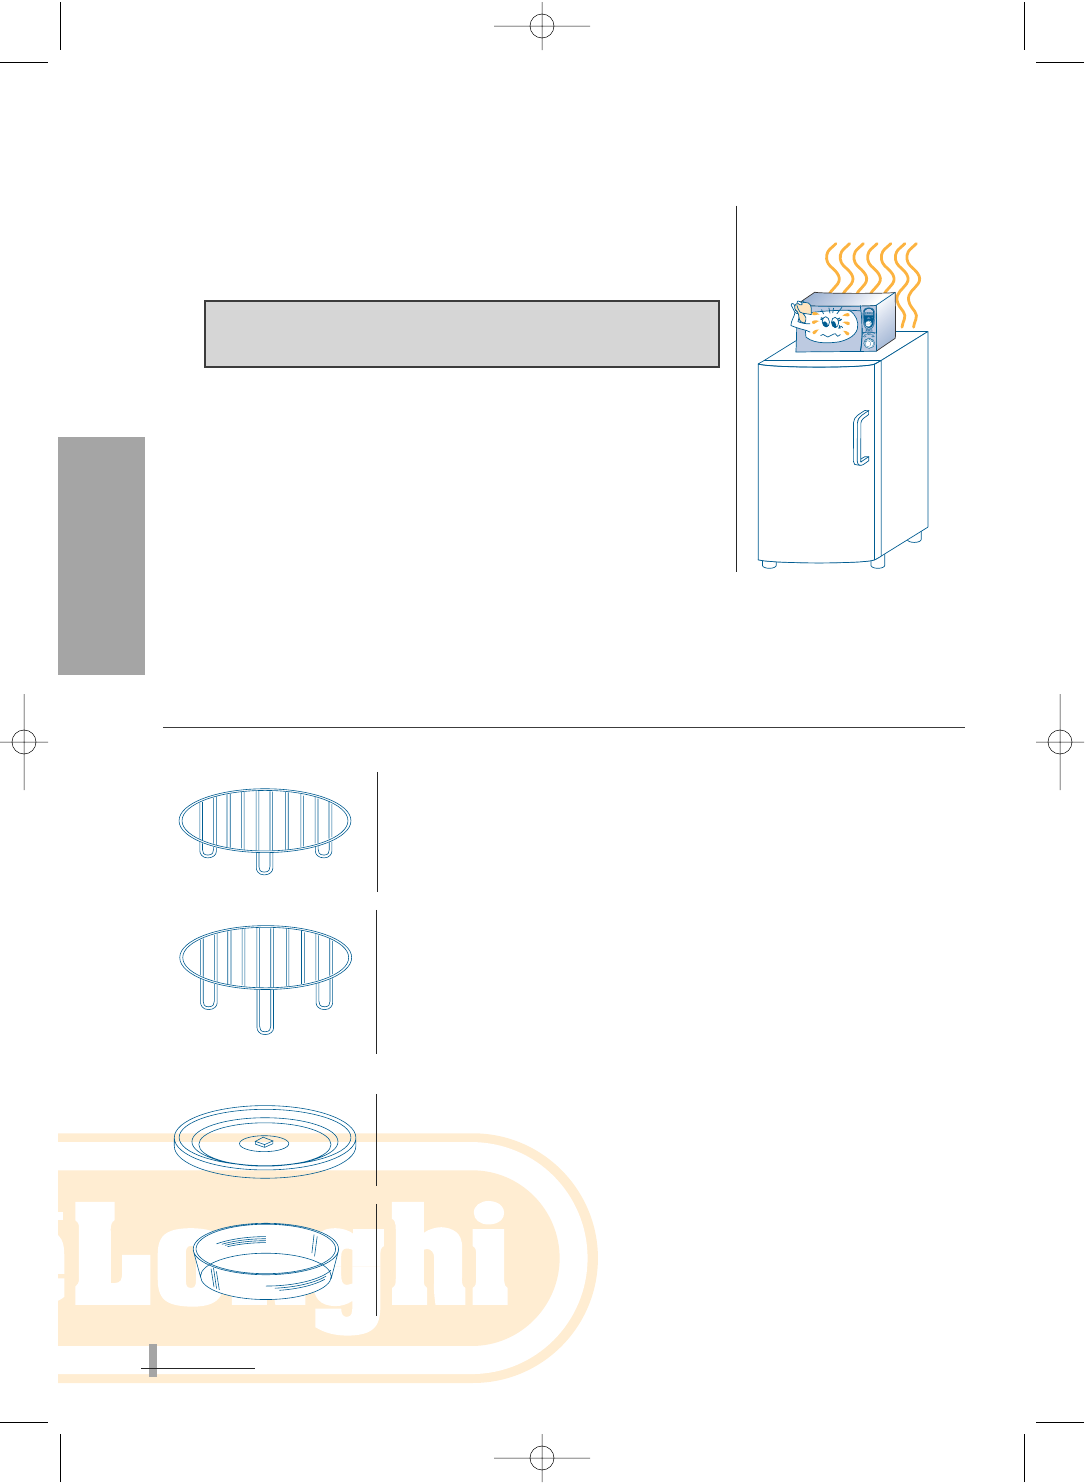
Position the container and accessories as indicated in photograph 17
in the Quick Reference Guide
GOULASH/CASSEROLE
e05
To defrost, respect these quantities: min. 800 g, max. 1500 g
To cook, respect these quantities: min. 800 g, max. 1500 g
To obtain a take cooking, we suggest you to turn knob 4 anticlockwise
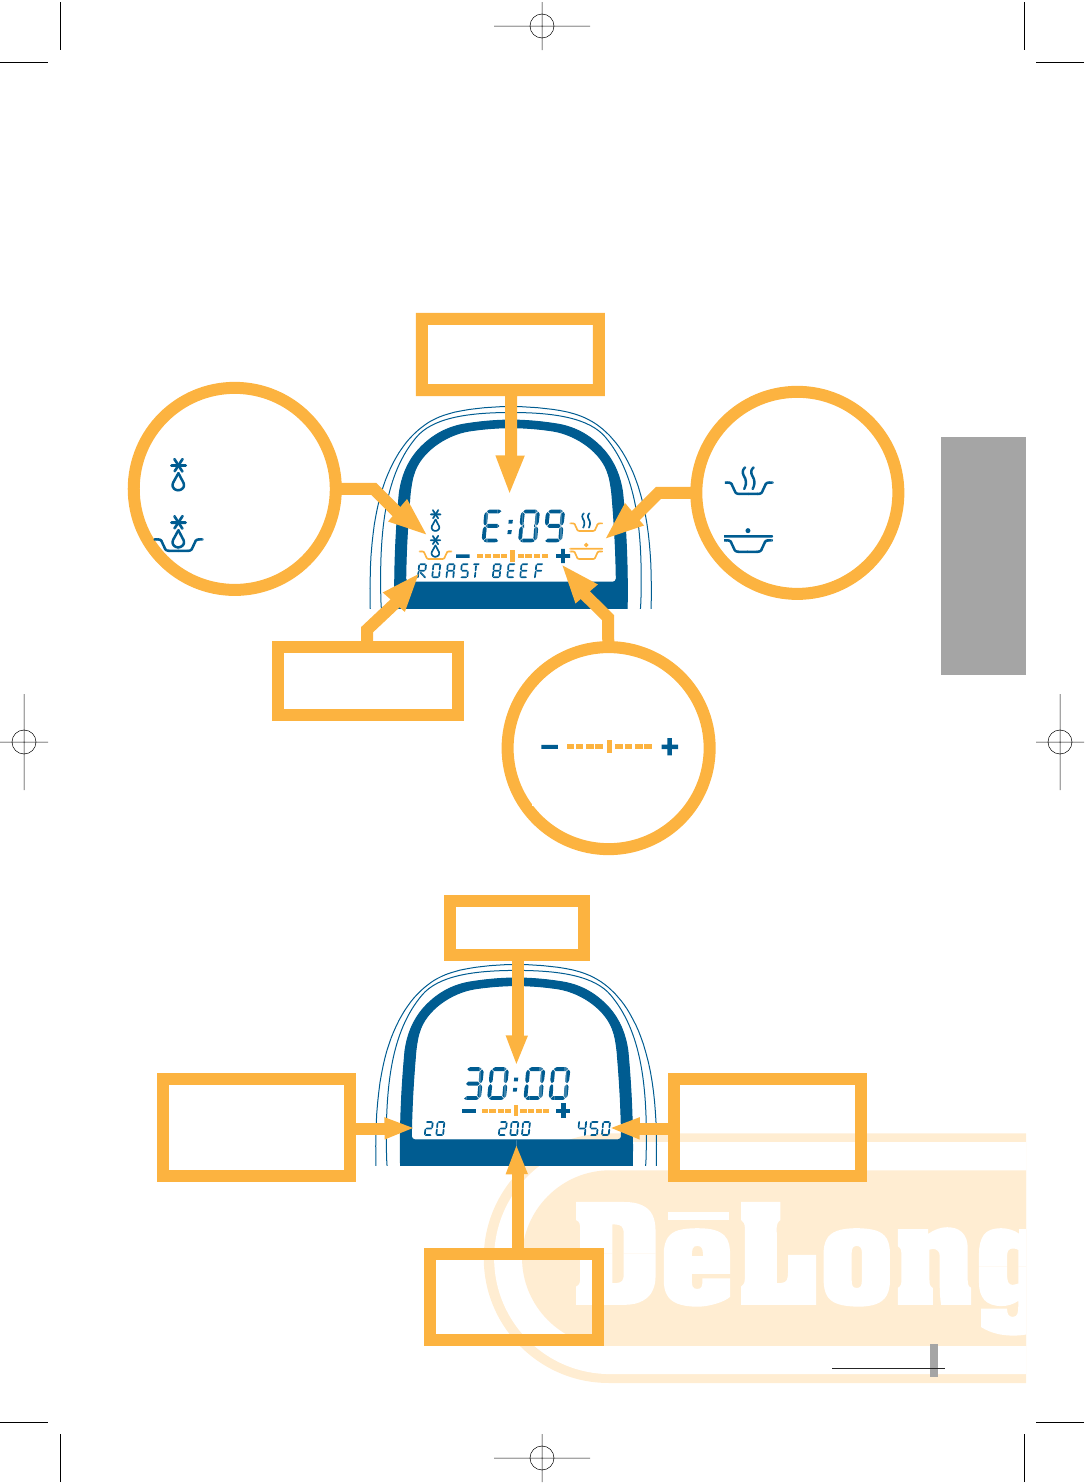
ROAST BEEF
e09
To defrost, respect these quantities: min. 500 g, max. 1500 g
MEAT LOAF
e08
To defrost, respect these quantities: min. 600 g, max. 1600 g
To cook, respect these quantities: min. 600 g, max. 1600 g
LOIN CHOP
e06
To defrost, respect these quantities: min. 600 g, max. 1600 g
To cook, respect these quantities: min. 600 g, max. 1600 g
ROAST PORK
e07
RECIPE
CODE
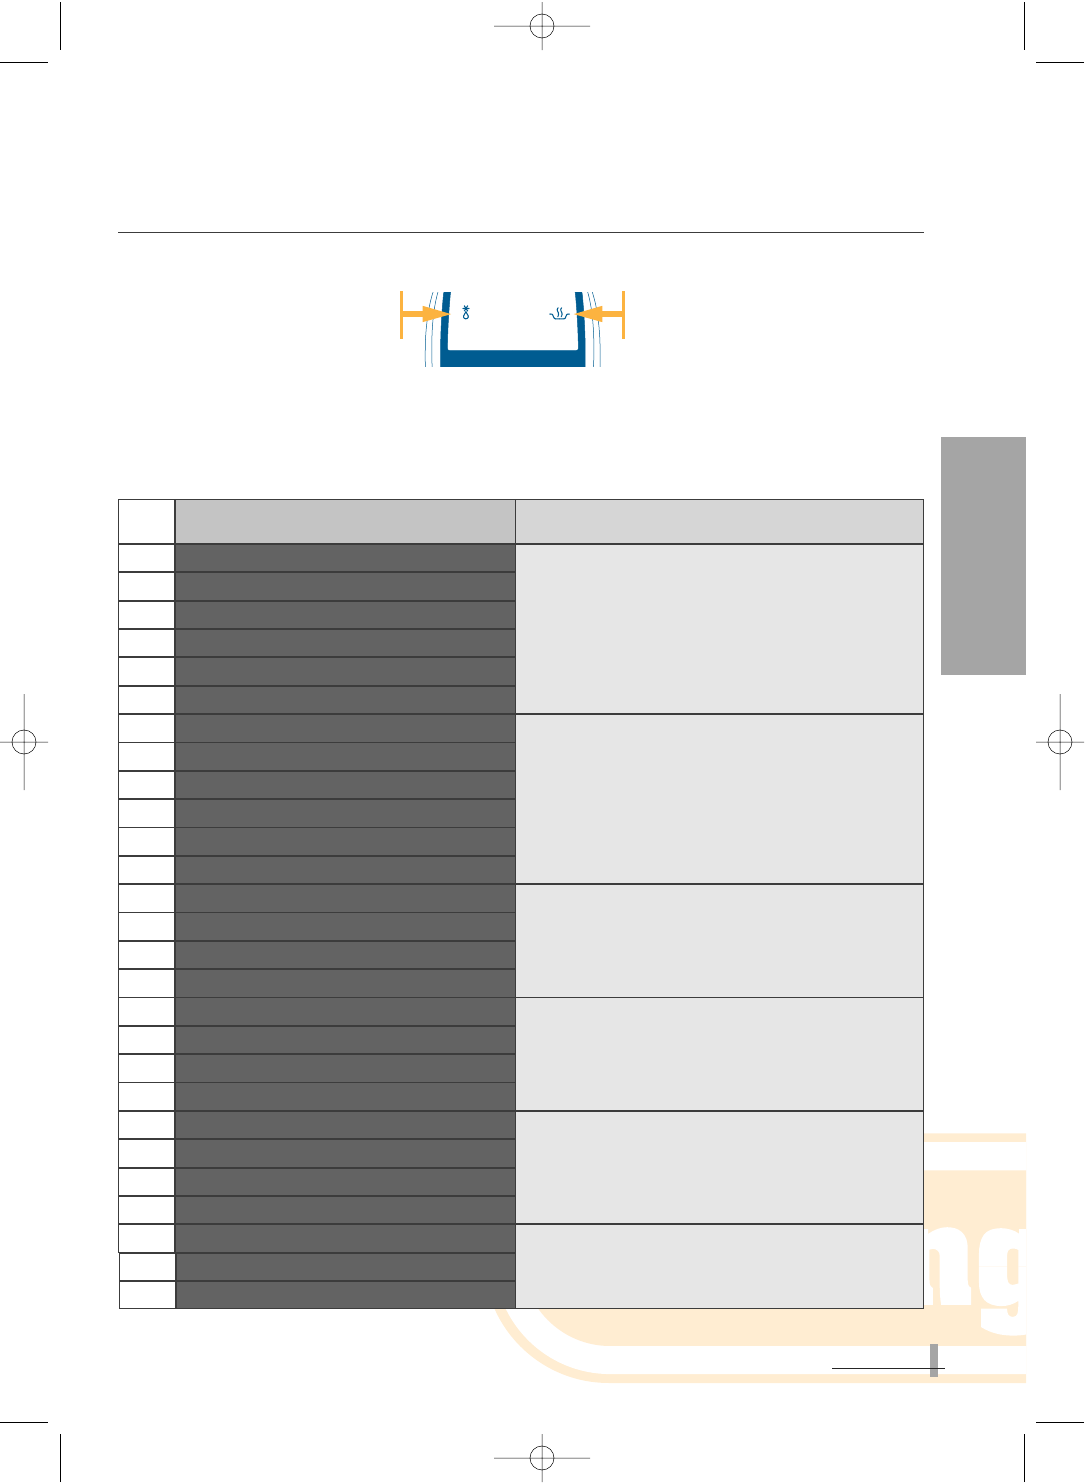
DEFROSTING
• To defrost slices of meat (for
example, steak, stew hamburgers
etc.) select recipes E02, E04 or E05
only (quantities: min. 200, max.
800). To defrost large pieces of
meat (for example, roasts, etc.)
select other recipes (quantitites 500
min., 1500 max.).
• Place the meat directly on the
turntable (H), without using the low
wire rack (F) and without a container
as shown in figures 13 and 14 i the
Quick Reference Guide.
• Halfway through defrosting, you will
hear a beep and the message
“REMEMBER TO TURN OR STIR
THE FOOD” willl appear on the
display.
REHEAT
• To reheat preécooked
portions of meat, select one of
the recipes from A01 to A04
(according to weight).
COOK
• All cooking for this family should be done using
the ovenproof dish (L) provided. Add 1/2 glass of
water and season as required. To avoid spittin,
keep quantities of oil and wine to a minimum.
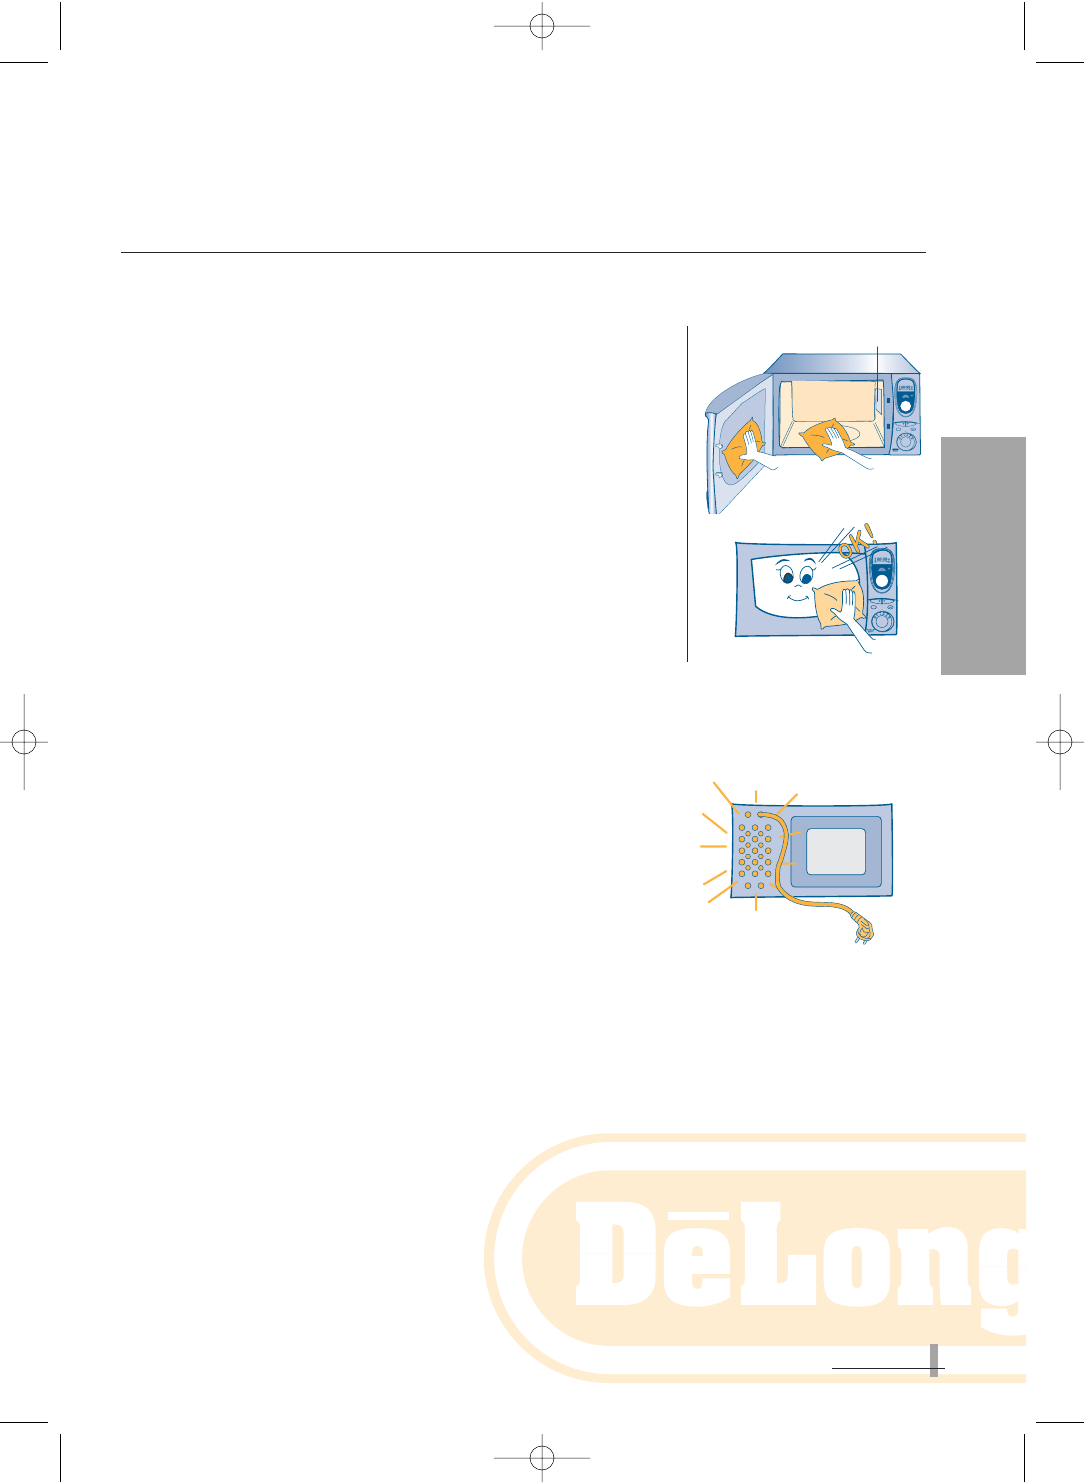
• Never cover (see photograph 16 of the Quick
Reference Guide).
• Always place the ovenproof dish or container on
the low wire rack (F) as shown in photograph 15
of the Quick Reference Guide.
• Halway through defrosting, you will hear a beep
and the message “REMEMBER TO TURN OR
STIR THE FOOD” will appear on the display.
• When half cooked, add 100 gr. water.
To defrost, respect these quantities: min. 200 g, max. 800 g
To cook, respect these quantities: min. 400 g, max. 1000 g
ROAST VEAL
e10
To cook (min. 500, max. 1500 g) other tupes of meat notect theze
quantities: min. 500, max. 1500 g.
OTHER MEAT
e11