MY MODE (Cuckoo Customized Taste Function)
The display for My Mode
This is a graph that shows the flavors of 16 types of cuckoo custom-made rice
If you press the
‘MODE’
button 5times, customized cooking function is setup. At this time, a voice comes up
saying “Setting mode for My Cook. Select menu with ‘MENU/SELECTION’ button then press the ‘SET’
button”. You can see all means with cuckoo customized cooking function on the display.
*1. The rice becomes solid and glutinous.
*2. The rice becomes soft and well-raised rice.
*3. The rice becomes soft and glutinous.
Note: Rice taste number from 1 to 16 will be displayed on the display window.
How to use Cuckoo Customized cooking function
1. ‘CUCKOO customized cooking function’ applies to GLUTIN. RICE, HIGH HEAT GLUTIN. RICE, TURBO GLUTIN. RICE, MIXED RICE, HIGH HEAT MIXED
RICE, TURBO MIXED RICE, BLACK BEAN RICE, BROWN RICE, HIGH HEAT BROWN RICE, GABA RICE, NUTRI. RICE, HIGH HEAT NUTRI. RICE collectively.
2. Set up the step of customized cooking function to taste. The scorch can occur when cooking in high level mode.
3. Cook is subject to be set differently depending on the percentage of water content and the condition of rice.
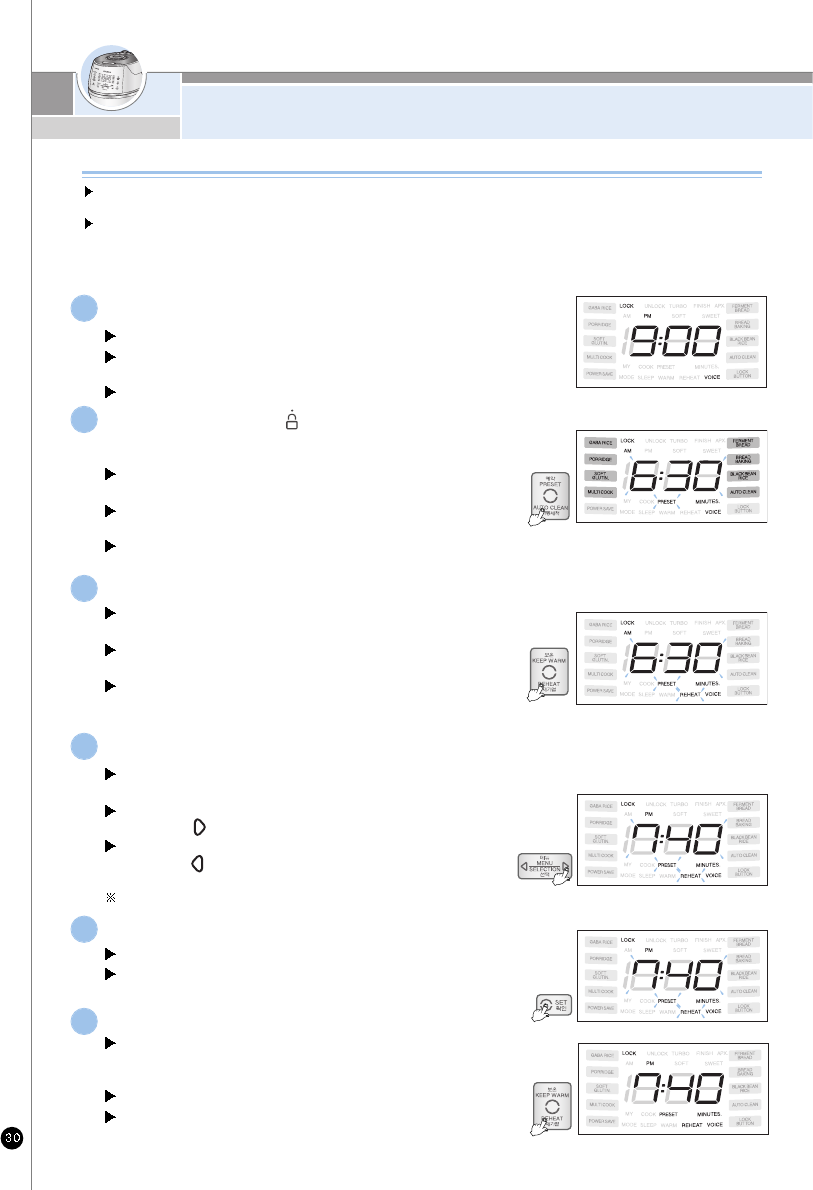
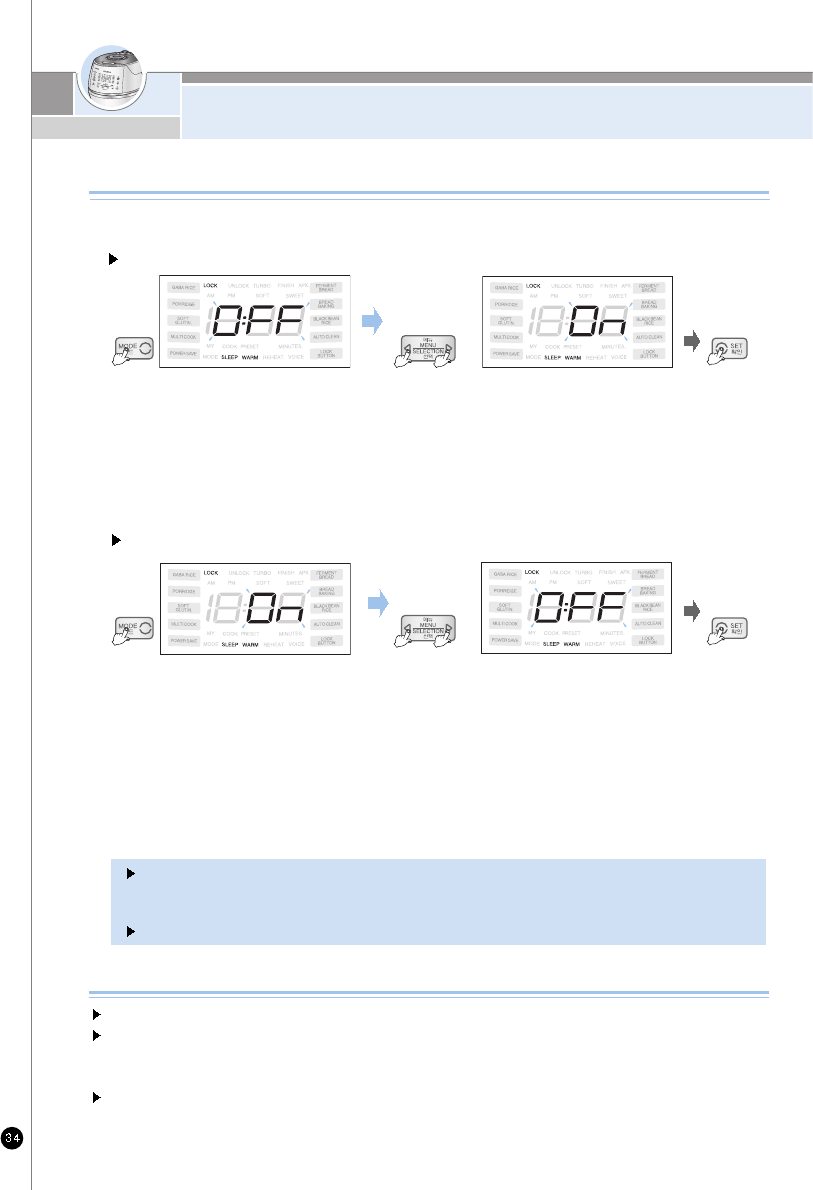
Make the screen changed by pressing
‘MENU/SELECTION’ button.
‘SET’ button will blink, and ‘MY’, ‘COOK’, ‘MODE’,
‘MENU/SELECTION’, and ‘CANCEL’ buttons will
turn ON.
Keep pressing the button, and the menu will switch
continuously.
Push the
‘MENU/SELECTION’ button, then the screen
will be changed as above picture.
‘SET’ button will blink, and ‘MY’, ‘COOK’, ‘MODE’,
‘MENU/SELECTION’, and ‘CANCEL’ buttons will turn ON.
Keep pressing the button, and the menu will switch continuously.
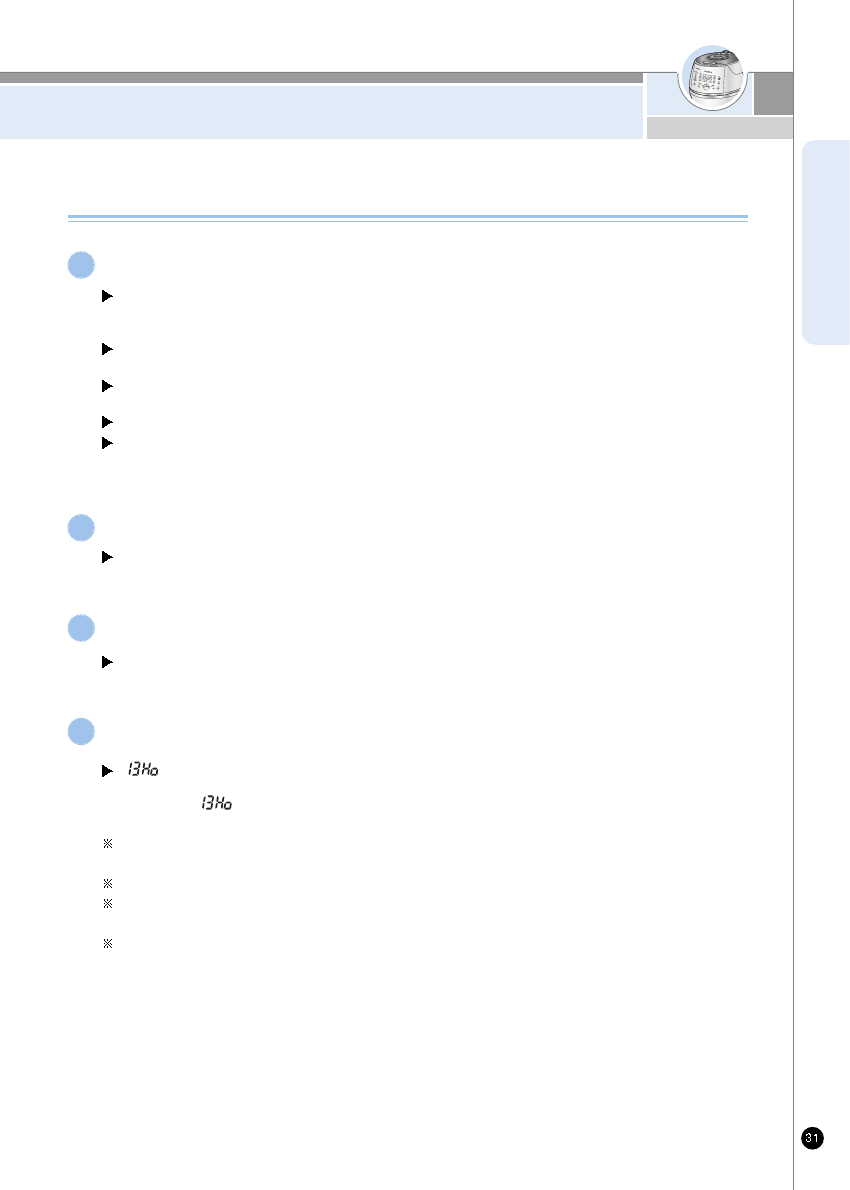
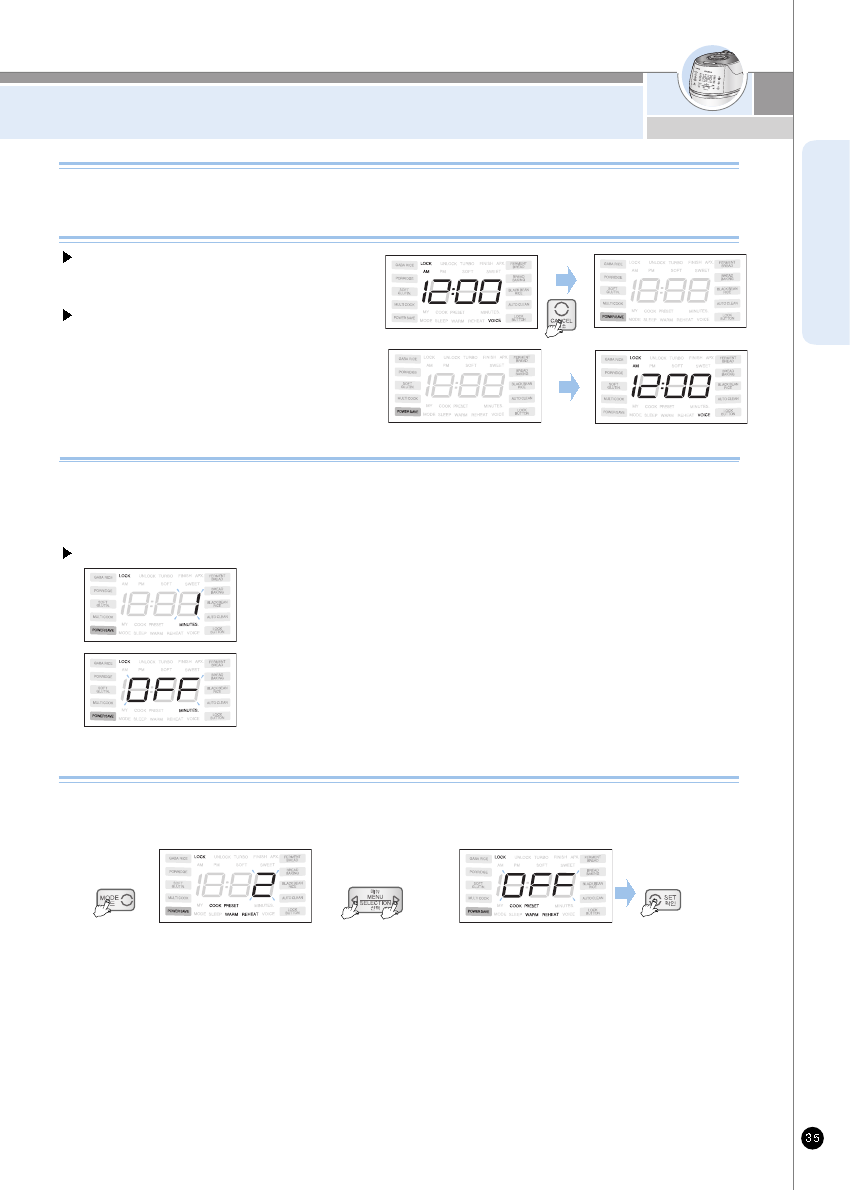
High level mode
If you press the ‘SET’ button to
complete your customized
cooking. (If you press ‘CANCEL’
or do not press a button within
7 seconds, the function will
deactivate and return to the
standby mode.)
Setting completed
screen after
Low level mode
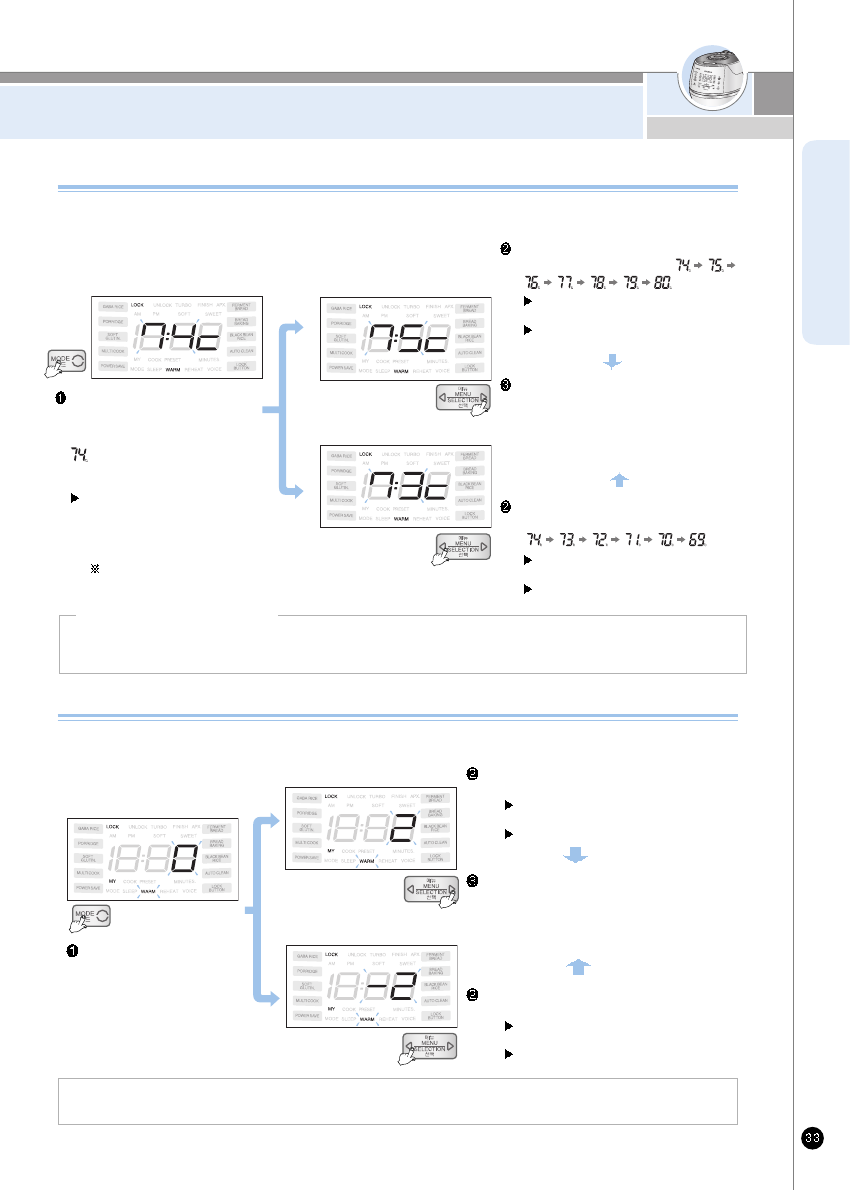
Shown in the figure above, the stage mark will show up on the display during setting swelling time, heating, and maintenance time.
The mark will continue to show up during cooking, reservation, keeping warm, and reheating as well.
Cuckoo customized taste function is applied to glutinous, mixed, GABA, old rice, Nu Rung ji.
Set-up times is stored until the next reset. No need to set-up at every cooking.
During cooking, warming and preset time cooking modes, “soak” and “heat” time cannot be readjusted.
SOAK : 1STEP, HEAT : 1STEP
SOAK : 4STEP, HEAT : 1STEP SOAK : 1STEP, HEAT : 4STEP
4step
3step
2step
1step
4step
3step
2step
1step
1. ‘MY MODE’ function may influence scorching or cooking quality. Ensure that cooking time is not
changed, by children.
Default settings are “SOFT” 1 step, “SWEET” 1 step.
2. ‘MY MODE’ function may elongate cooking time according to the set-up time.
3. Scorching of rice may occur by longer “HEAT” Time.
Cautions
Initialization is set up “ ” get step by step as the case may be.
- High step : for cooking cereals, old rice and soft-boiled rice.
- Low step : for cooking the year’s crop of rice.
While cooking you can control the heating temperature (both high an low) depending on, your prefenence.
Cuckoo customized cooking function
HEAT
4step
3step
2step
1step
1step
2step
3step4step
SOAK
The display Cuckoo
customized cooking function
If you push the mode button 5
times, the display for customized
cooking function will be set up.
Initiation is like above picture.
Menu/Selection button will blink, and Mode,
Set and Cancel buttons will turn ON.
“MY MODE” setting screen
Select menu you want with menu/select
button and press the set button.
Press “Set” button to set to menu.