SAFETY PRECAUTIONS
7
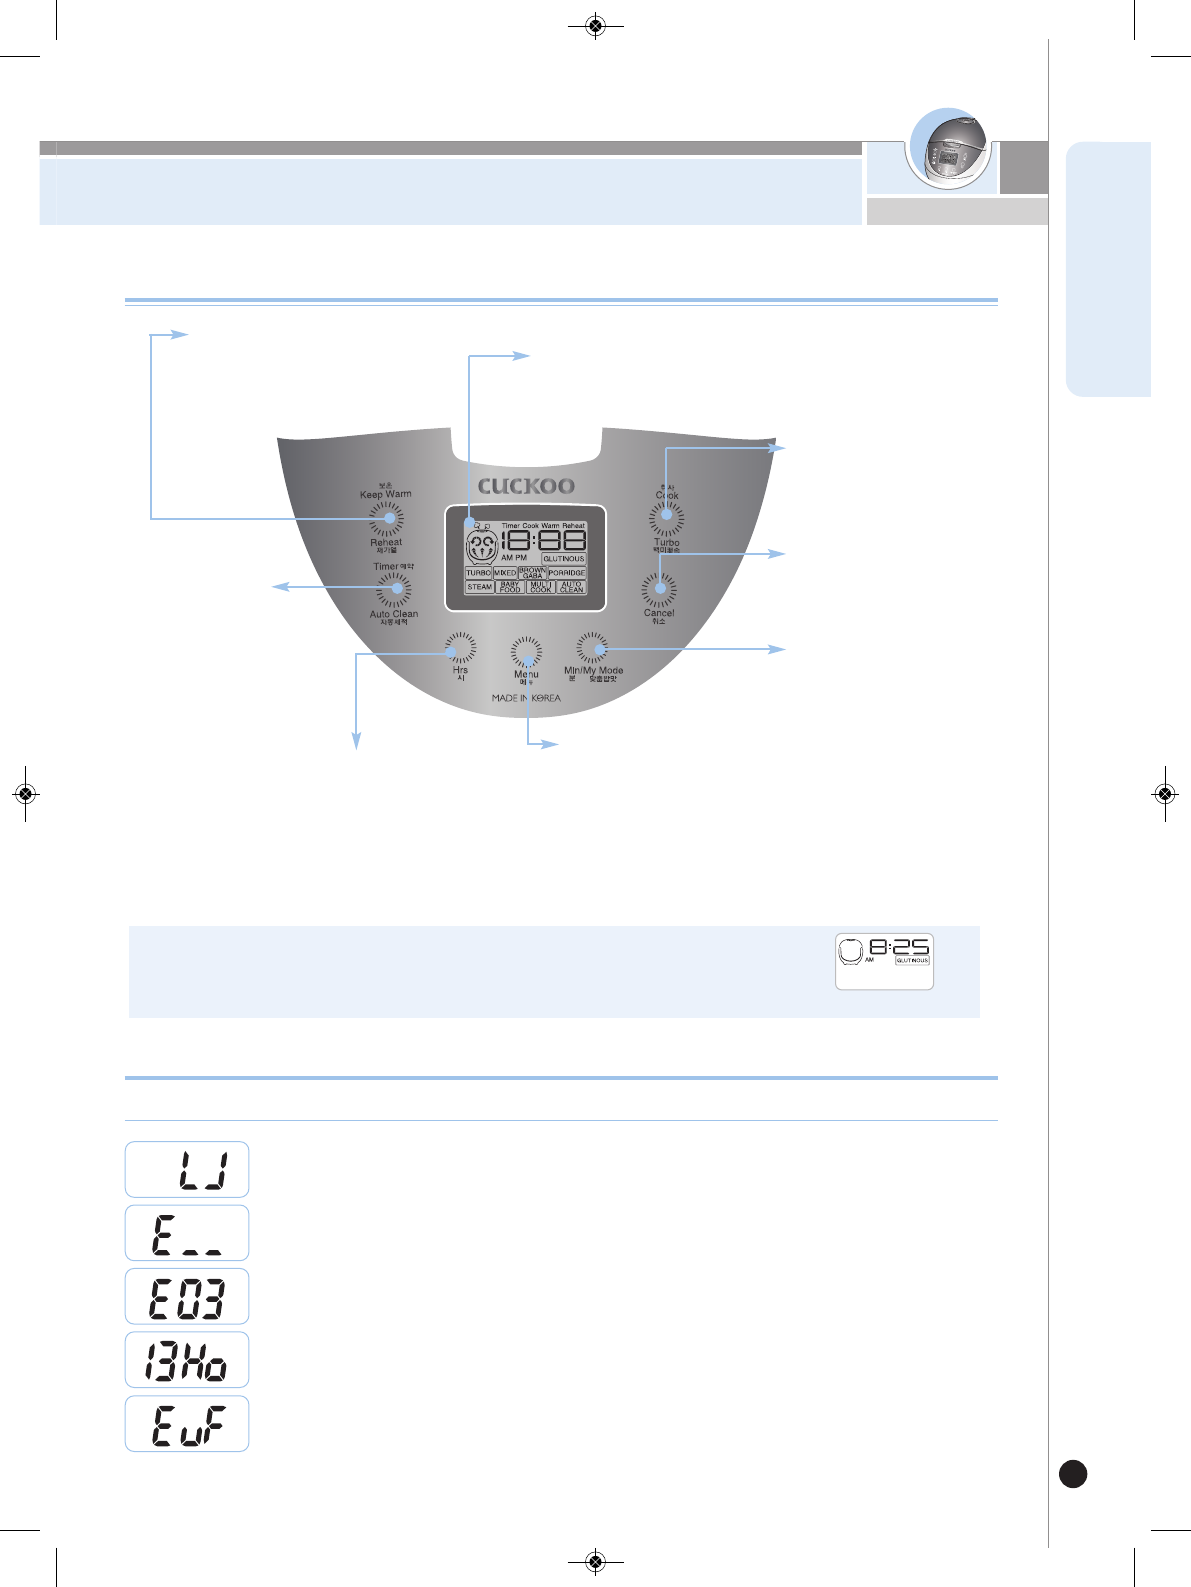
www.cuckoo.co.kr
ENGLISH
Please clean the body and other parts after
cooking.
•If you cook and warm rice after making a steamed dish, the smell may per-
meate the rice.
•Refer to Page 15 and clean it before use.
To clean the product, wait until it cools down.
•It may cause a burn by touching the heated part.
When you clean the product, wash the Inner Pot and the
Detachable Cover with neutral detergent, and dry them.
Wipe the product with a dry and clean cloth, and dry it.
Be careful with burn due to the steam and heat from
the inside of the product immediately after cooking.
After cooking, wipe out the water remaining in the product.
•It may cause a burn by touching the heated part.
•Wipe out the water remaining in the tray of the product.
Do not place on rough top or tilted top.
•It may cause fire or malfunction.
•Be careful not to be caught in the Power Cord with hands, feet, or other ob-
jects and fall on the product.
Please pull out the plug when not in use.
•
It may cause electric shock, electrical short, and fire due to the low-
ering of the insulation performance.
Do n
ot touc
h th
e
me
tal
l
i
c su
r
face
of th
e
in
n
er pot
a
n
d h
e
a
ti
n
gpl
a
te
a
fte
r
c
ooki
n
g or
w
a
r
mi
n
g
•
You may get a burn by heat.
Please contact dealer or service center when strange smell or smoke occur.
Do NOT use near wall or furniture. Otherwise wall or
furnituremay be damaged, discolored or deformed
due to vapor or heat.
•When using in drawer cabinet etc, ensure that no vapor entersit.
Please surely pull out the plug when not in use.
•
It can cause electric shocks or fire.
•
Use AC 120V only.
Do not drop or impact the cooker.
•It can cause a safety problem.
•Do not apply excessive force to or drop the product.
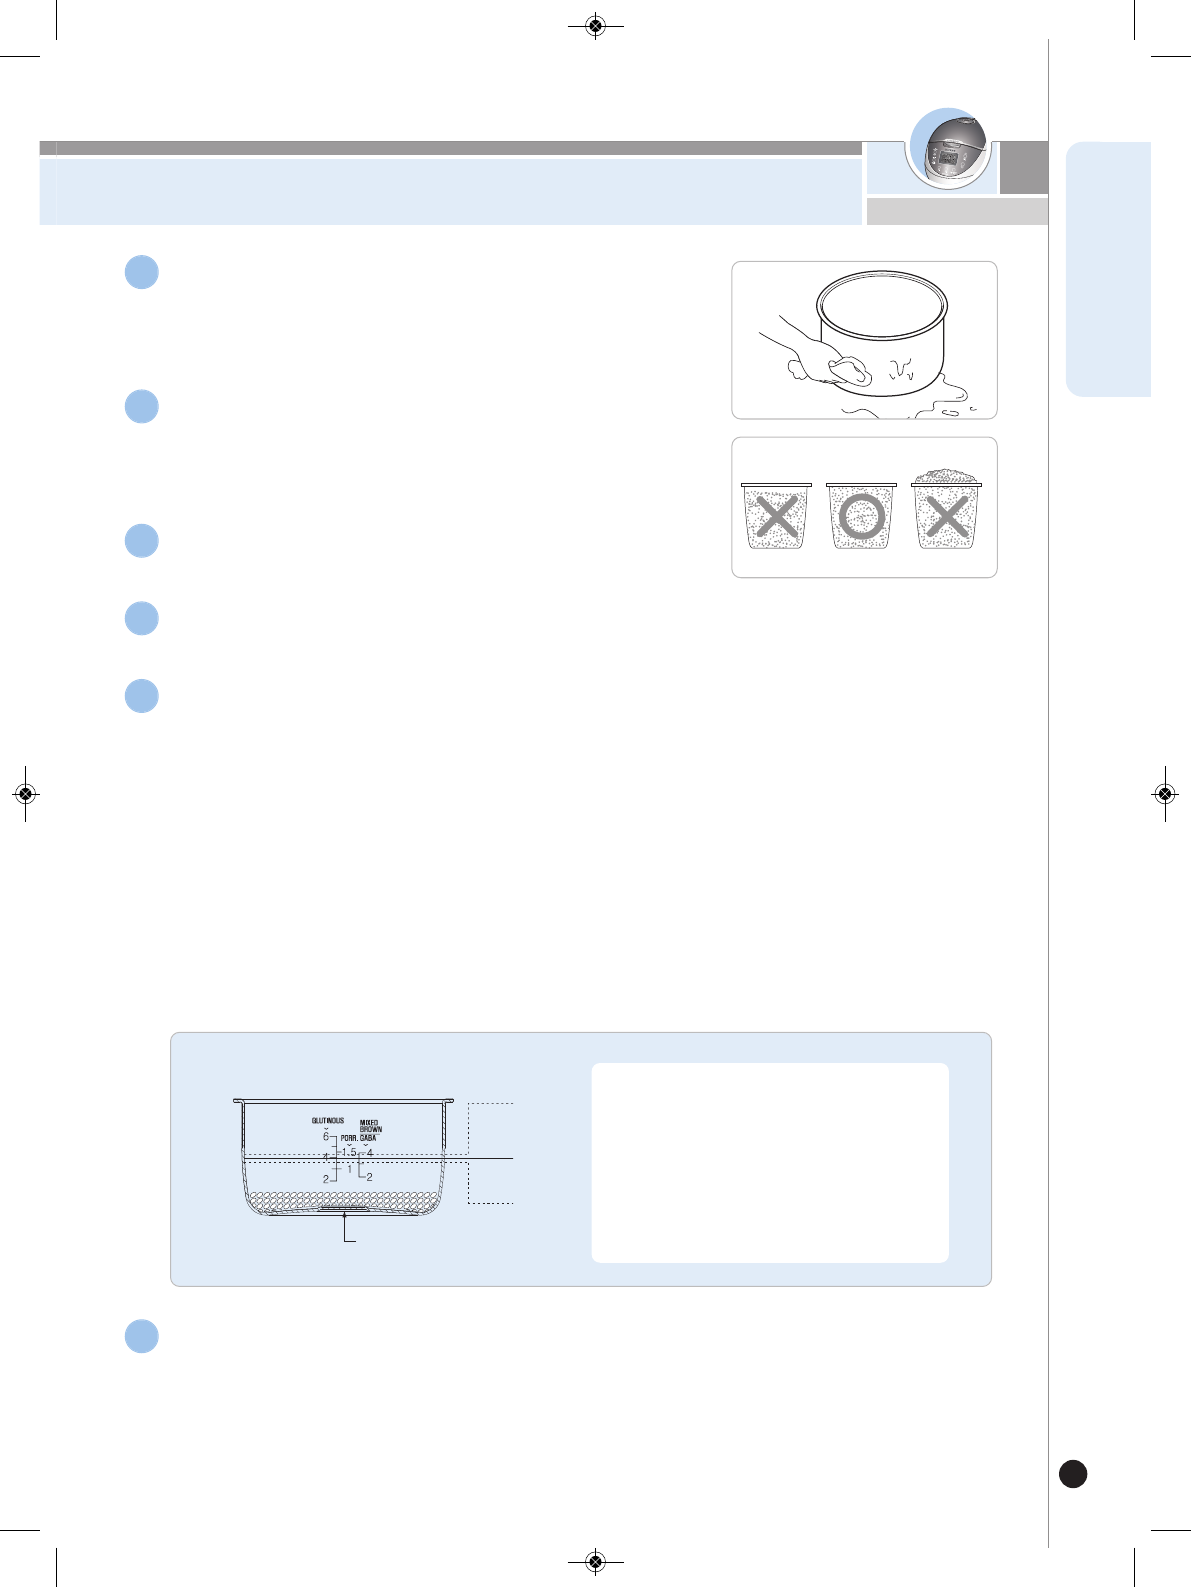
Do not use over the maximum capacity.
•It can cause overflow or breakdown.
•Do not make porridge over the designated amount.
Don’t use for various purpose for inner pot. And do
not heat up the inner pot on the gas stove.
•The Inner Pot may be deformed or the coating may be peeled off which may
cause a malfunction.
The Inner Pot coating may be peeled off.
•
Inner pot coating may wear away after long use.
•When cleaning the inner pot, do not use tough scrubber,metallic
scrubber, brush, abrasive metallic etc.
Please avoid using it on an unstable location easy to
be fallen down.
•It can cause a transformation or a fire. •It can cause burns or breakdowns.
•Be careful to install the power cord which does not disturb to pass.
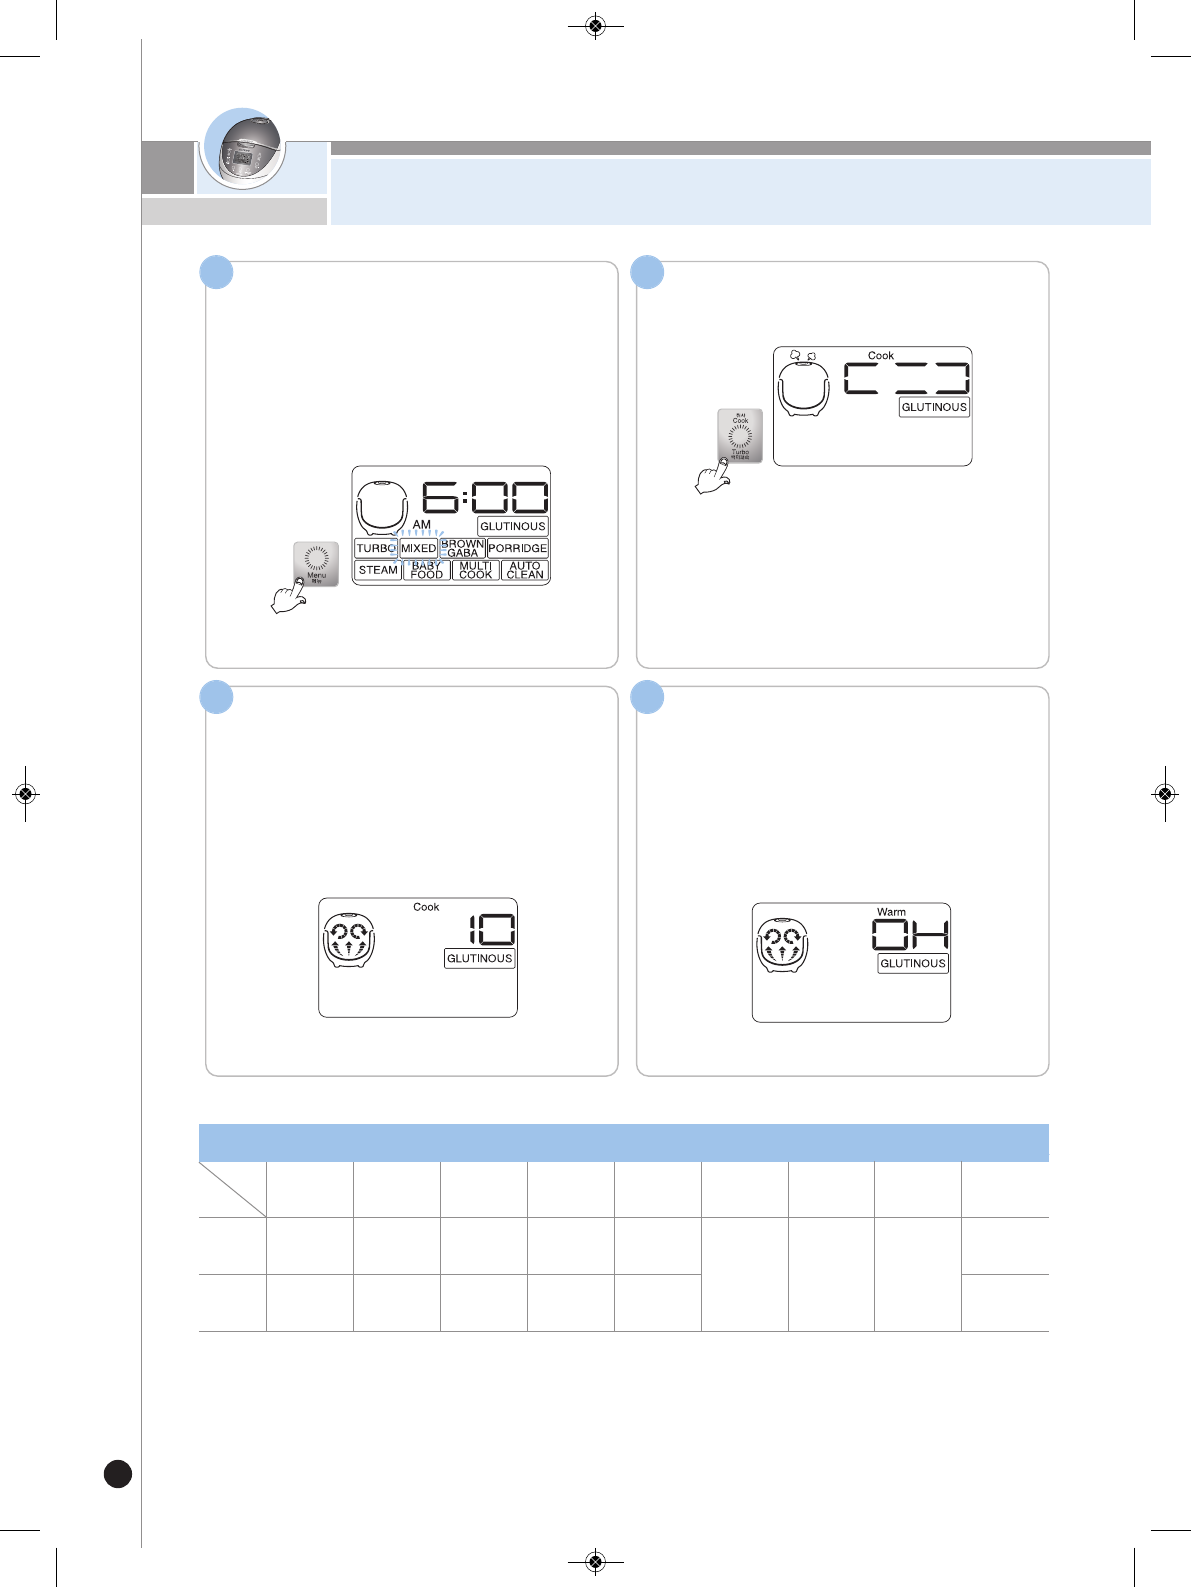
Take out the Rice shovel before keeping warm.
•It may cause odor or discoloration.
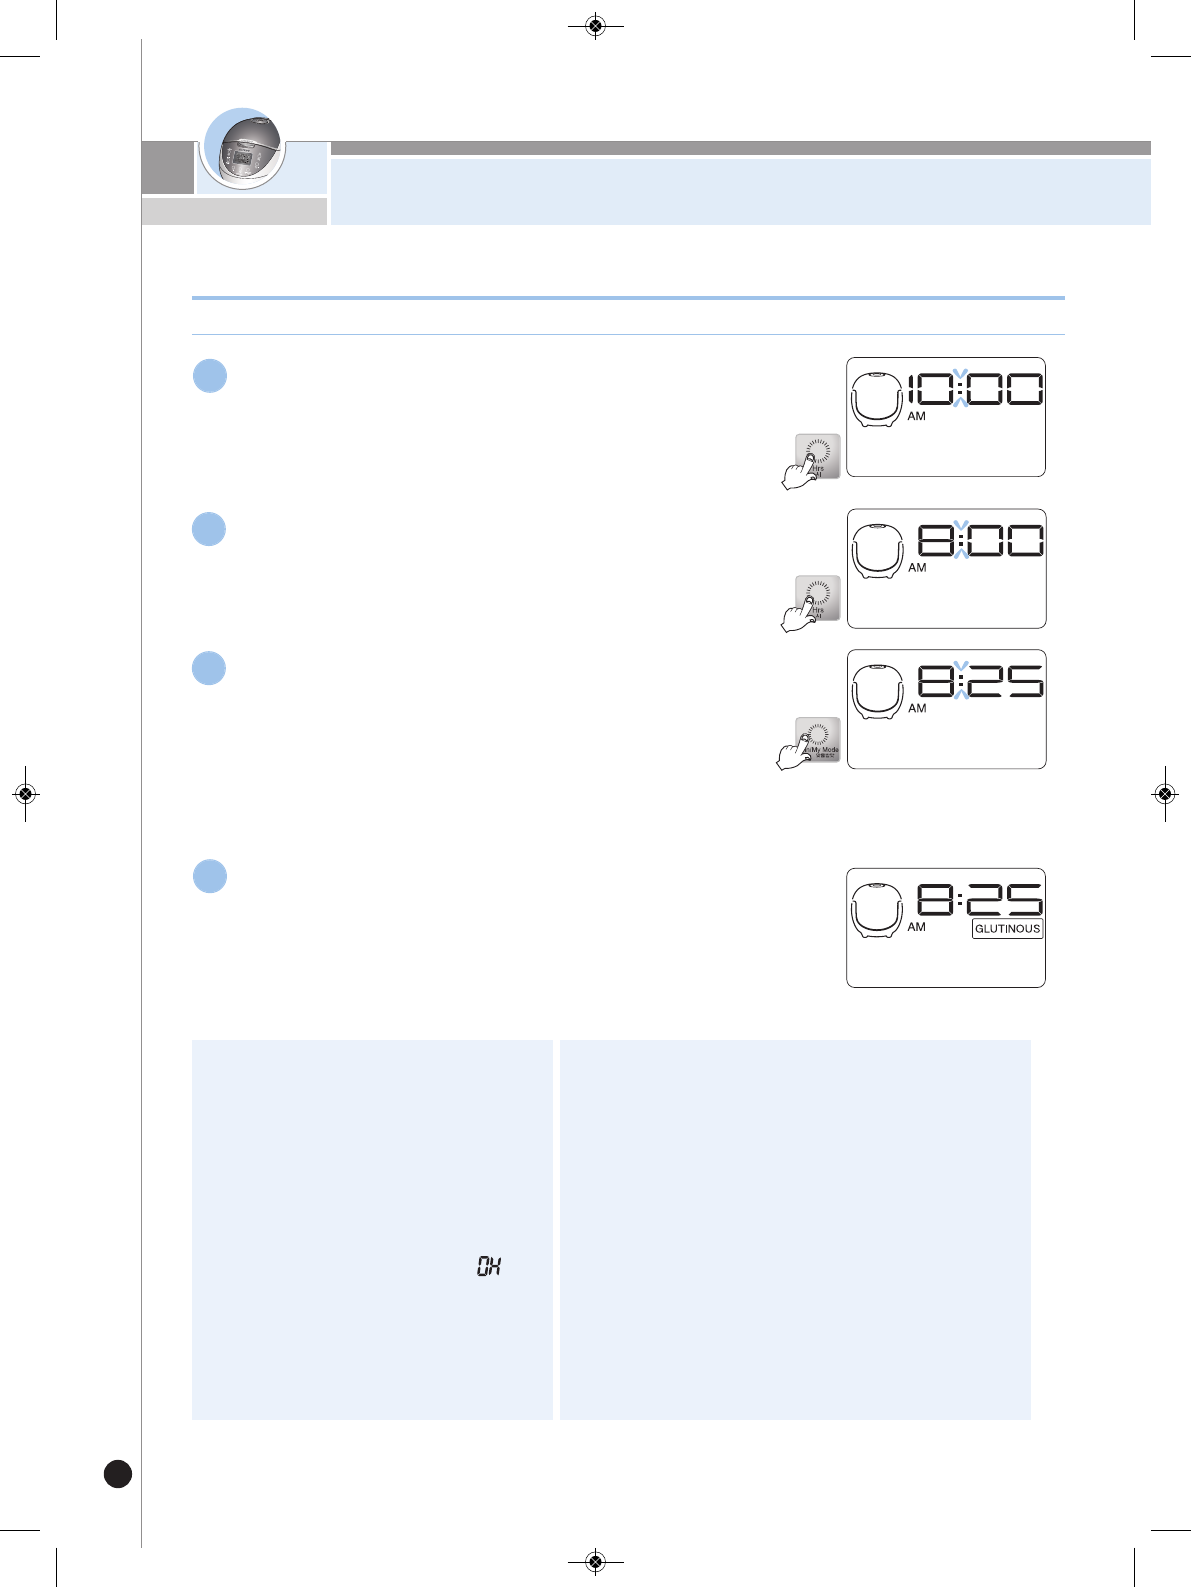
If possible, only use warming function when cooking
white rice. Other foods are easily discolored.
During warming, close the lid and then connect the
power supply.
•It may cause a smell of rice or discoloration.
Do not put any needle, cleaning pin etc in the venti-
lator or anygap of the cooker.
•I
t can cause an electric shock or fire.
Keep the cooker out of reach of children.
•It can cause burns, electric shock or injury.
Warning
Do not
Warning
Remember
Caution
Do not
Caution
Remember
Be careful that both the plug and power cord are
not to be bitby animals or pierced by sharp metal
materials.
•D
amages by impact can cause an electric shock or fire. Please check the
p
ower cord and plug frequently.
Do not plug or pull out the power cord with wet hands.
•If an impact is given to the Power Cord, it may cause electric shock and fire.
Do not use the product for other than cooking, warming, and designated menu,
such as boiling water, sweet rice drink, seaweed soup, curry, frying, etc.
•It may cause a malfunction or odor.
Do not use on a rice chest or a shelf.
•
Do not press the power code between furniture. Please check the power cord and plug frequently.
•W
hen use on furniture automatic steam releasing can cause damage,
fire and an electric shock.
Clean any dust or external substances off the tem-
peraturesensor and inner pot.
•It can cause a system problem or fire.
Attach the Detachable Cover without fail before you
use the product.
•I
f you use the product without the Detachable Cover, it may cause electric
shock, fire, steam leak and a disorder of the product
Do not place heavy things on the power cord.
•I
t can cause an electric shock or fire. Please check the power cord and plug
frequently.
Be careful not to harm your hand when opening the cover.
•Do not leave the cover opened. It might cause accident.
Do not plug or pull out the power cord with wet hands.
•If you pull the Power Plug out with a wet hand, it may cause electric shock.
•If you excessively pull the Power Plug, it may cause electrical short and
electric shock due to a disorder at the Power Cord.
0530-Z0383-0028D0-윤성문.qxp_레이아웃 1 2016. 5. 30. 오후 2:28 페이지 7