


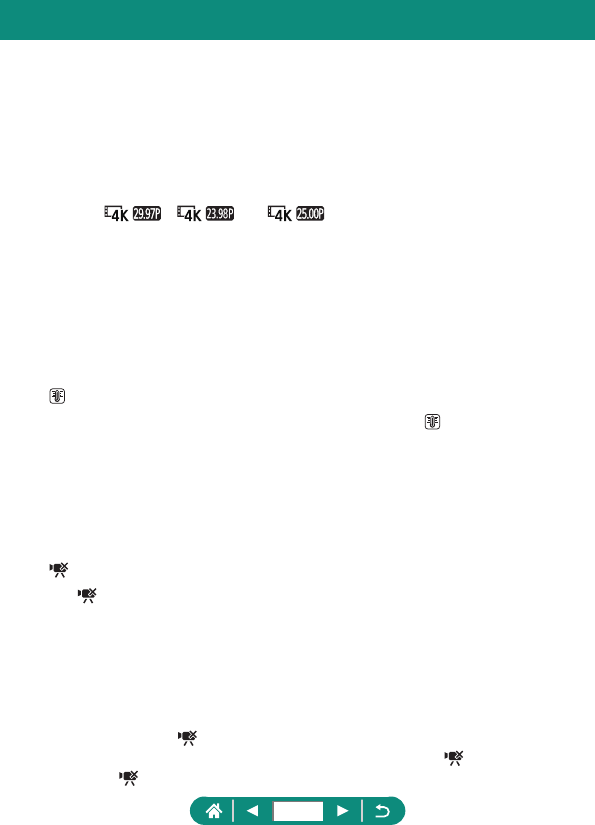


-
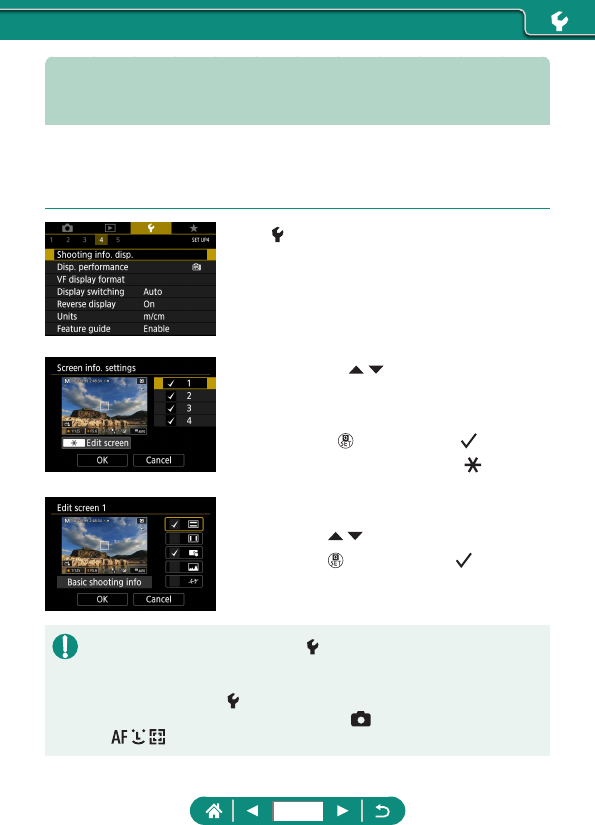
Ik probeer de scherminfo-instelling aan te passen maar als ik de handleiding volg verandert er niets. Ik kies het scherm dat ik wil gebruiken (nummer 1), druk op OK maar dan blijk ik naderhand nog steeds in scherm 3 te zitten en dat had ik weggevinkt (net als 2 en 4). Gesteld op 27-8-2023 om 15:35
Reageer op deze vraag Misbruik melden -
Hoe de Canon G5 x mark ii terugzetten naar fabrieksinstellingen Gesteld op 21-7-2022 om 20:59
Reageer op deze vraag Misbruik melden -
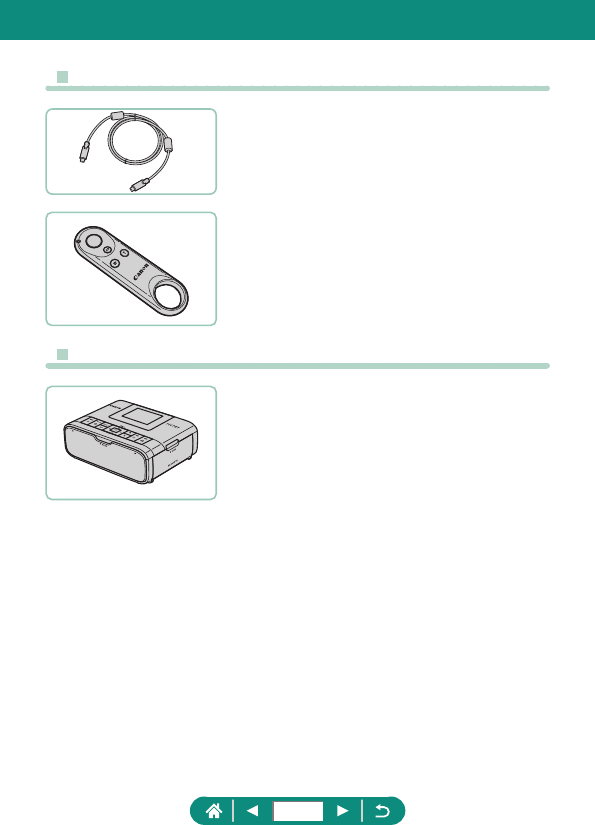
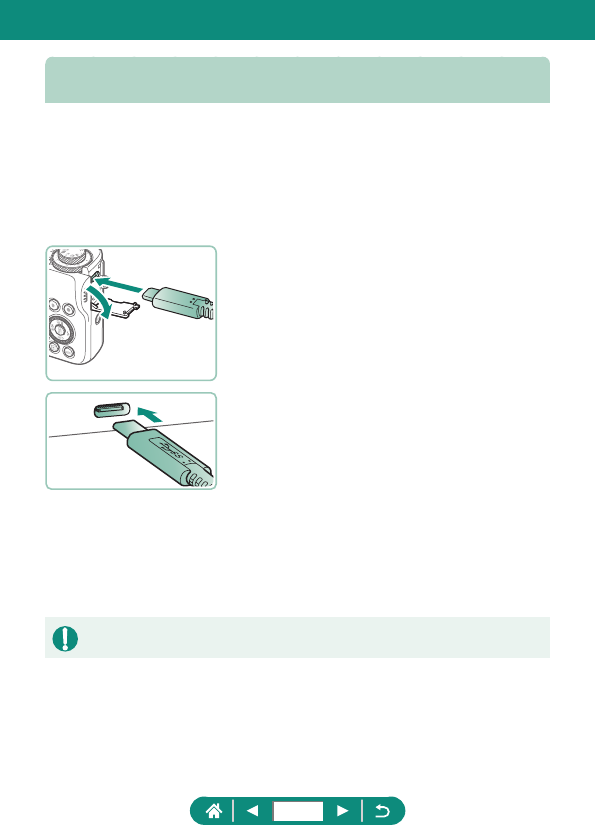
mijn M1 MacBook Air herkent deze camera niet. Bij aankoppelen gaat er wel een rood lampje op de camera branden, maar verder is hij op geen enkele manier op de MacBook terug te vinden.
Reageer op deze vraag Misbruik melden
diverse kabels geprobeerd, diverse volgordes.
Heeft iemand een tip? Gesteld op 2-4-2022 om 10:20-
Aanvulling op bovenstaande:
Waardeer dit antwoord Misbruik melden
ik heb, nadat ik laadkabel, datakabel, usb-adapter, cardreader, hulp bij canon, hulp bij apple, nergens kwam ik verder, kon alleen maar elimineren.
De oplossing: een apple cardreader.
Bij elkaar heb ik ruim 100 euro uitgegeven om zover te komen.
Maar blij dat het nu eindelijk lukt!!! Geantwoord op 3-4-2022 om 13:18
-
-
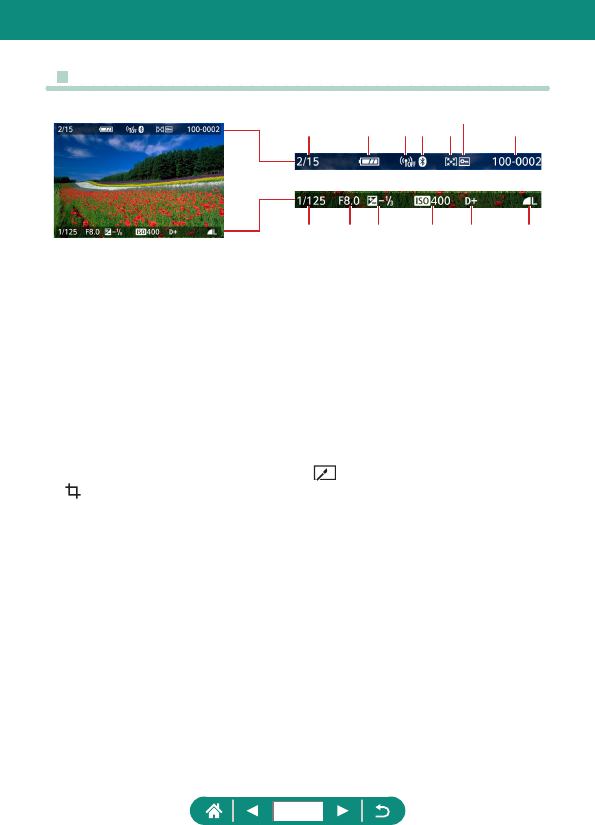
Op mijn gemaakte foto’s staat de opname datum: hoe krijg ik die weg? Gesteld op 19-3-2021 om 12:10
Reageer op deze vraag Misbruik melden-
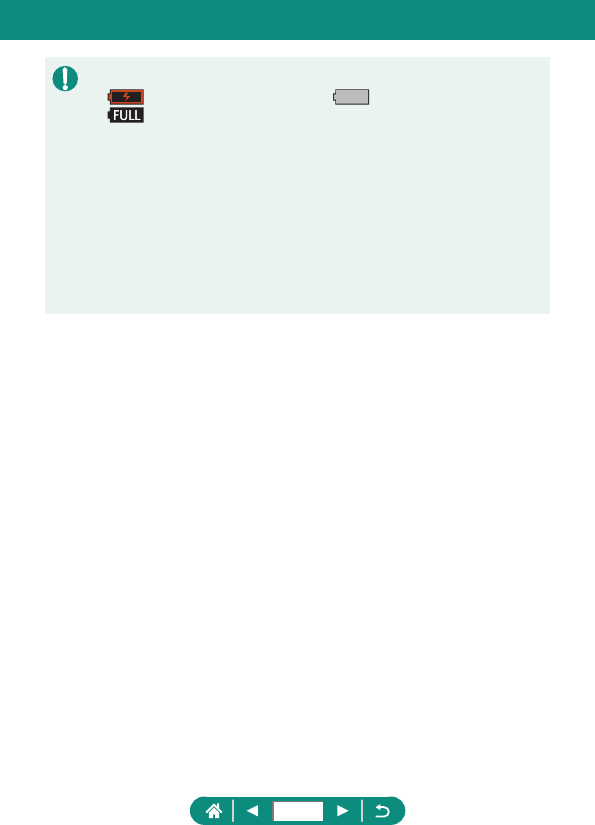
Dat is de datumstempel
Waardeer dit antwoord Misbruik melden
Zie p 119 in de handleiding om deze aan en uit te zetten Geantwoord op 19-3-2021 om 12:48
-
