- the hose does not touch any components which may get
hot.
Models
- Plancha EX
- Plancha EXB
Models
- Plancha L
- Plancha LX
- That the cover is not in the closed position (depending
on the model)
- This device has a large number of vents to optimize the
device use. Be sure that these vents are not blocked.
h) LIGHTING THE BURNERS
Read steps 1 to 6 before beginning with step 1.
1 - Make sure that the control knobs are in the "OFF"
position (O).
2 - Open the gas cylinder valve.
3) Push the adjustment lever down and turn it anti-
clockwise until it is in the full flow position ( ), then
immediately press the ignition button ( ) down until you
hear a click. Repeat 3 or 4 times if necessary.
4) If the burner does not ignite after 4 or 5 attempts, wait
5 minutes and then repeat the operation.
5) If the device still does not light, place the control knob
in the "OFF" (O) position and wait 5 minutes before
starting the operation again.
6) When the first burner has been lighted, repeat the
operation for the second burner.
Important:
If the burner fails to light after the second attempt, turn the
control knob to the "off" position (O) and check that the
burner outlets and the venturi tube are not blocked.
i) LIGHTING THE BURNERS MANUALLY
If automatic ignition does not work, turn the control knob
to "OFF" (O).
Remove the cooking plate. Hold a lighted match next to
the burner, then push in the control knob and turn it to the
"HI" position ( ). Put the cooking plate back in place
with protective gloves, being sure to correctly position the
drippings evacuation hole.
j) EXTINGUISHING THE BURNERS
Return the control knobs to the "OFF" position (O), then
close the cylinder valve.
k) REPLACING THE GAS CYLINDER
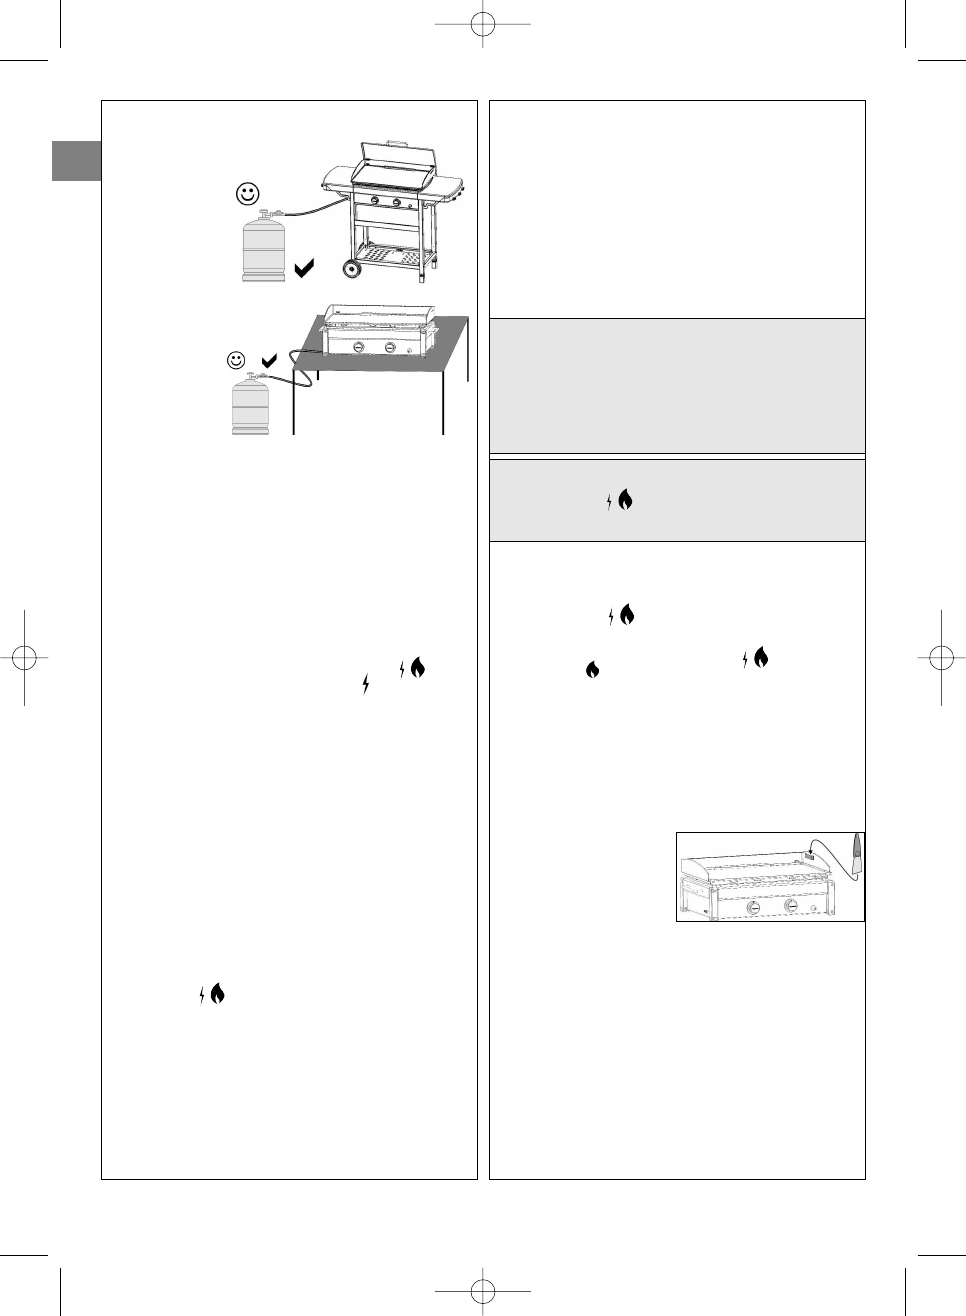
- Always work in a well ventilated area and never in the
presence of a flame, spark or heat source.
- Return the control knobs in the "off" position (O) then
close the cylinder valve.
- Remove the regulator, check that the sealing joint is in
good condition.
- Put the full cylinder in place, refit the regulator, taking
care not to apply stress to the hose. Check for gas
leaks.
l) OPERATION
Plancha L and Plancha LX
When operating the grill, the temperature of the substrate
on which the device is placed can be significant. The
appliance must not be installed on a combustible surface
(plastic, cloth, etc ...). It is recommended to place it on a
surface that resists heat (concrete, stone, brick, directly
on the ground) or to position a good thermal/fireproof
insulation between the device and its supporting material.
When used for the first time, heat up the barbecue
(depending on model: remove the lid) with its burners in
full on position ( ), for approximately 15 minutes in
order to eliminate any odors resulting from the paint on
the new parts.
We recommend using protective gloves for handling
elements that are particularly hot. Use long-handled
utensils to manipulate food on the cooking plate.
Before cooking, preheat the device for a few minutes in
the "HI" position ( ).
Cooking speed can be regulated via the adjustment
buttons: between the full flow position ( ) and medium
flow position ( ).
Important:
If one or several burners go out whilst you are using the
barbecue, move the adjustment buttons to "OFF"
immediately (O). Wait five minutes to allow the unburned gas
to escape. Only carry out the lighting steps after this time.
Important: Allow the unit to cool off completely before
handling the cover (depending on the model).
Spatula
A spatula may be supplied
with the unit (depending on
the model). When using the
unit, the spatula should be
placed in the slot on the
right hand side of the unit.
m) CLEANING AND MAINTENANCE
- Never modify the barbecue: any modification may
prove dangerous.
- In order to maintain your barbecue in perfect operating
condition, it is recommended to clean it periodically
(after 4 or 5 uses).
- Wait until the barbecue has cooled down before
cleaning.
- Close the gas cylinder.
- The grill burner must be cleaned and checked every 3
months. Remove the entire burner and check that no
dirt or spider webs block the venturi tube openings,
which may cause the burner to be less efficient or cause
a dangerous gas fire outside the burner.
GB
12
IFU 4010020738 - Adelaide Plancha - pages 12 to end.qxp 10/10/2013 11:40 Page 3