Definitions of Notes........................................................................................................................................3
Important Note...............................................................................................................................................5
Introduction to Your Brother Machine.................................................................................................6
Before Using Your Machine...........................................................................................................................7
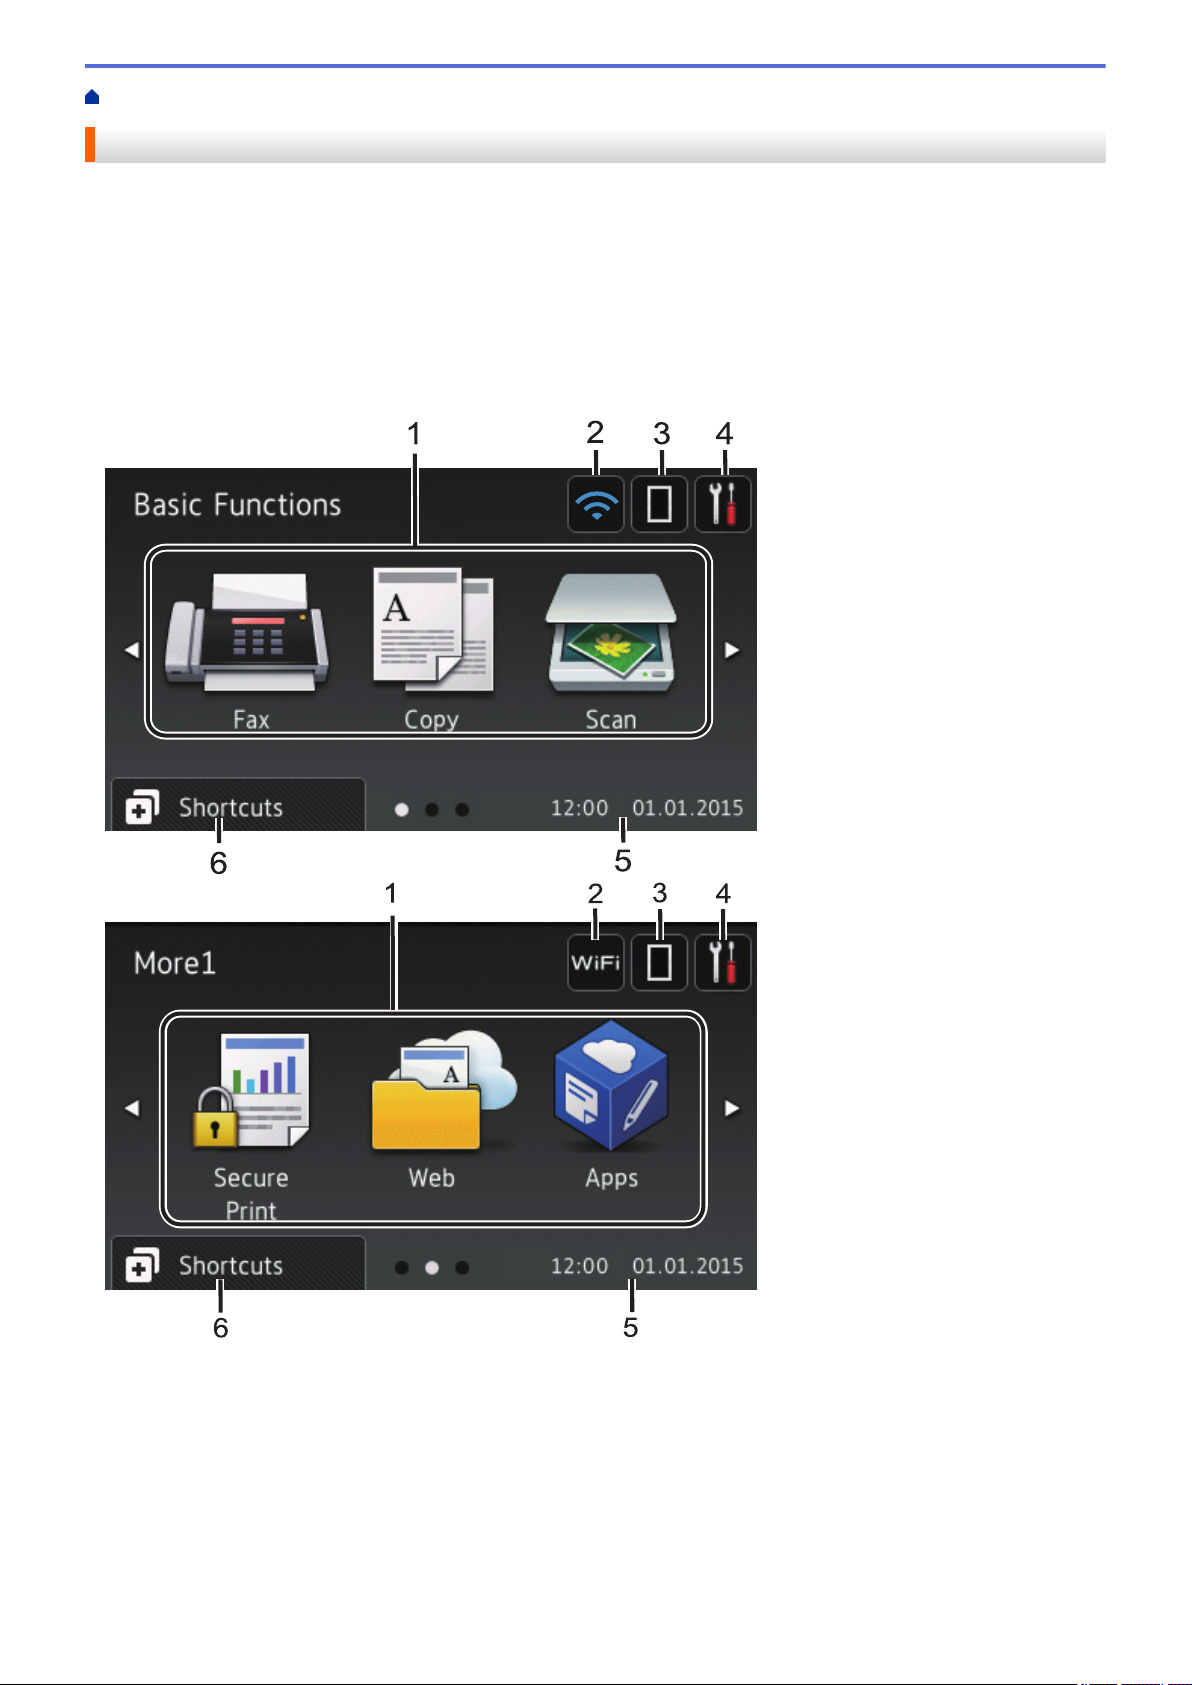
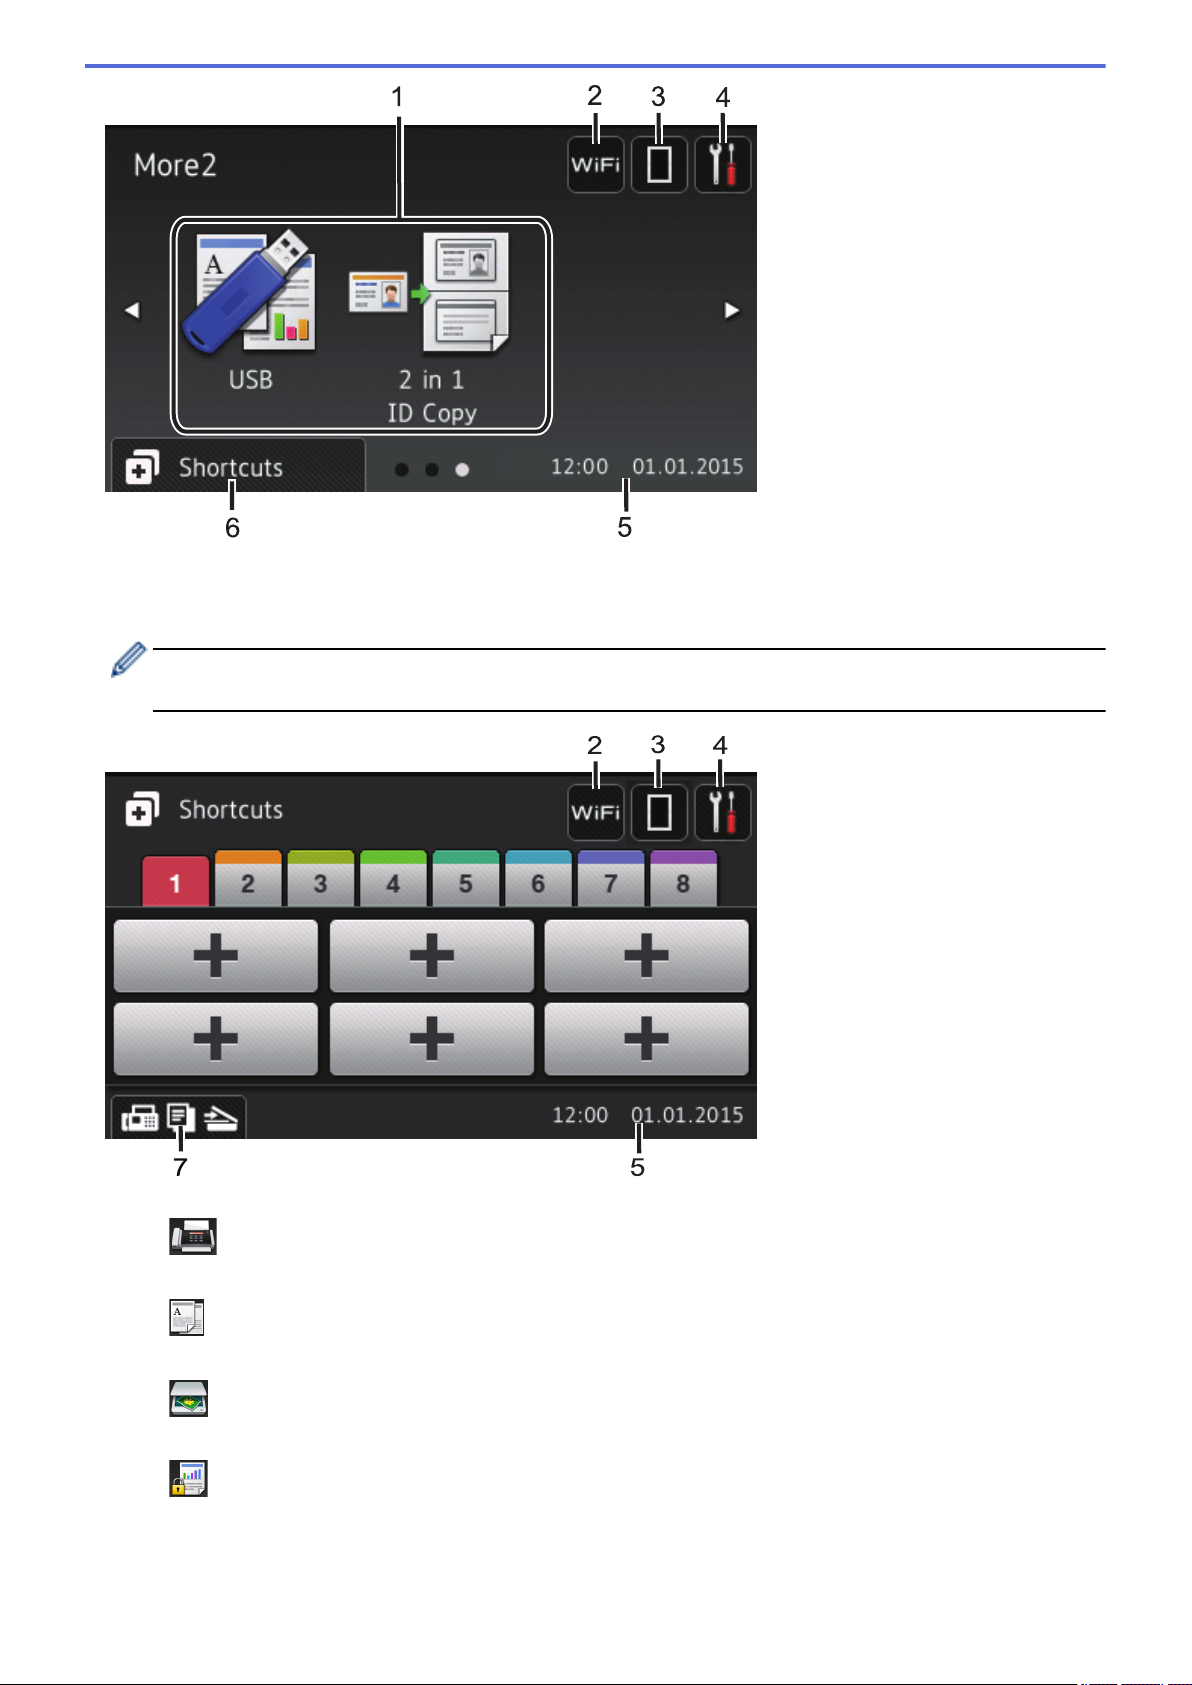
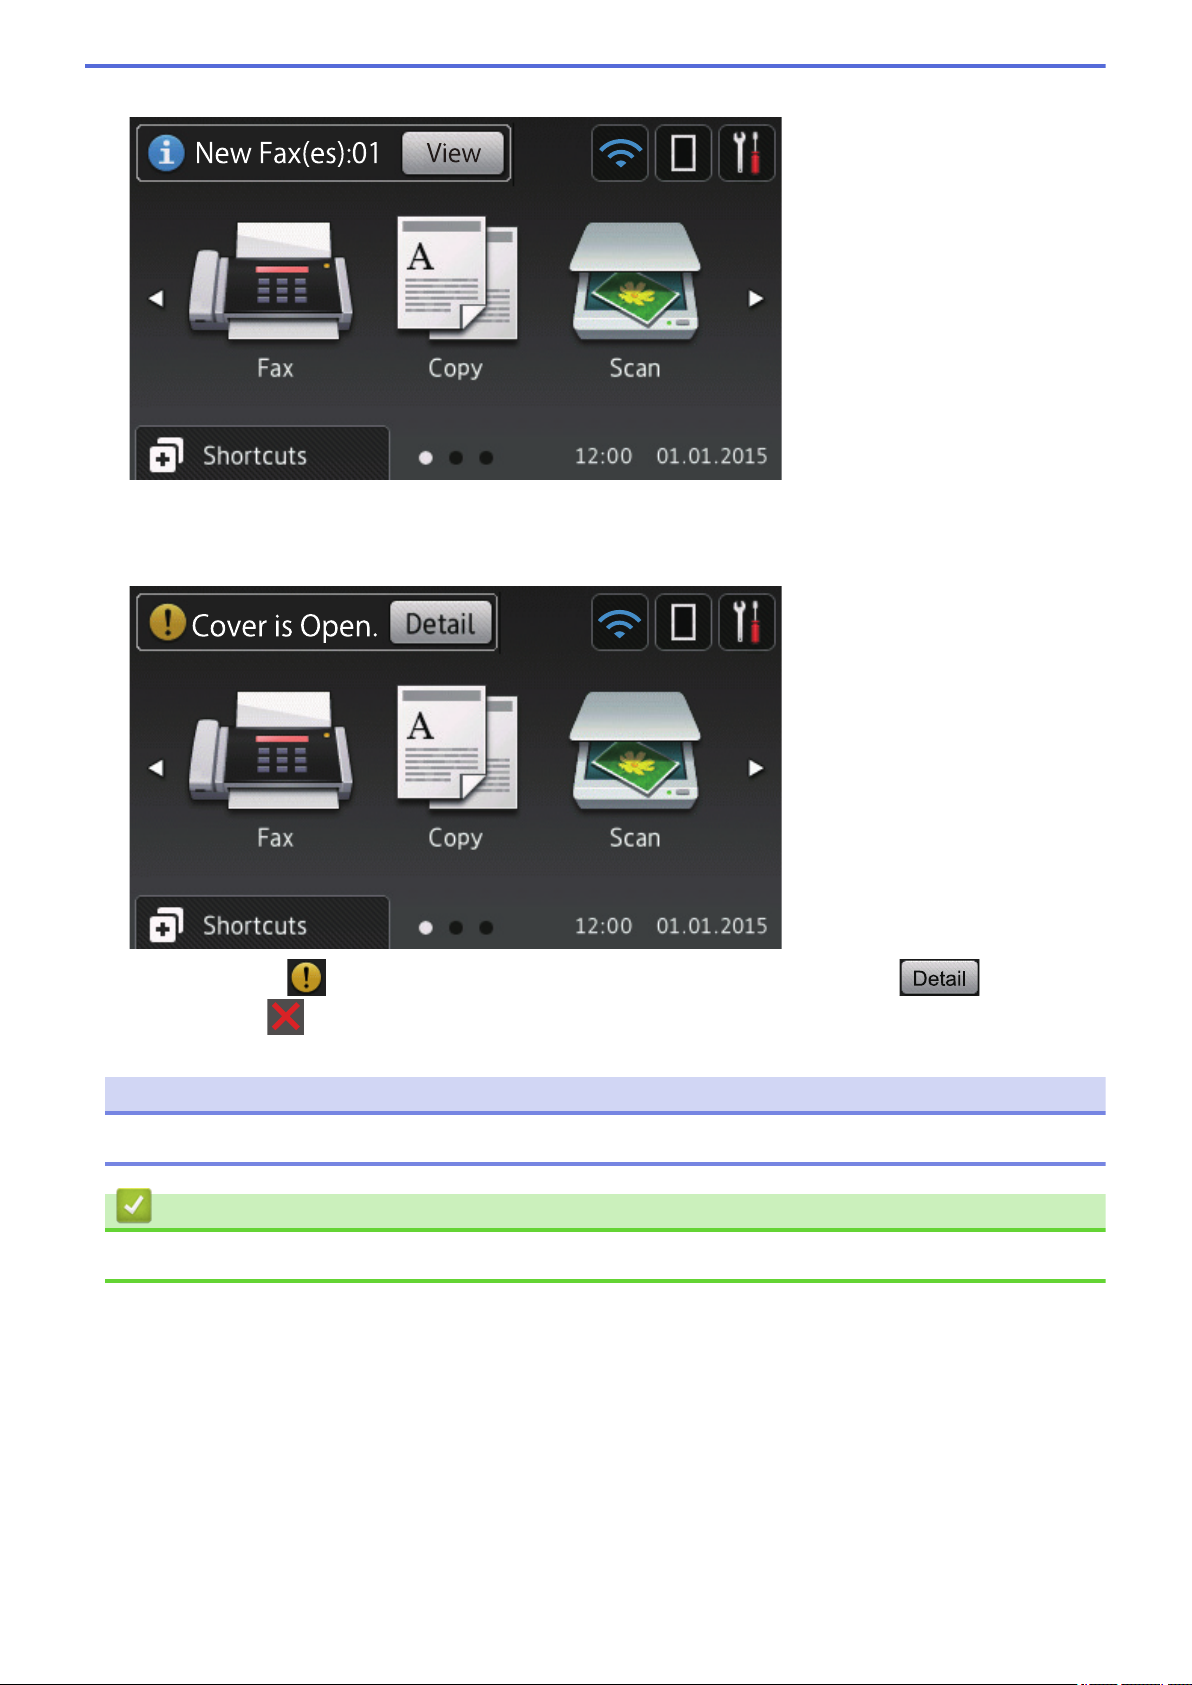
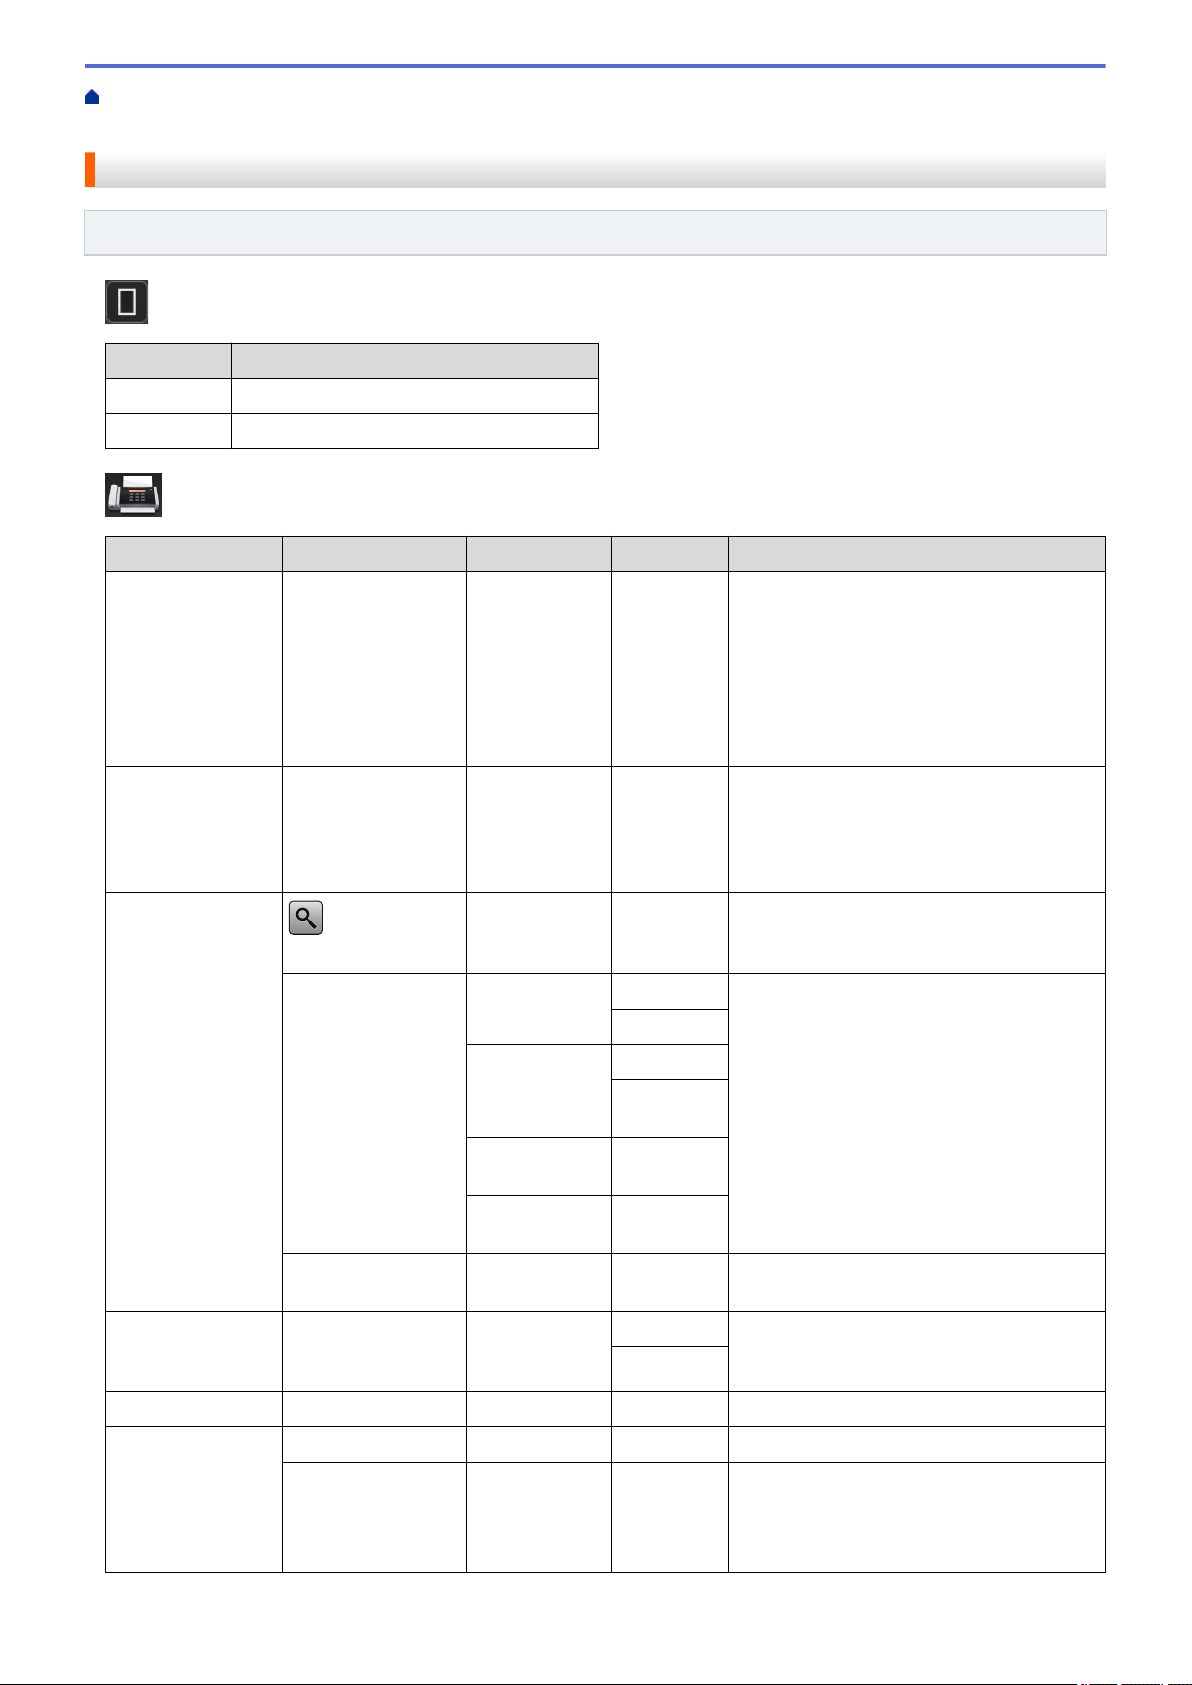
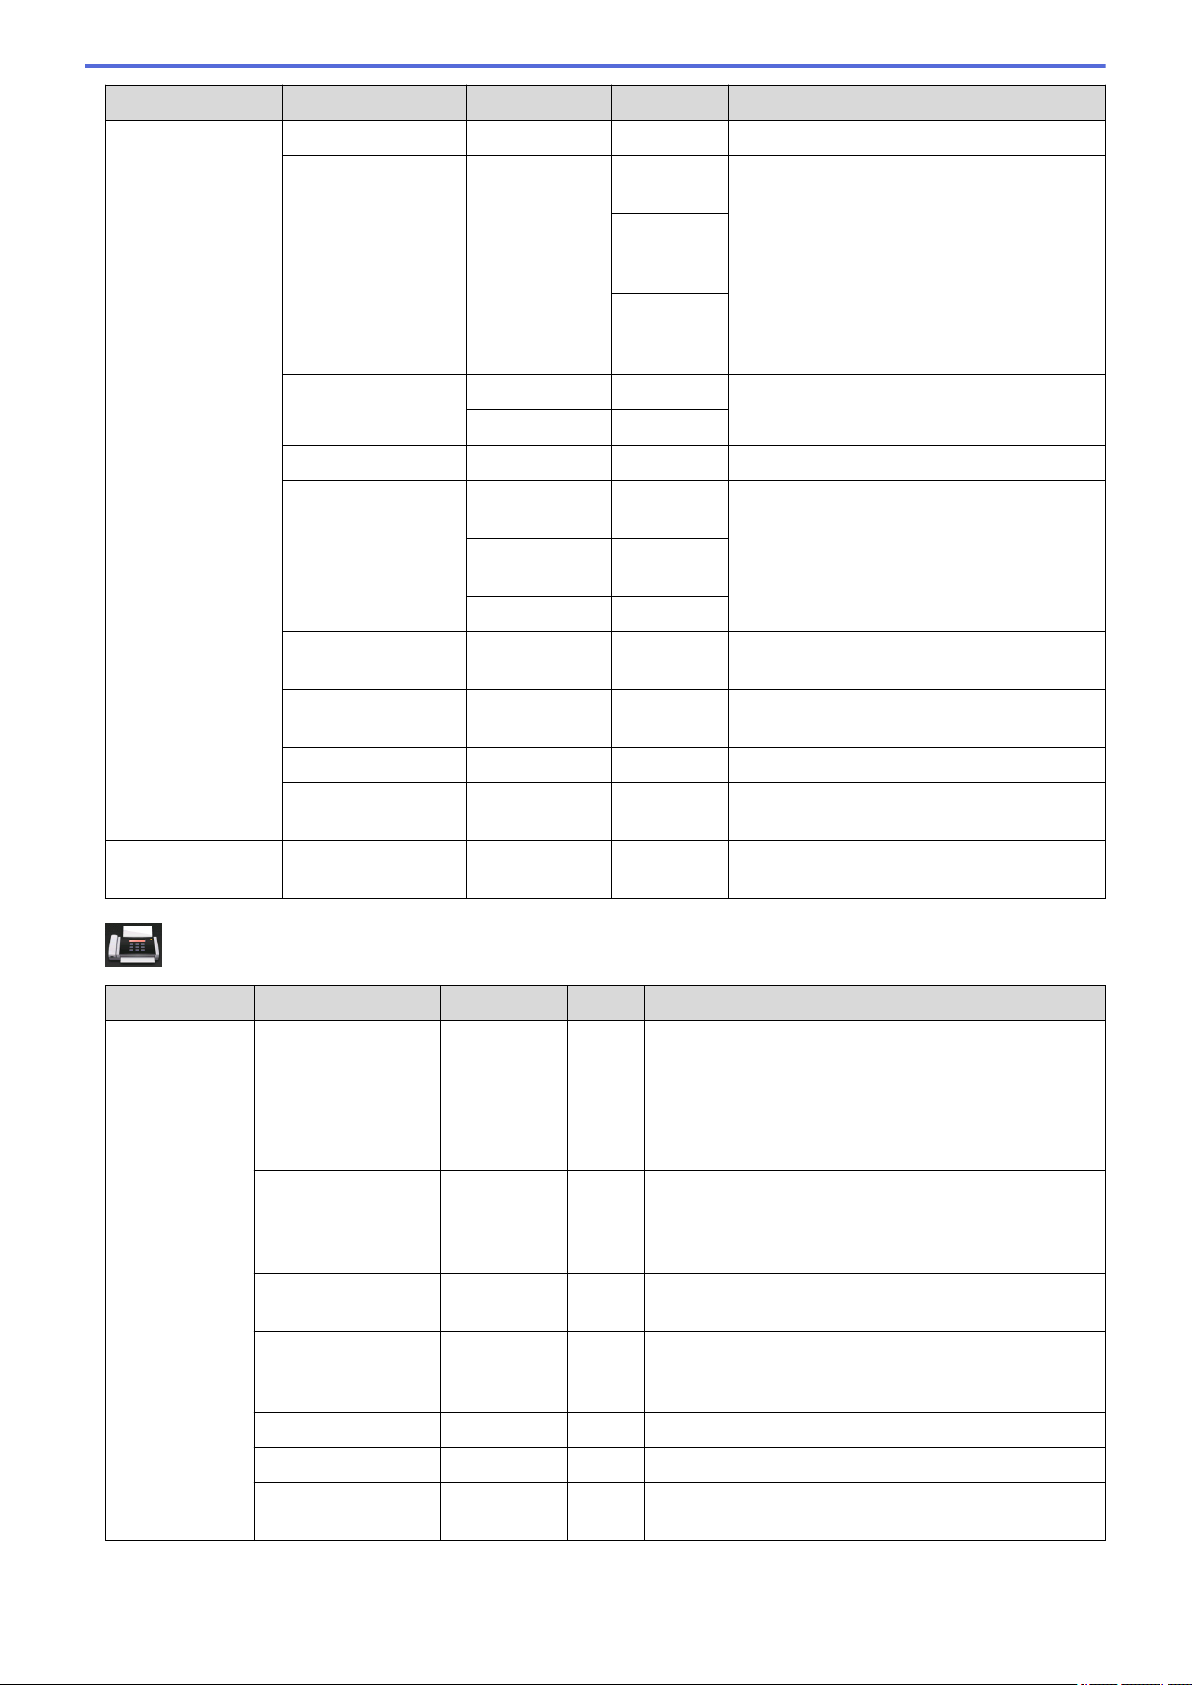
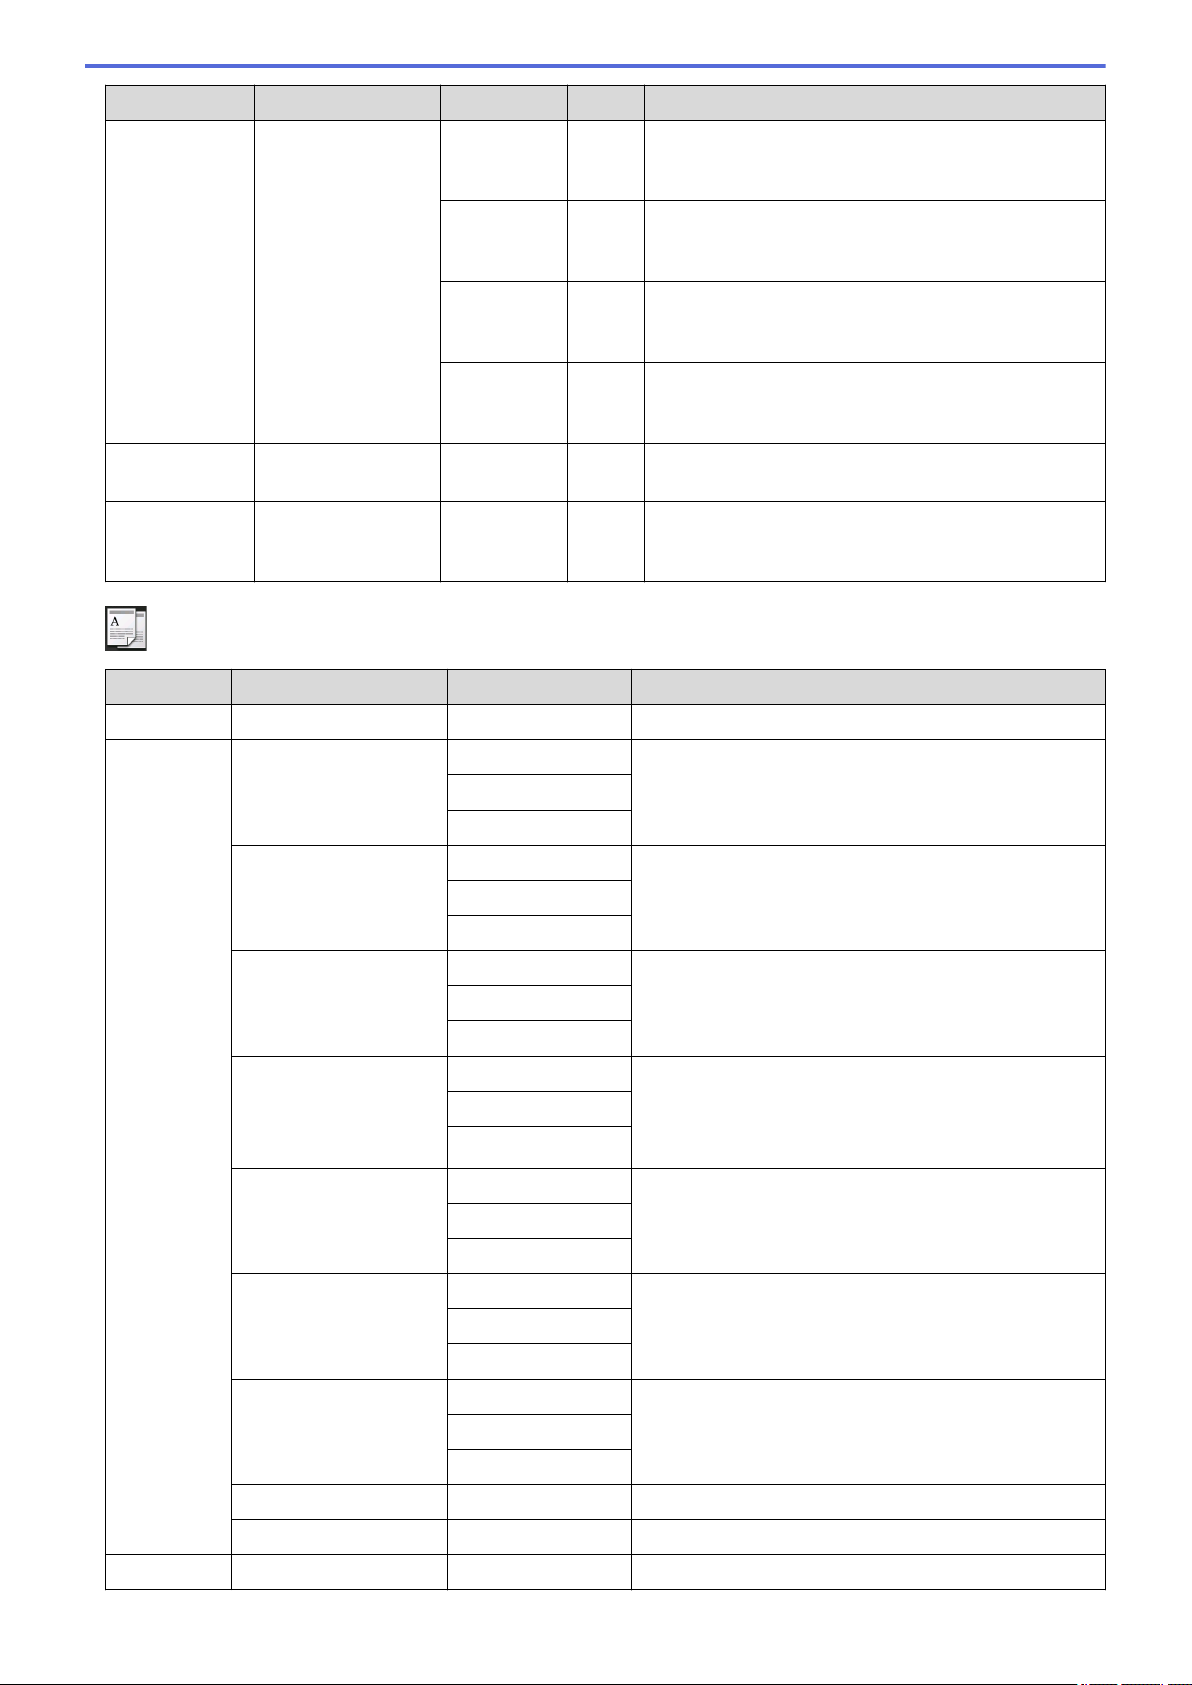
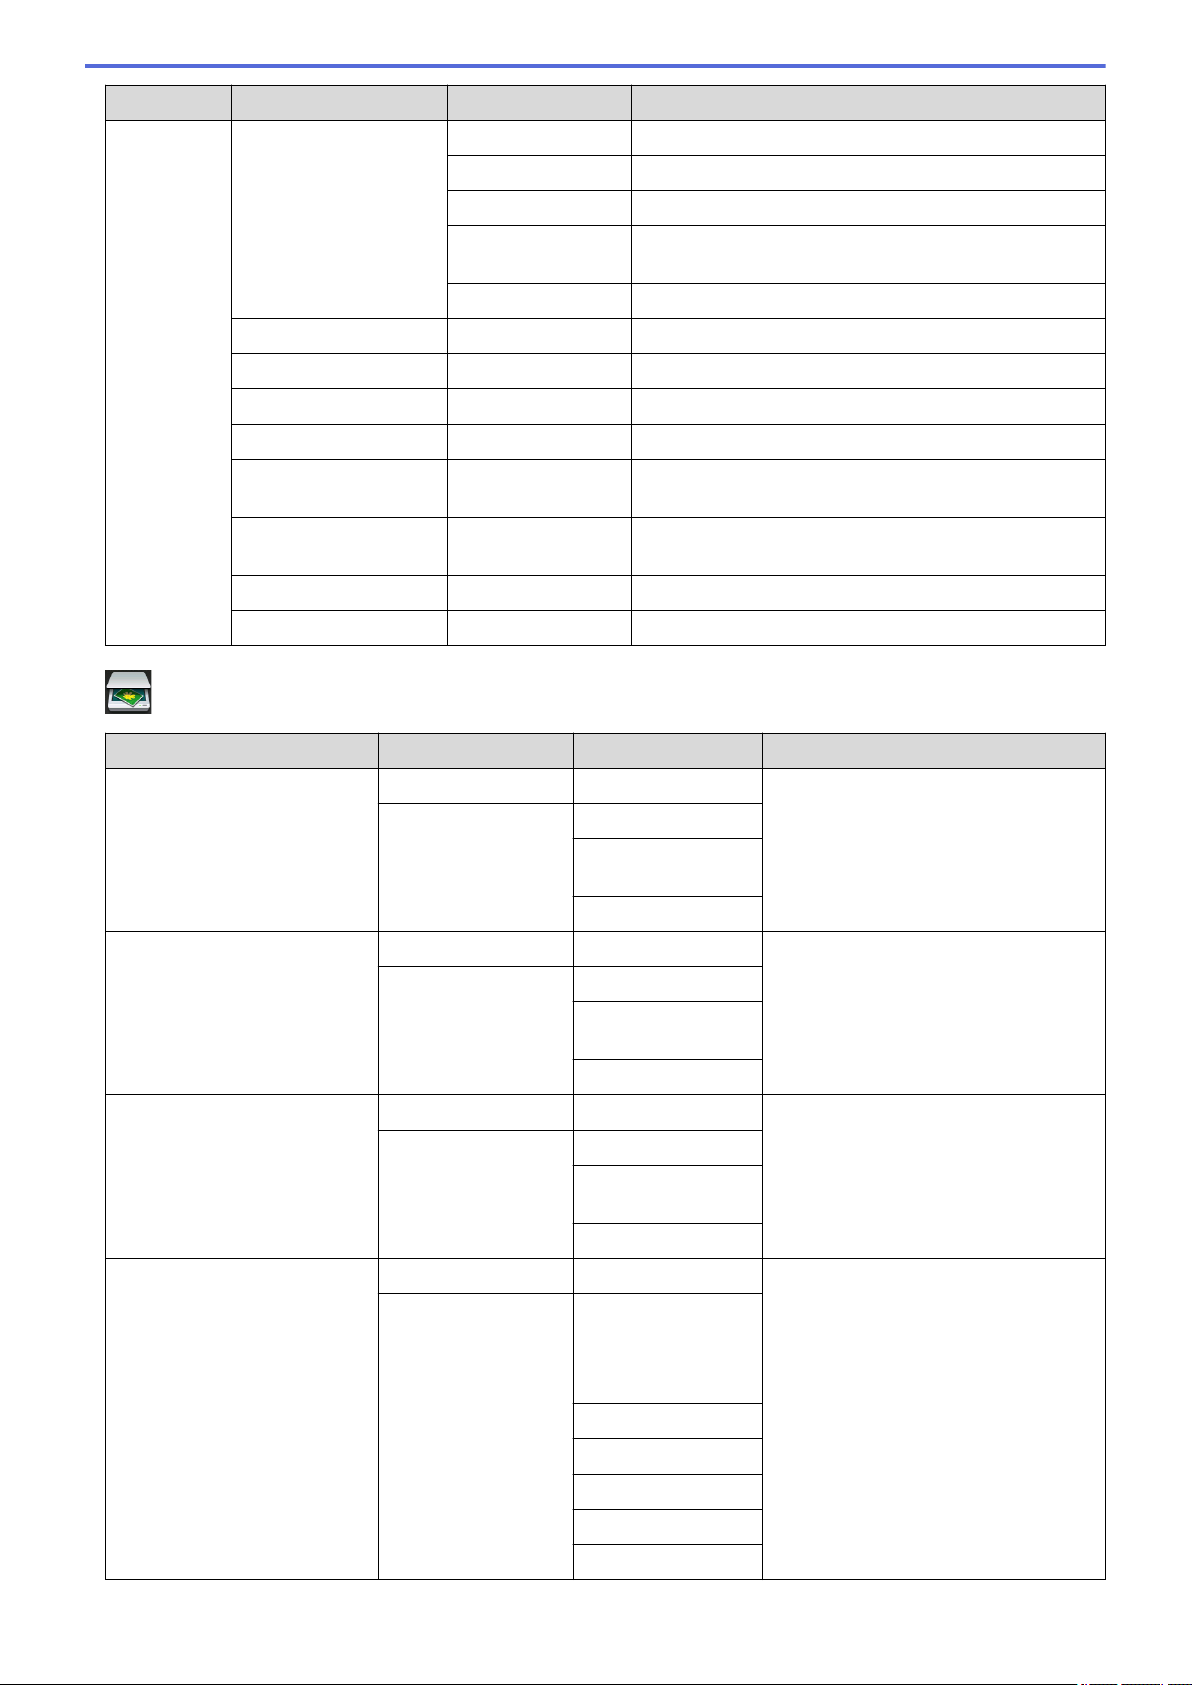
Control Panel Overview.................................................................................................................................8
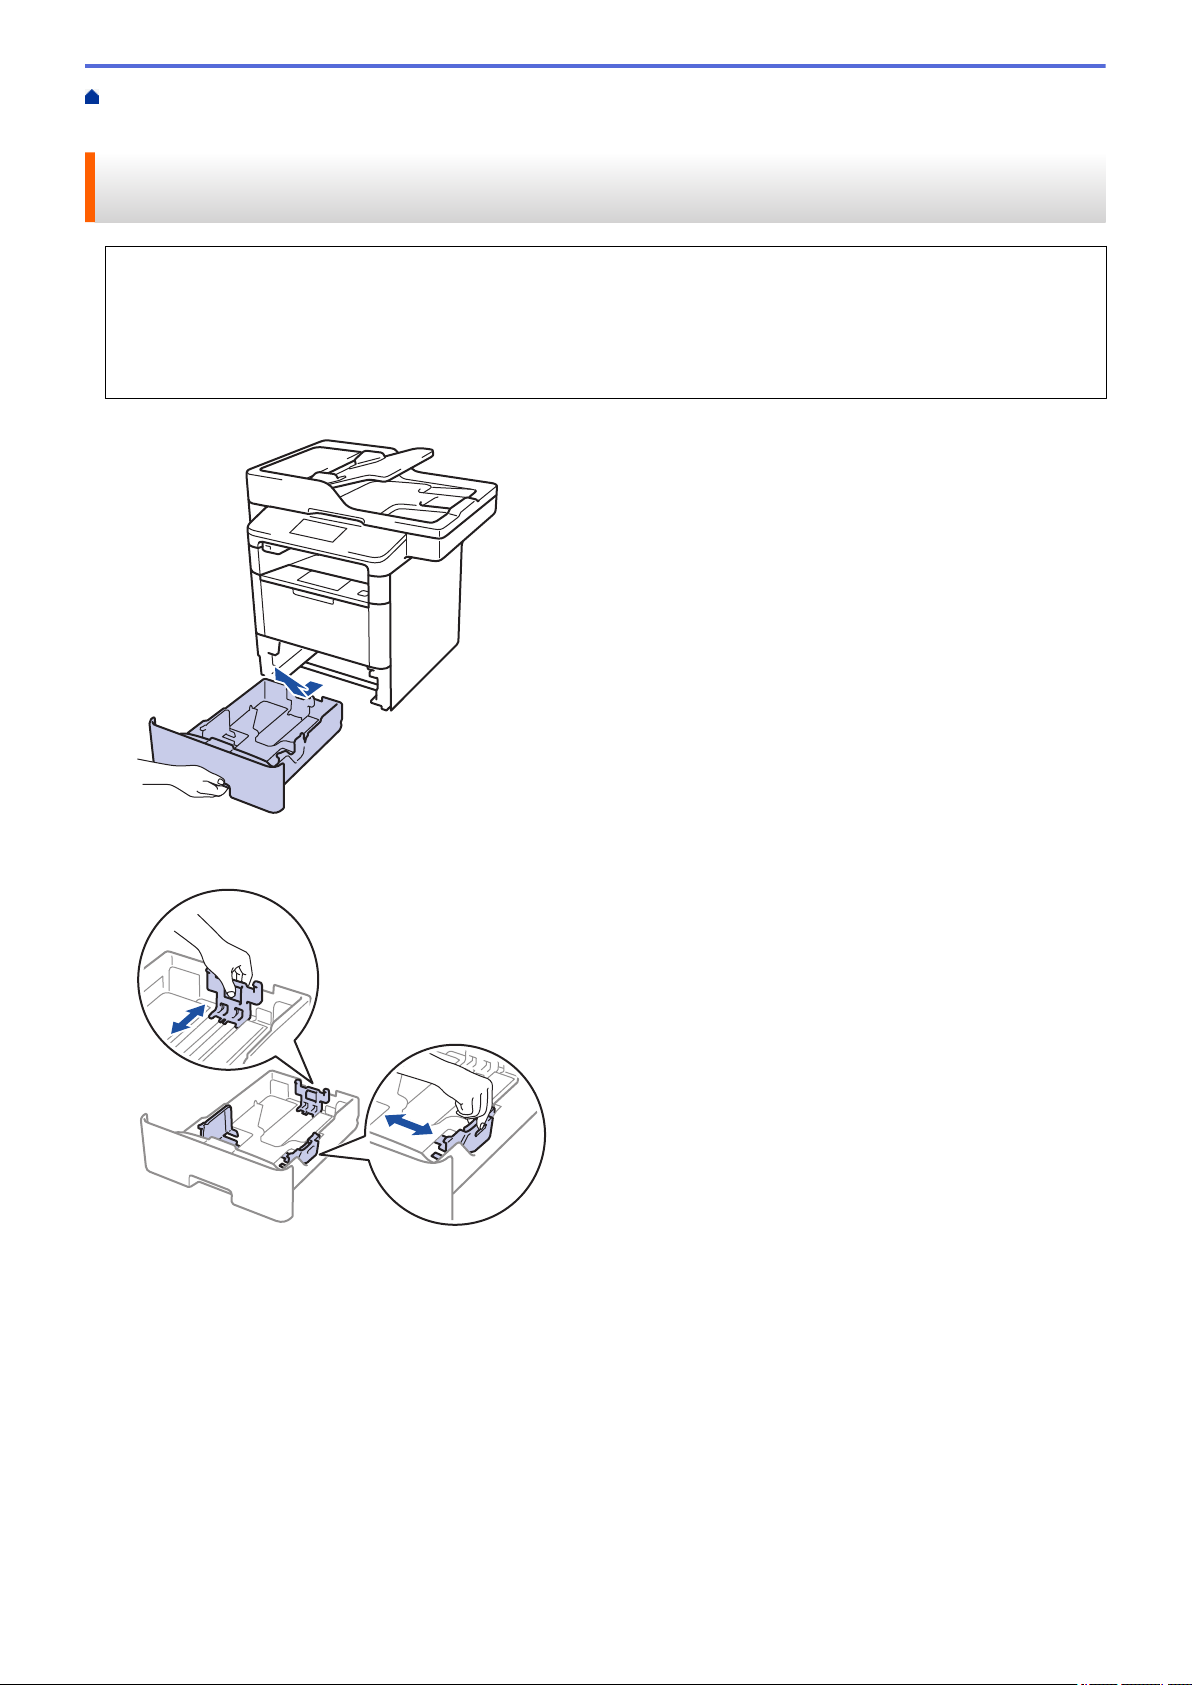
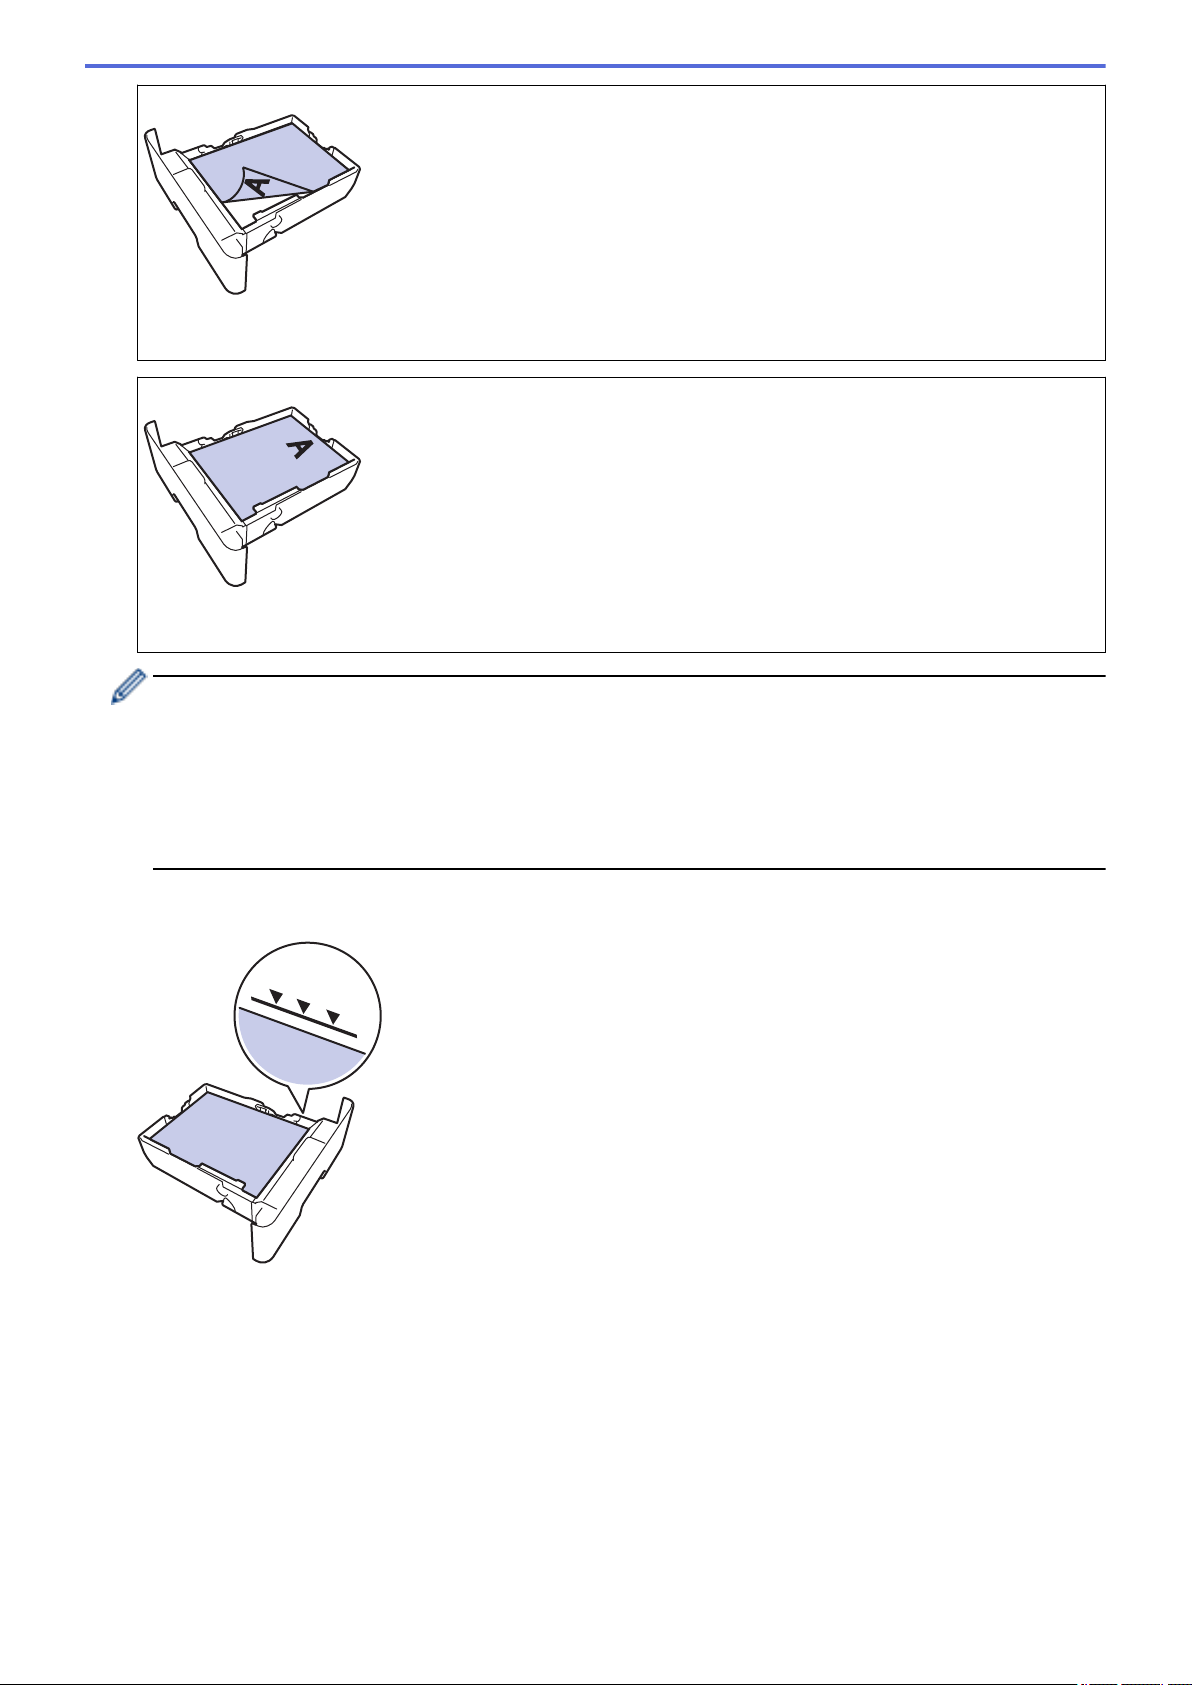
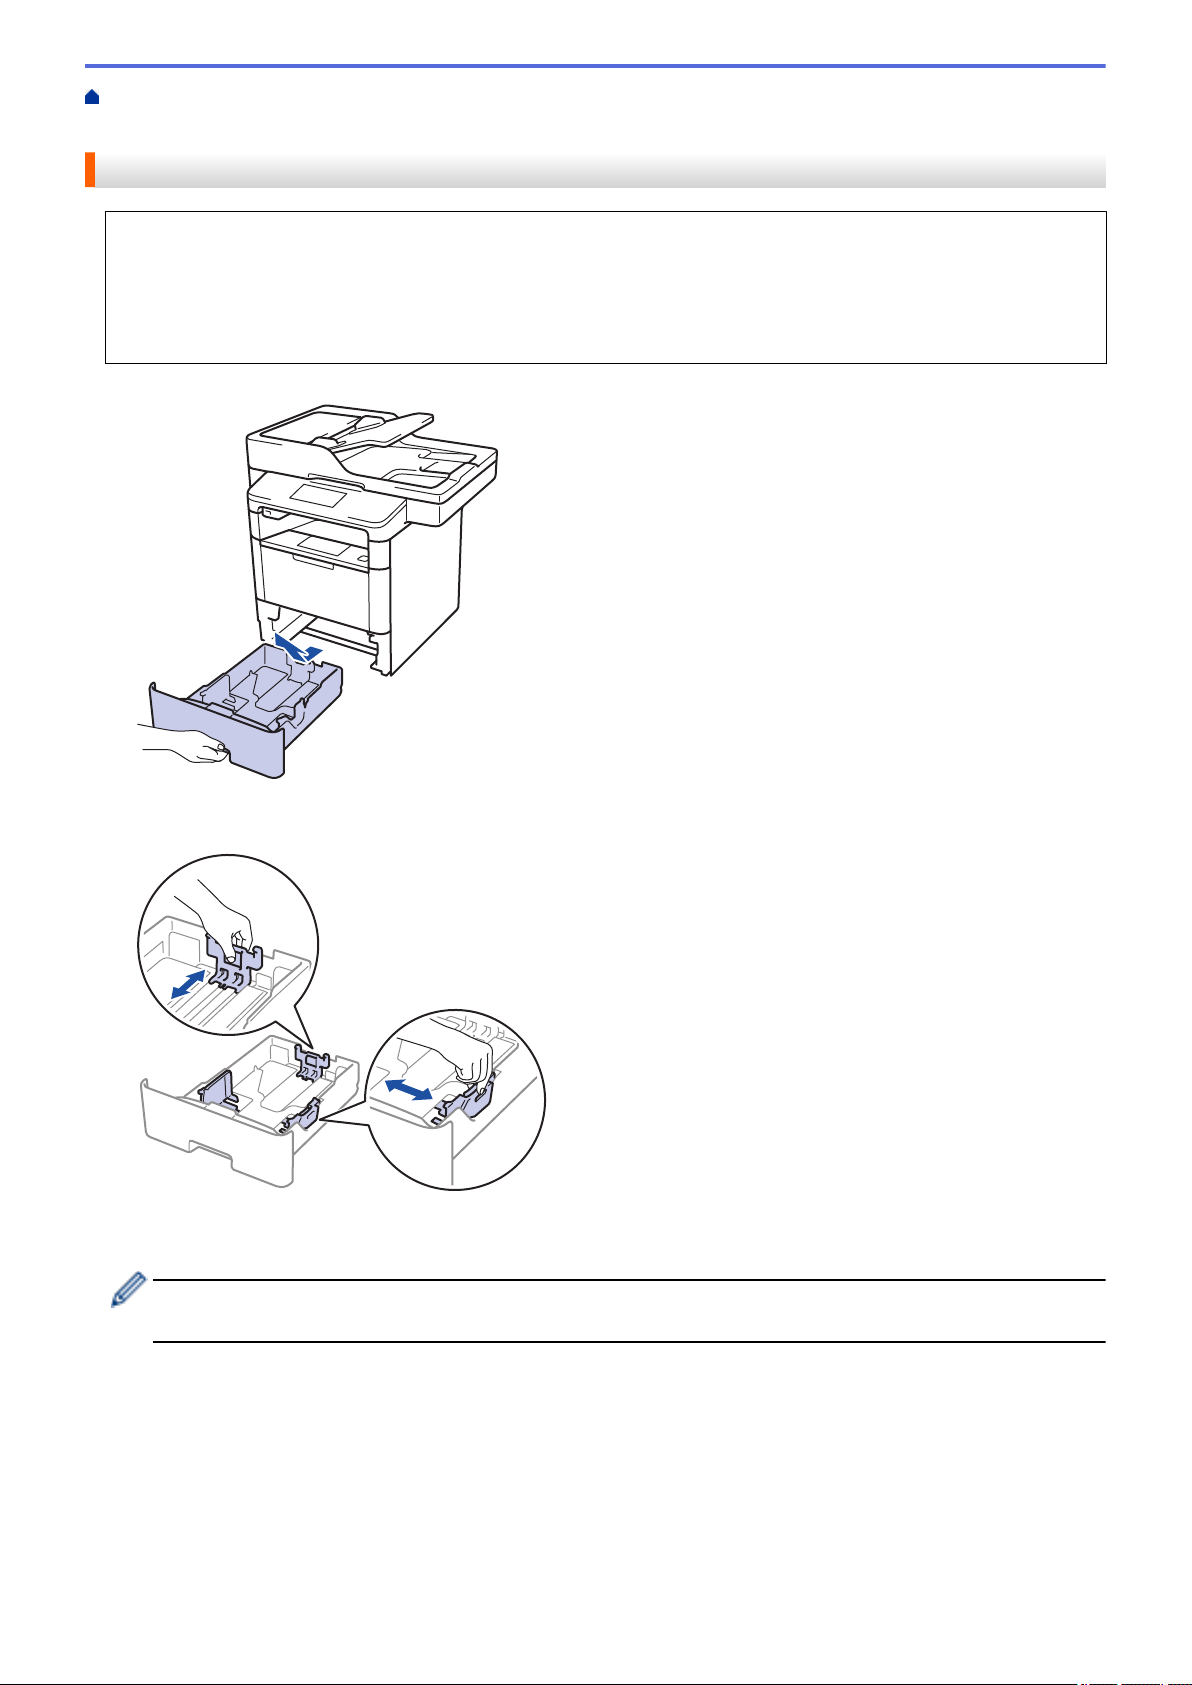
Load and Print Using the Paper Tray.................................................................................................24
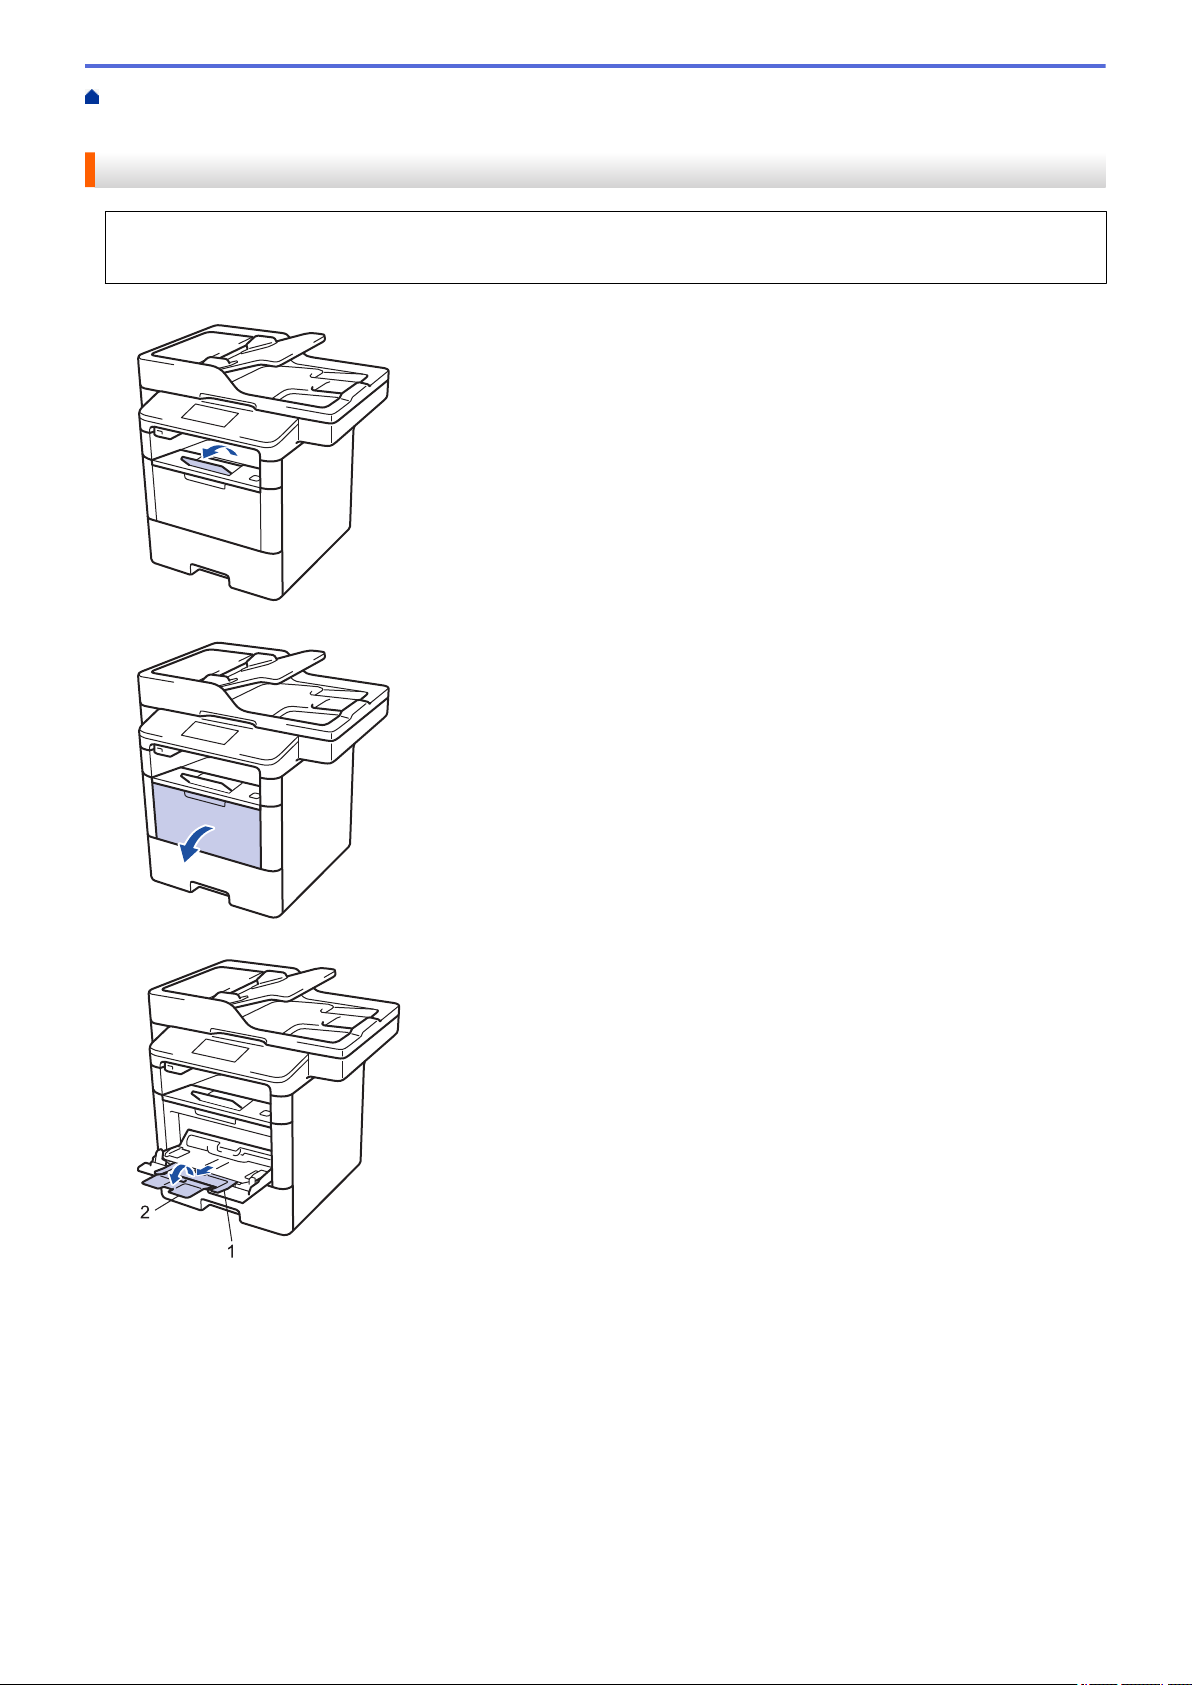
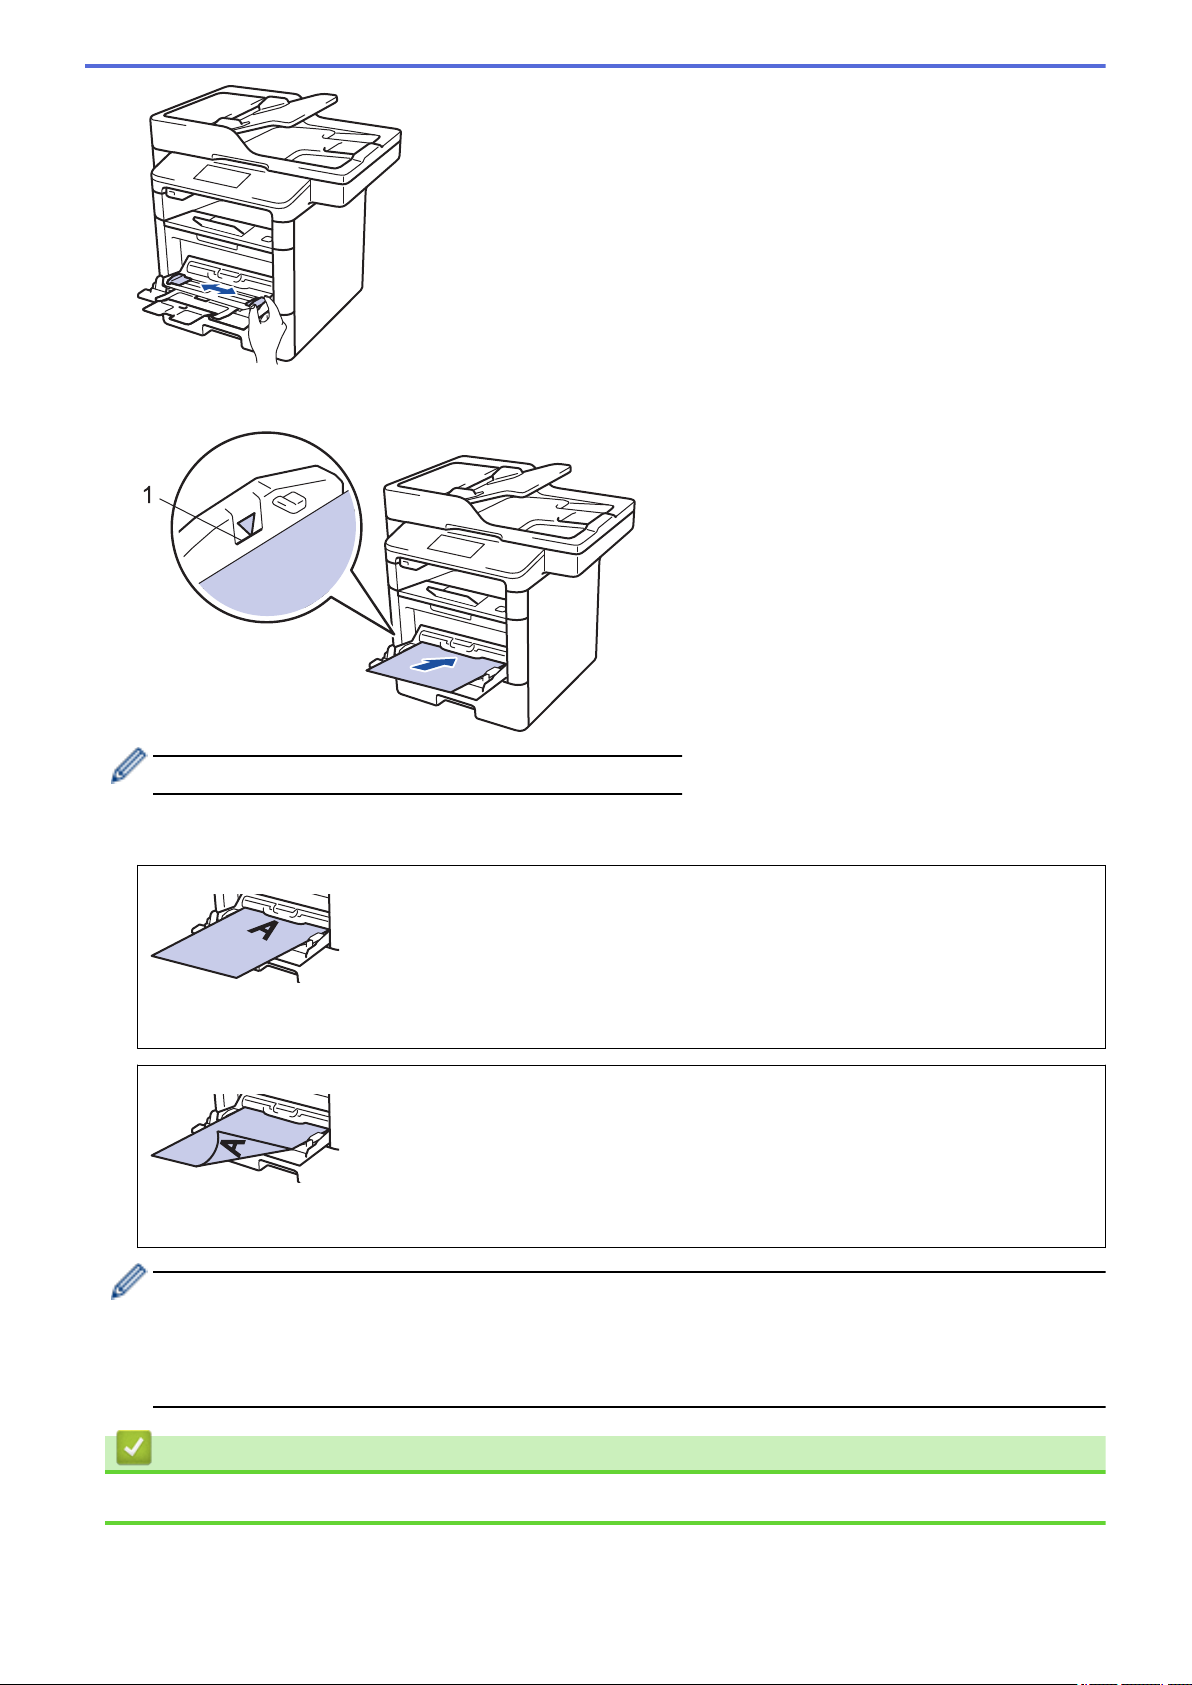
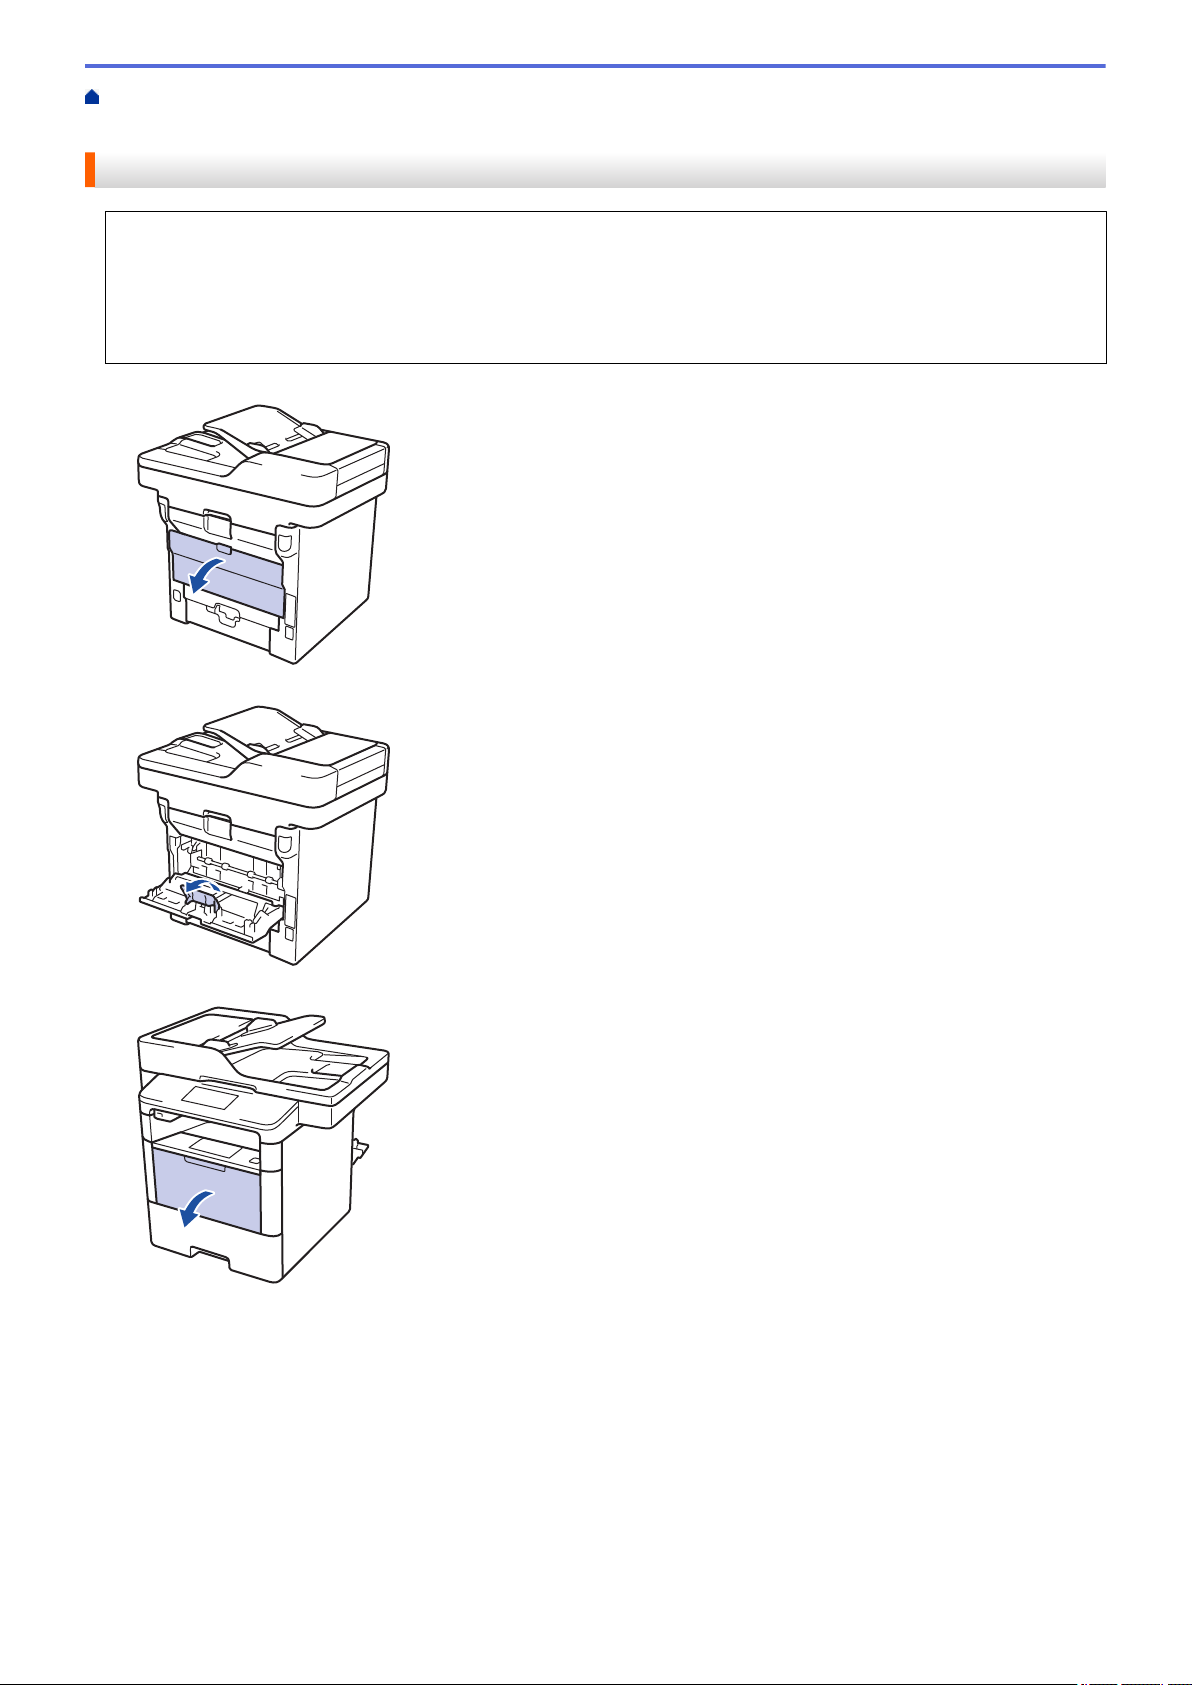
Load and Print Using the Multi‑purpose Tray (MP Tray)....................................................................30
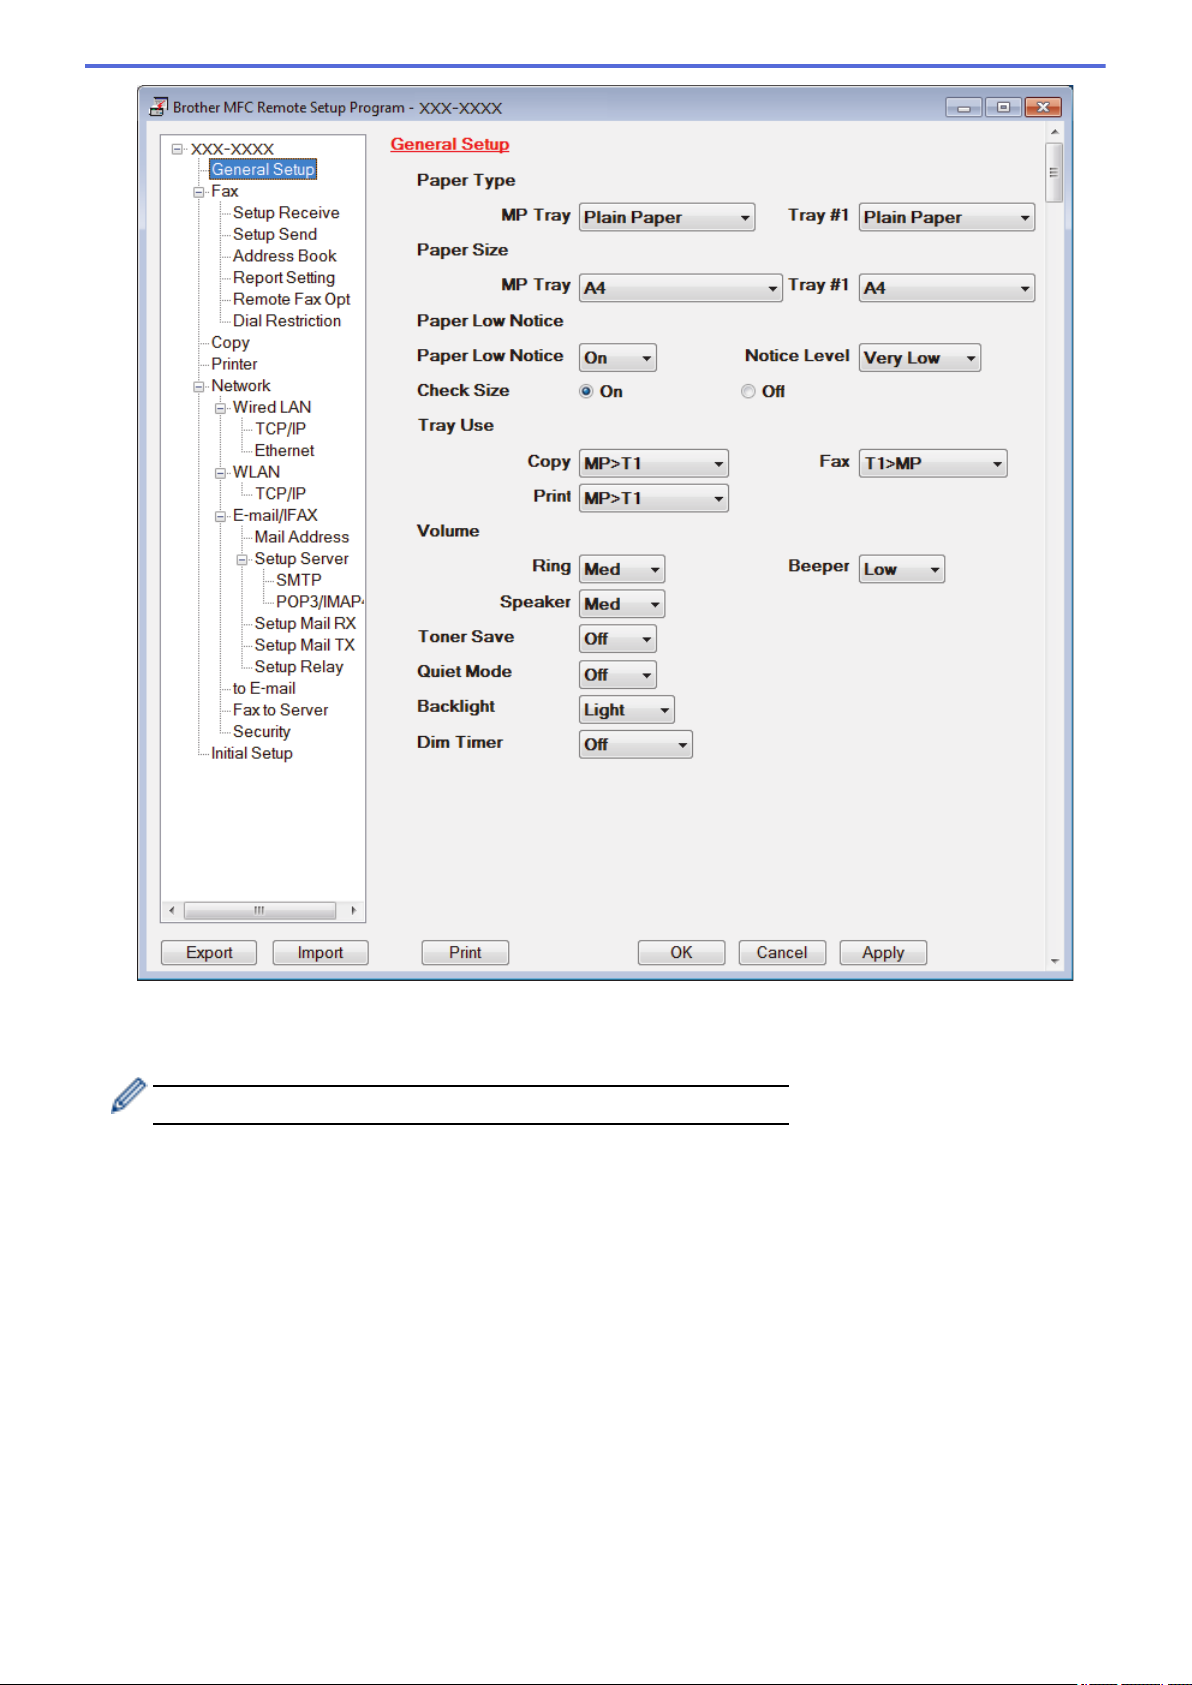
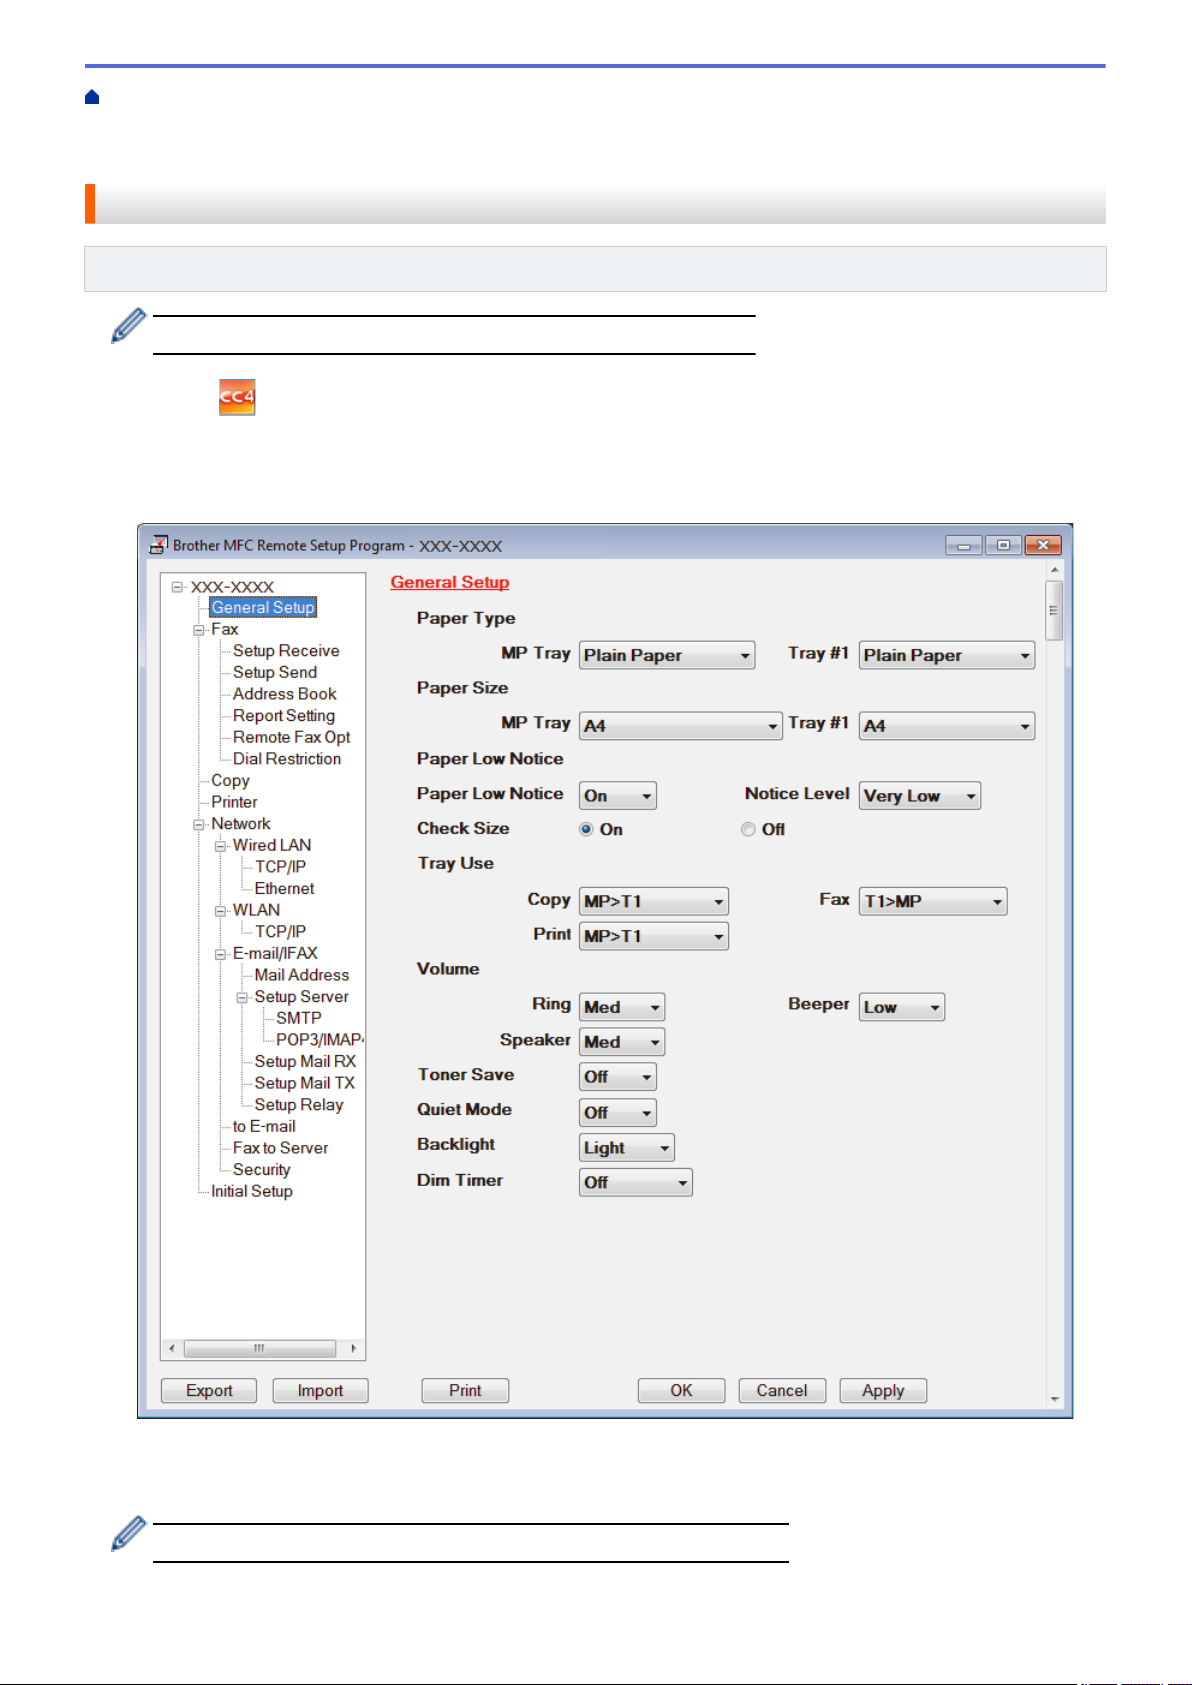
Paper Settings..............................................................................................................................................38
Change the Paper Size and Paper Type............................................................................................39
Select the Tray to Be Used For Printing.............................................................................................40
Change the Check Paper Size Setting...............................................................................................41
Load Documents in the Automatic Document Feeder (ADF).............................................................44
Load Documents on the Scanner Glass.............................................................................................46
Unscannable and Unprintable Areas...........................................................................................................47
Using Special Paper.....................................................................................................................................48
Print One Page Duplicates on Different Types of Paper..............................................................................87
Cancel a Print Job........................................................................................................................................88
Test Print......................................................................................................................................................89
Copy a Document......................................................................................................................................203
Enlarge or Reduce Copied Images............................................................................................................205
Make N in 1 Copies Using the Page Layout Feature.................................................................................206
Copy an ID Card........................................................................................................................................209
Home > Table of Contents
ii
Copy on Both Sides of the Paper (2-sided Copy)......................................................................................210
Send a Fax.................................................................................................................................................215
Send a Fax.......................................................................................................................................216
Send a 2-sided Fax from the ADF....................................................................................................218
Send a Fax Manually........................................................................................................................219
Send a Fax at the End of a Conversation........................................................................................220
Send the Same Fax to More than One Recipient (Broadcasting)....................................................221
Send a Fax in Real Time..................................................................................................................223
Send a Fax at a Specified Time (Delayed Fax)................................................................................224
Add a Cover Page to Your Fax.........................................................................................................225
Cancel a Fax in Progress.................................................................................................................228
Check and Cancel a Pending Fax....................................................................................................229
Receive a Fax............................................................................................................................................231
Get Started.................................................................................................................................................320
Use Web Services from Your Brother Machine..........................................................................................487
Use Brother Web Services.........................................................................................................................488
Print with Google Cloud Print™..................................................................................................................490
Print with AirPrint........................................................................................................................................491
Print with Mopria™......................................................................................................................................492
Print and Scan from a Mobile Device.........................................................................................................493
Print and Scan Using Near-Field Communication (NFC)...........................................................................494
Document is Jammed in the Top of the ADF Unit............................................................................521
Document is Jammed under the Document Cover..........................................................................522
Remove Small Scraps of Paper Jammed in the ADF......................................................................523
Paper Jams................................................................................................................................................524
Paper is Jammed in the MP tray......................................................................................................525
Paper is Jammed in the Paper Tray.................................................................................................526
Paper is Jammed in the Back of the Machine..................................................................................528
Paper is Jammed inside the Machine..............................................................................................530
Paper is Jammed in the 2-sided Tray...............................................................................................532
Improve the Print Quality............................................................................................................................537
Telephone and Fax Problems....................................................................................................................541
Set Dial Tone Detection....................................................................................................................544
Set Telephone Line Compatibility for Interference and VoIP Systems.............................................545
Use the Network Connection Repair Tool (Windows®)....................................................................549
Where Can I Find My Brother Machine's Network Settings?...........................................................550
I Cannot Complete the Wireless Network Setup Configuration........................................................551
My Brother Machine Cannot Print, Scan, or PC-FAX Receive over the Network.............................553
I Want to Check that My Network Devices are Working Correctly...................................................555
Other Problems..........................................................................................................................................556
Check the Machine Information.................................................................................................................558
Reset Your Brother Machine......................................................................................................................559
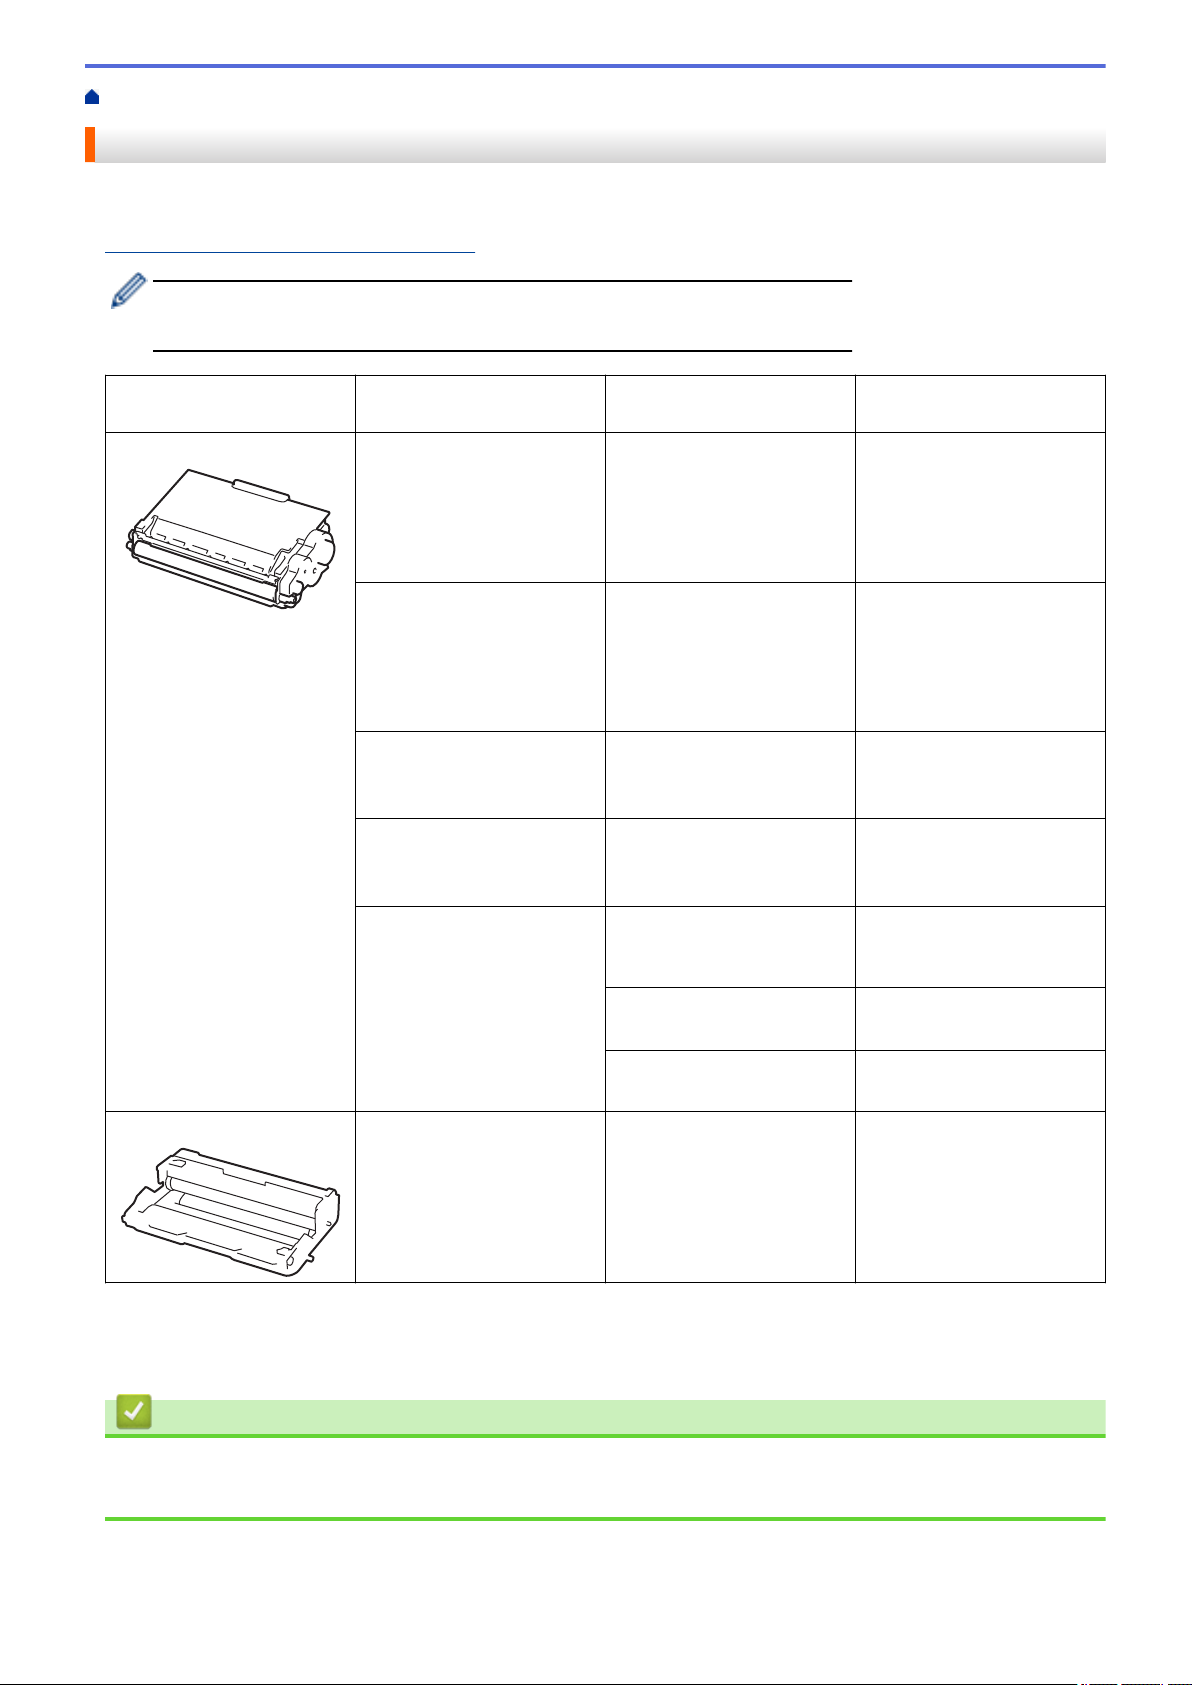
Replace the Toner Cartridge............................................................................................................564
Replace the Drum Unit.....................................................................................................................567
Clean the Machine.....................................................................................................................................570
Clean the Scanner............................................................................................................................572
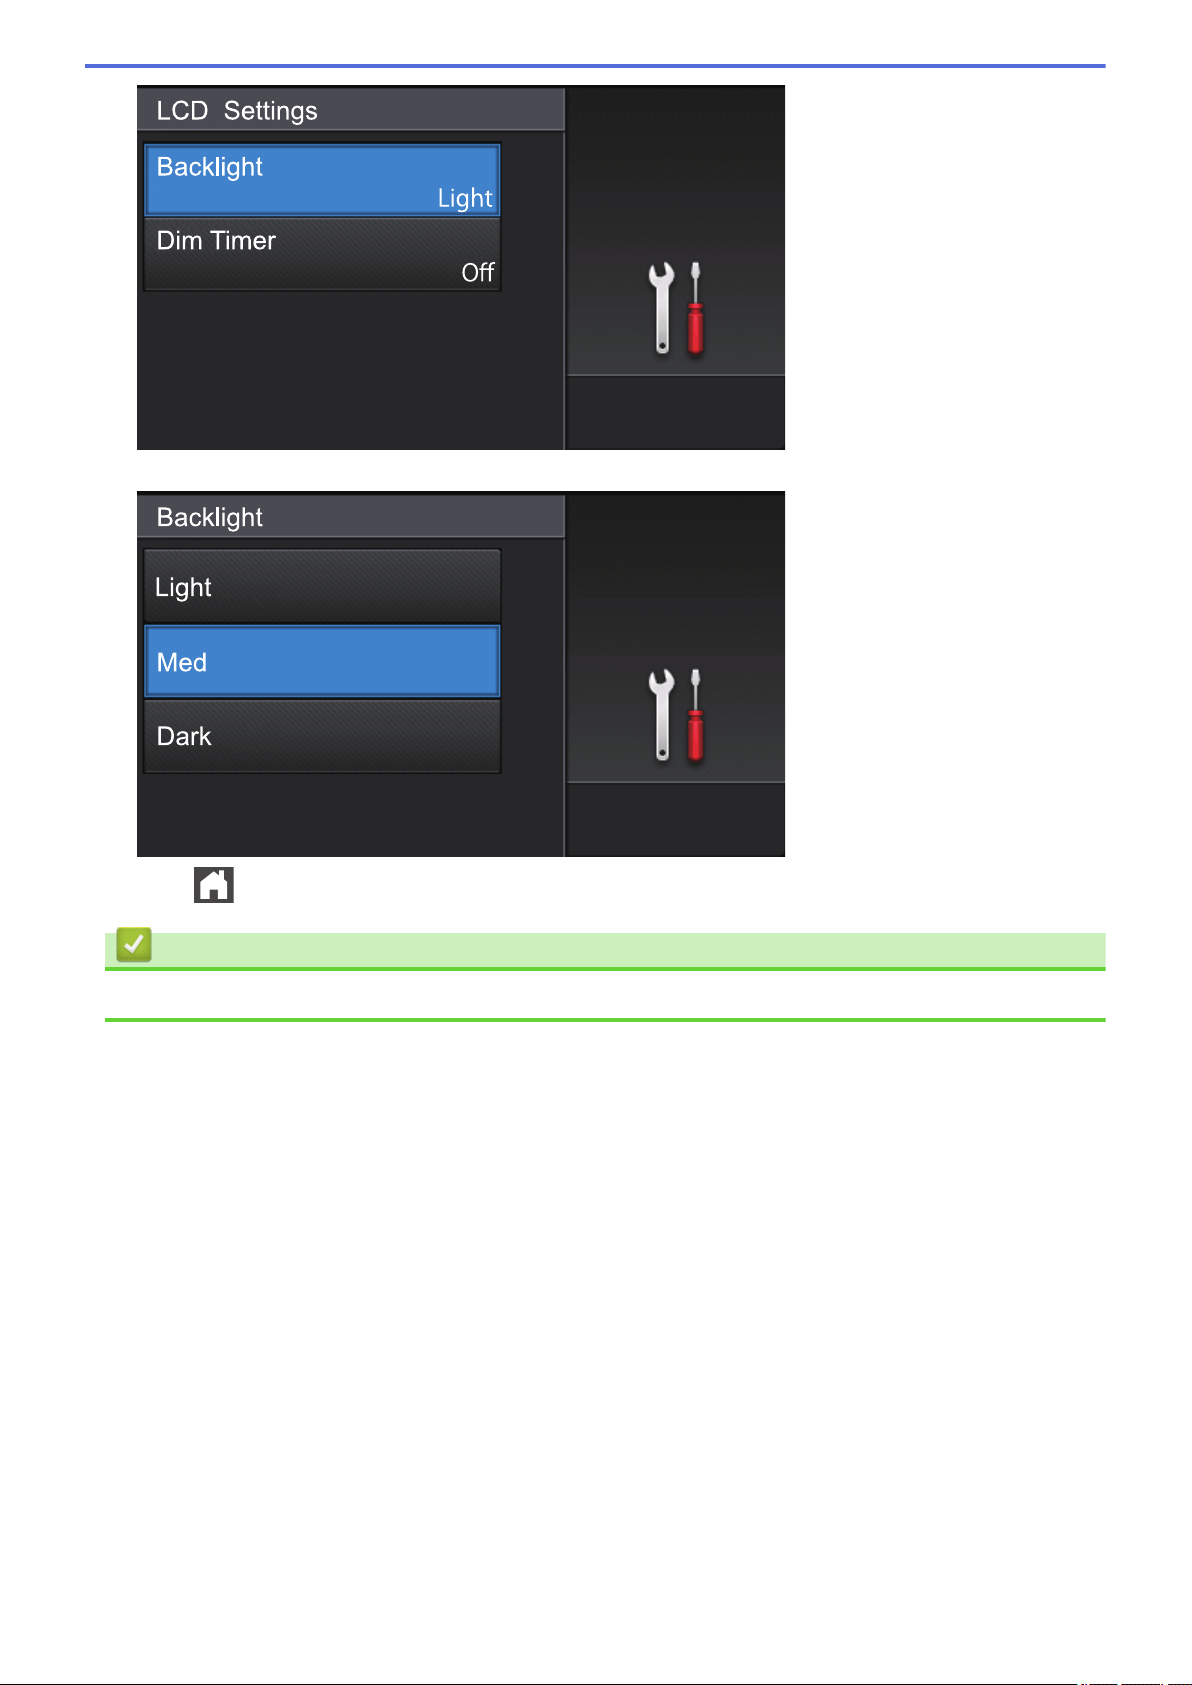
Clean the Touchscreen LCD............................................................................................................573
Clean the Corona Wire.....................................................................................................................574
Clean the Drum Unit.........................................................................................................................576
Clean the Paper Pick-up Rollers......................................................................................................580
Home > Table of Contents
v
Check the Remaining Life of Parts.............................................................................................................582
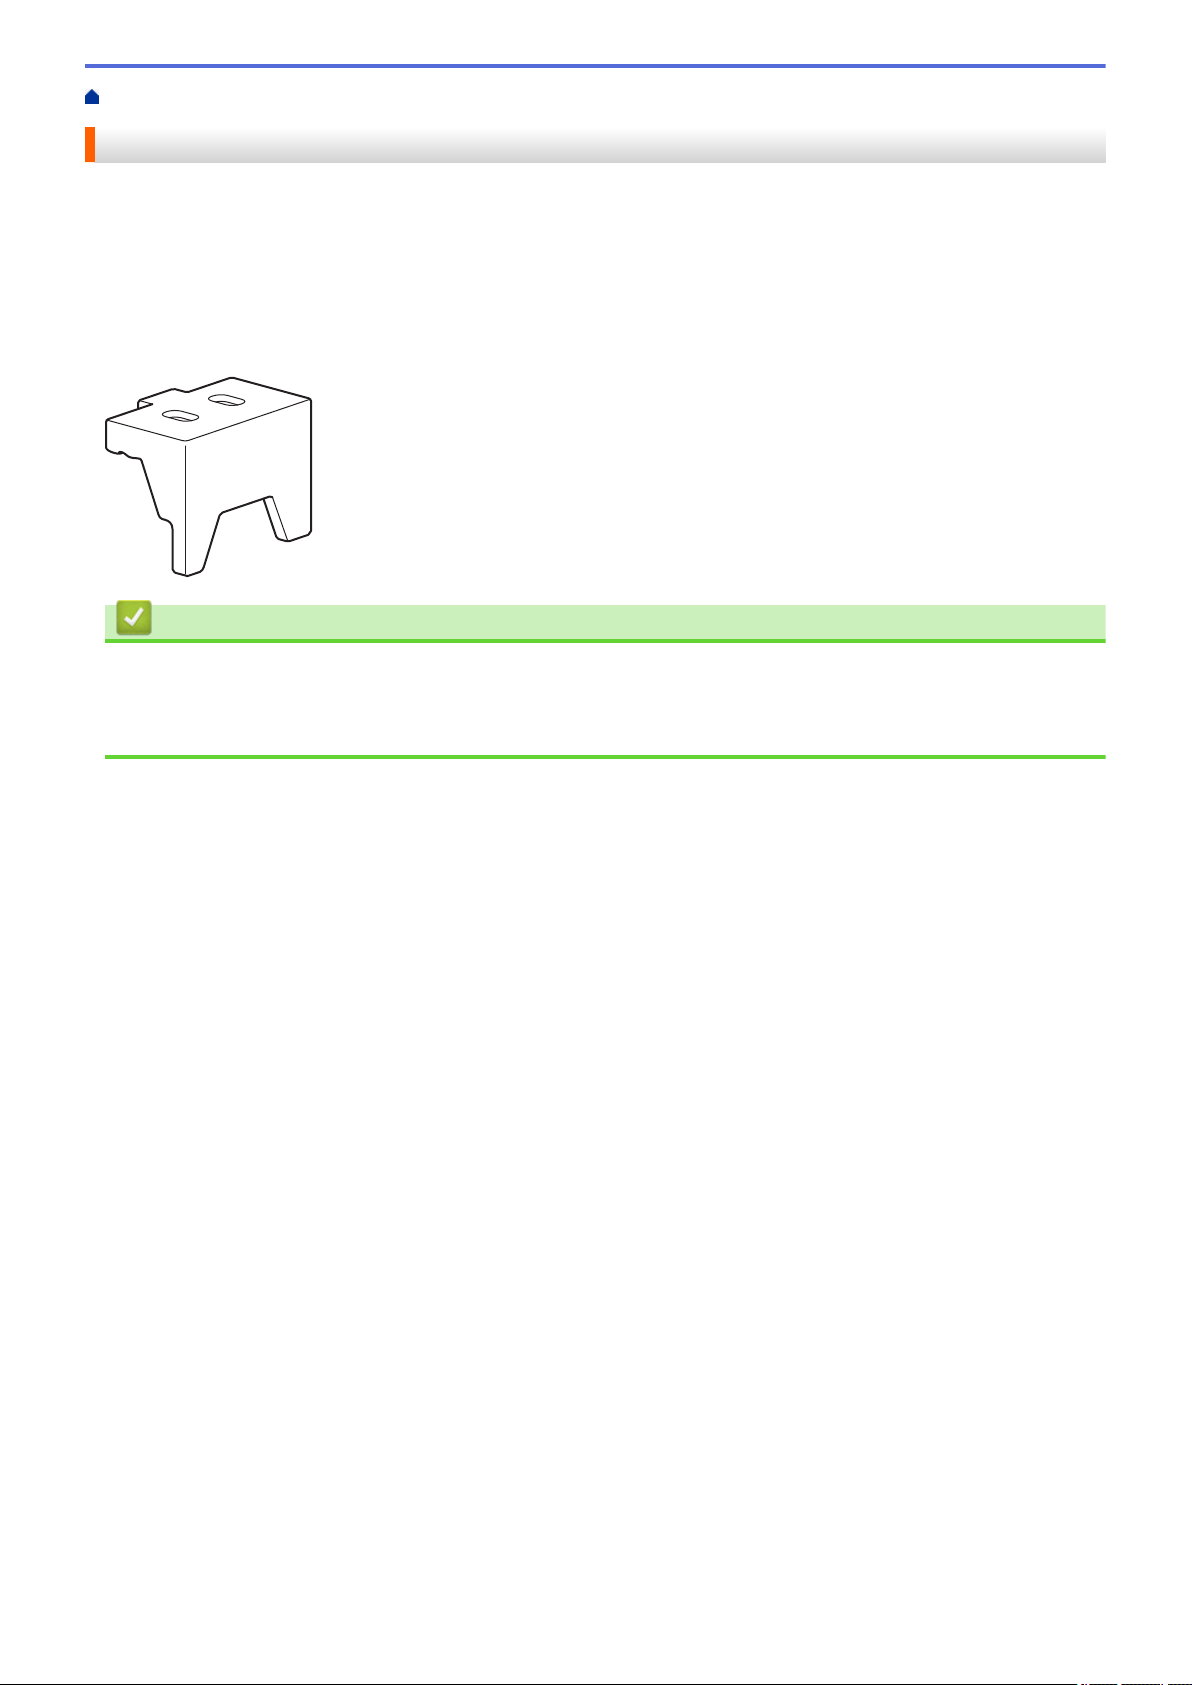
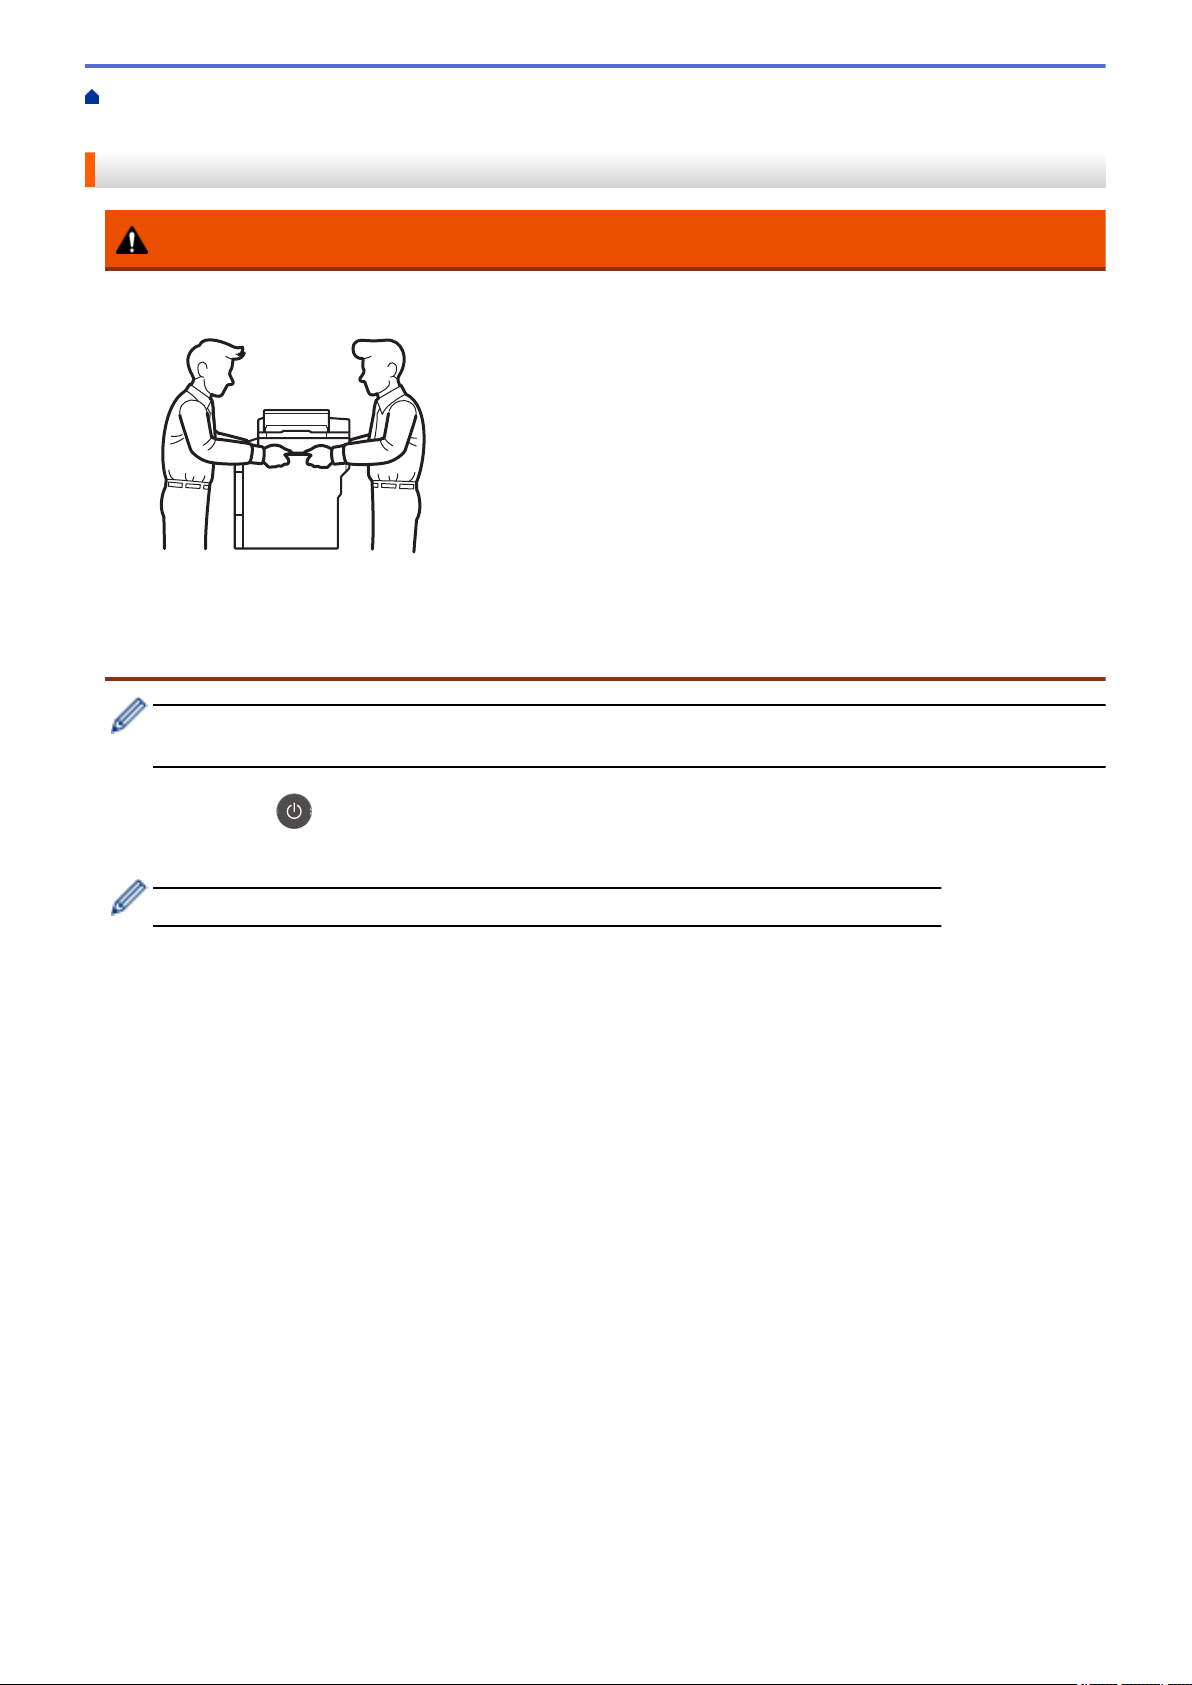
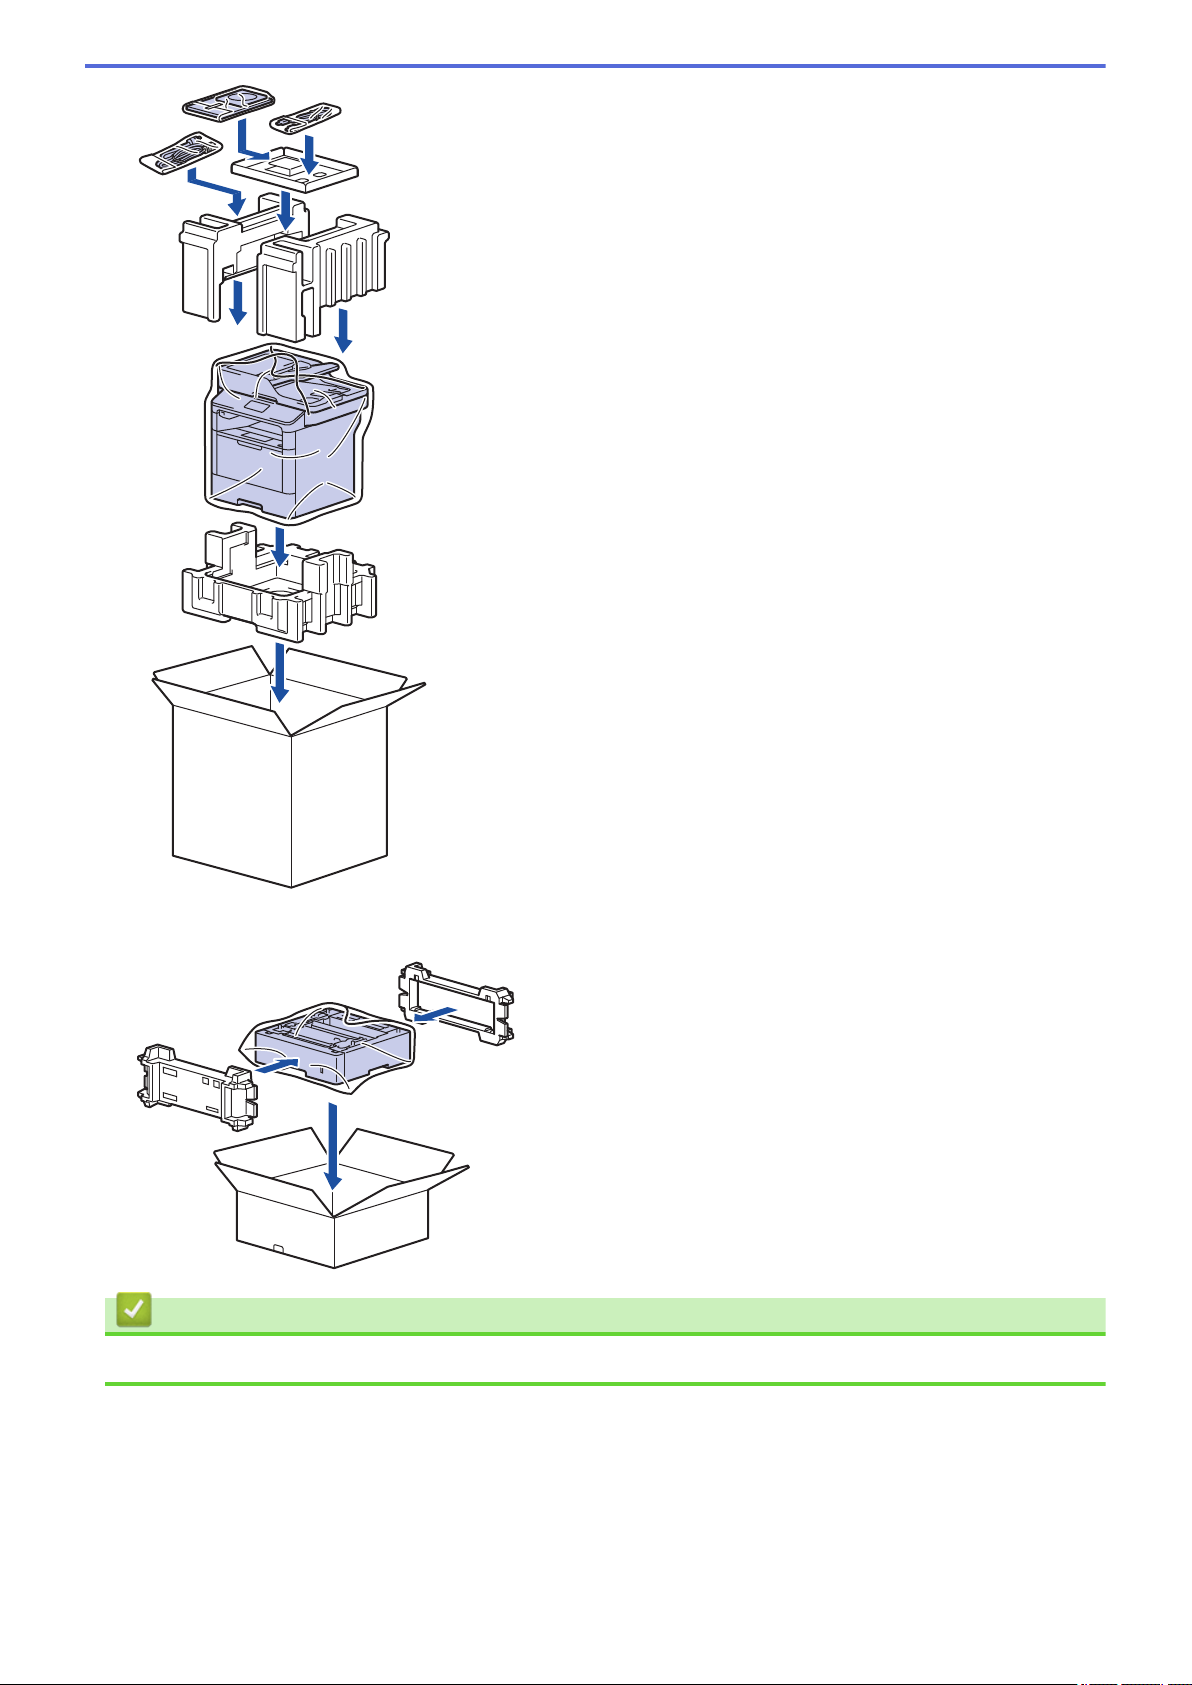
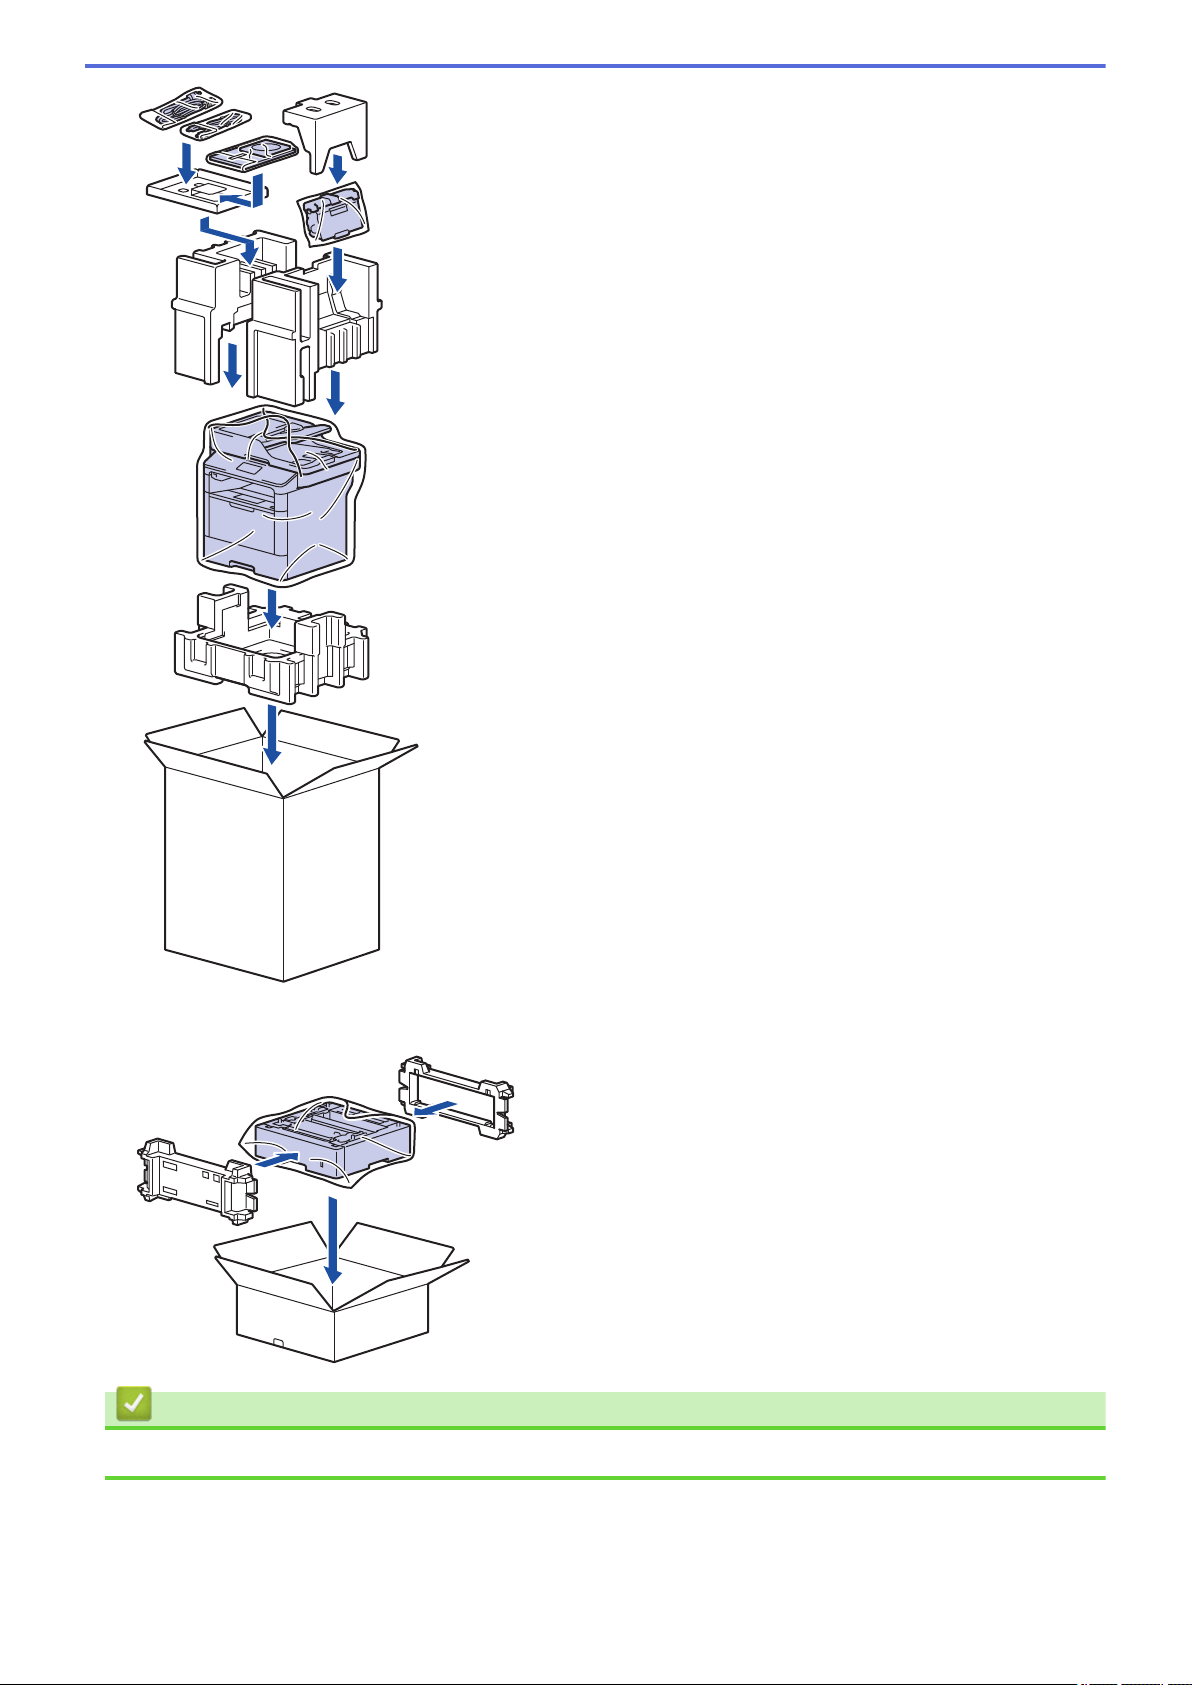
Pack and Ship Your Machine.....................................................................................................................583
Pack the Machine and the Toner Cartridge Together.......................................................................584
Pack the Machine and the Toner Cartridge Separately....................................................................586
Gebruikershandleiding.com neemt misbruik van zijn services uitermate serieus. U kunt hieronder aangeven waarom deze vraag ongepast is. Wij controleren de vraag en zonodig wordt deze verwijderd.
Product:
Spelregels forum
Om tot zinvolle vragen te komen hanteren wij de volgende spelregels:
lees eerst de handleiding door;
controleer of uw vraag al eerder door iemand anders is gesteld;
probeer uw vraag zo duidelijk mogelijk te stellen;
heeft u een probleem en al geprobeerd om dit op te lossen, vermeld dit erbij aub;
heeft u een oplossing gekregen van een bezoeker dan horen wij dat graag in dit forum;
wilt u een reactie geven op een vraag of antwoord, gebruik dan niet dit formulier maar klik op de knop 'reageer op deze vraag';
uw vraag wordt direct op de website gezet; vermijd daarom persoonlijke gegevens in te vullen;
Belangrijk! Als er een antwoord wordt gegeven op uw vraag, dan is het voor de gever van het antwoord nuttig om te weten als u er wel (of niet) mee geholpen bent! Wij vragen u dus ook te reageren op een antwoord.
Belangrijk! Antwoorden worden ook per e-mail naar abonnees gestuurd. Laat uw emailadres achter op deze site, zodat u op de hoogte blijft. U krijgt dan ook andere vragen en antwoorden te zien.
Abonneren
Abonneer u voor het ontvangen van emails voor uw Brother MFC-L6700DW bij:
nieuwe vragen en antwoorden
nieuwe handleidingen
U ontvangt een email met instructies om u voor één of beide opties in te schrijven.
Ontvang uw handleiding per email
Vul uw emailadres in en ontvang de handleiding van Brother MFC-L6700DW in de taal/talen: Engels als bijlage per email.
De handleiding is 16,87 mb groot.
U ontvangt de handleiding per email binnen enkele minuten. Als u geen email heeft ontvangen, dan heeft u waarschijnlijk een verkeerd emailadres ingevuld of is uw mailbox te vol. Daarnaast kan het zijn dat uw internetprovider een maximum heeft aan de grootte per email. Omdat hier een handleiding wordt meegestuurd, kan het voorkomen dat de email groter is dan toegestaan bij uw provider.
Uw handleiding is per email verstuurd. Controleer uw email
Als u niet binnen een kwartier uw email met handleiding ontvangen heeft, kan het zijn dat u een verkeerd emailadres heeft ingevuld of dat uw emailprovider een maximum grootte per email heeft ingesteld die kleiner is dan de grootte van de handleiding.
Er is een email naar u verstuurd om uw inschrijving definitief te maken.
Controleer uw email en volg de aanwijzingen op om uw inschrijving definitief te maken
U heeft geen emailadres opgegeven
Als u de handleiding per email wilt ontvangen, vul dan een geldig emailadres in.
Uw vraag is op deze pagina toegevoegd
Wilt u een email ontvangen bij een antwoord en/of nieuwe vragen? Vul dan hier uw emailadres in.