IT
CONTENUT
MONT
1. Preparar
2
MONIT OR INST ALLA TIONOPTIONAL
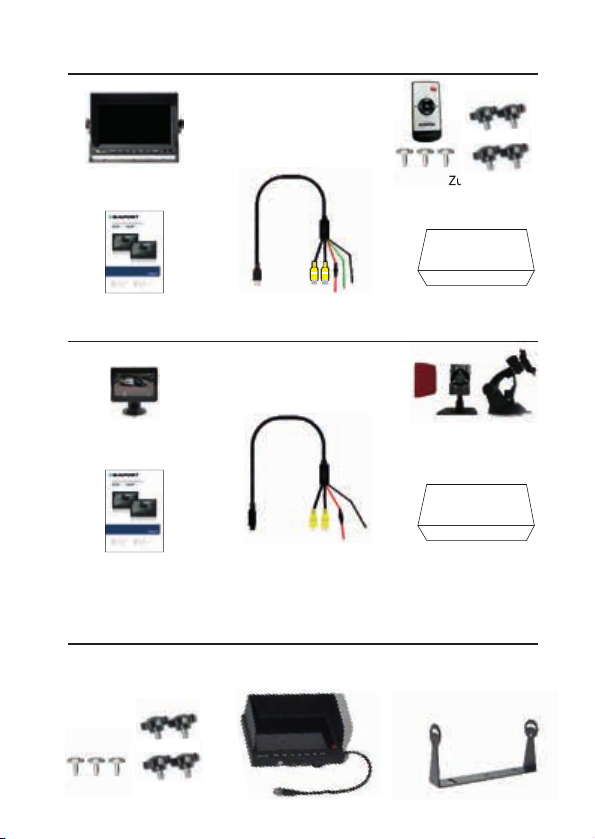
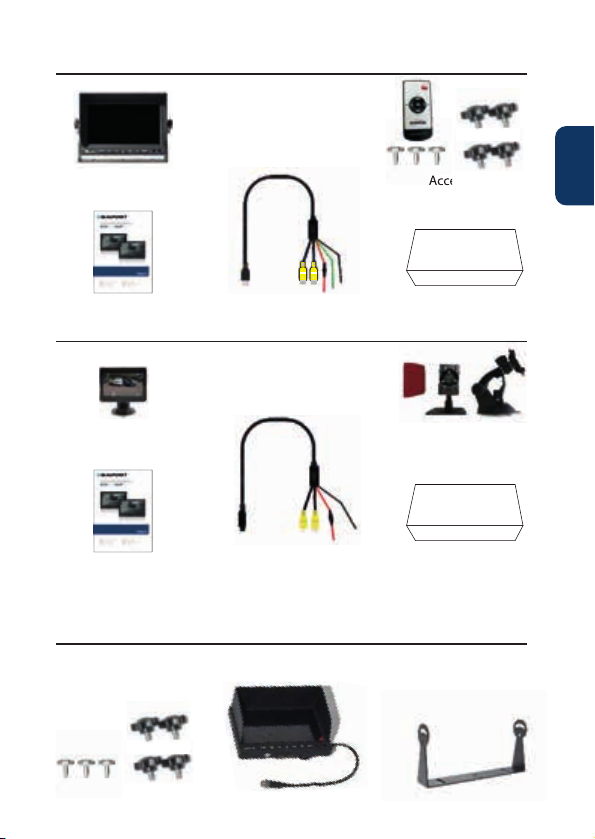
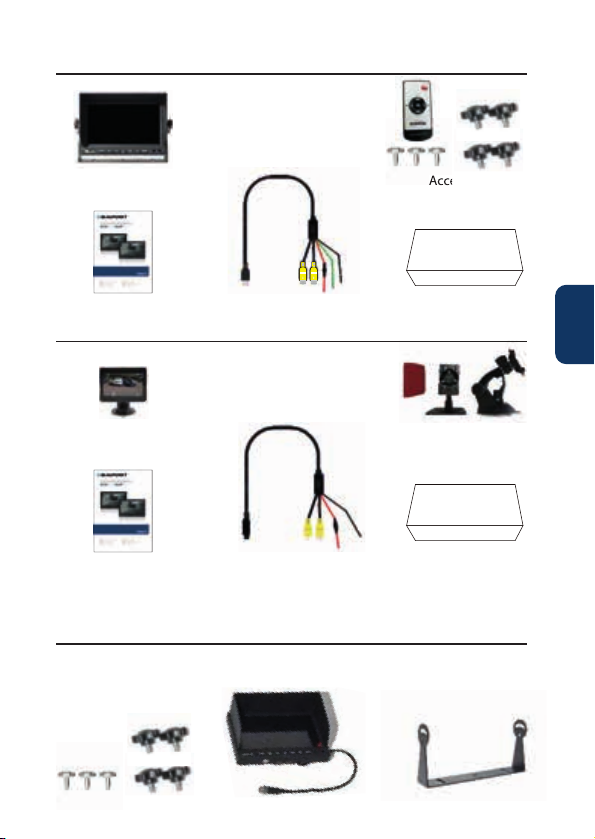
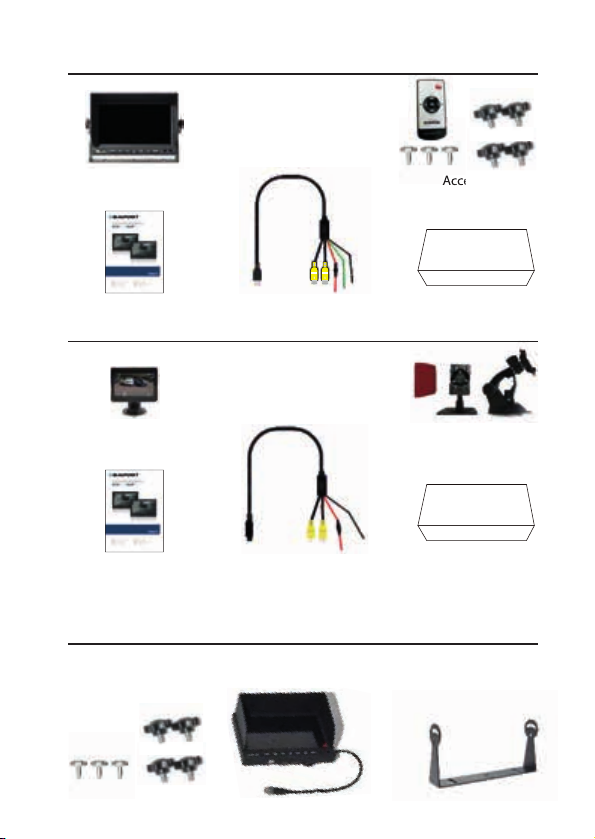
7 Digital LCD Monitor
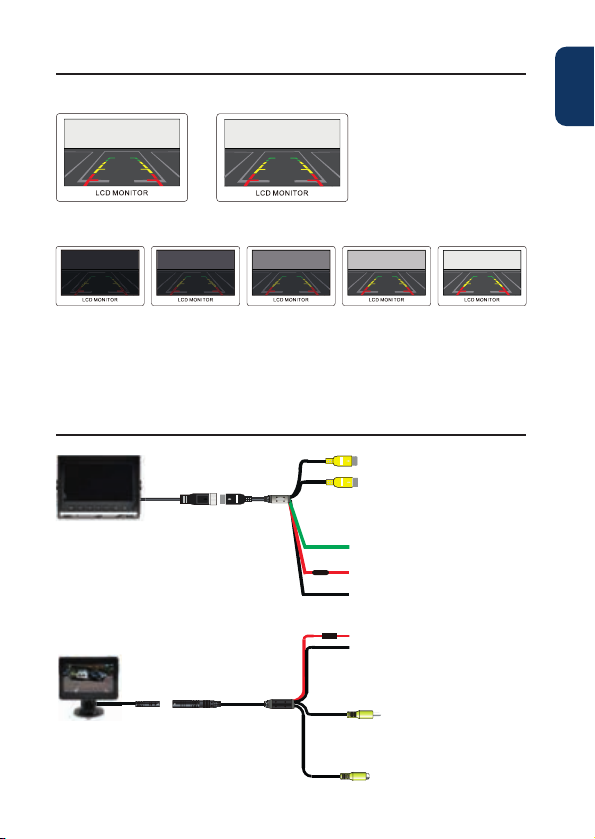
Connection cable
Accessories
Instruction Manual Packing Box
P ACAGE CONTENTS LIST
1. Prepare all the parts of the kit before installation.
Mnitr Inst ste
MONIT OR INST ALLA TION
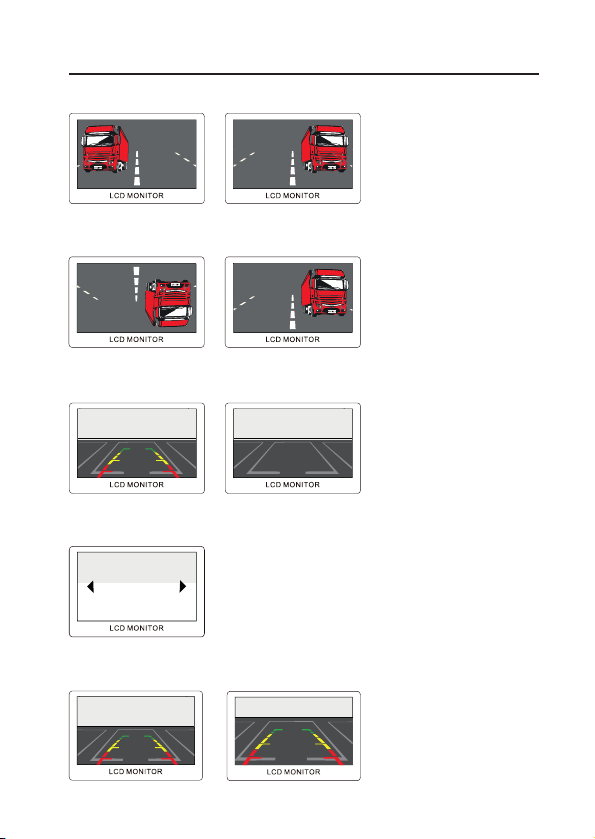
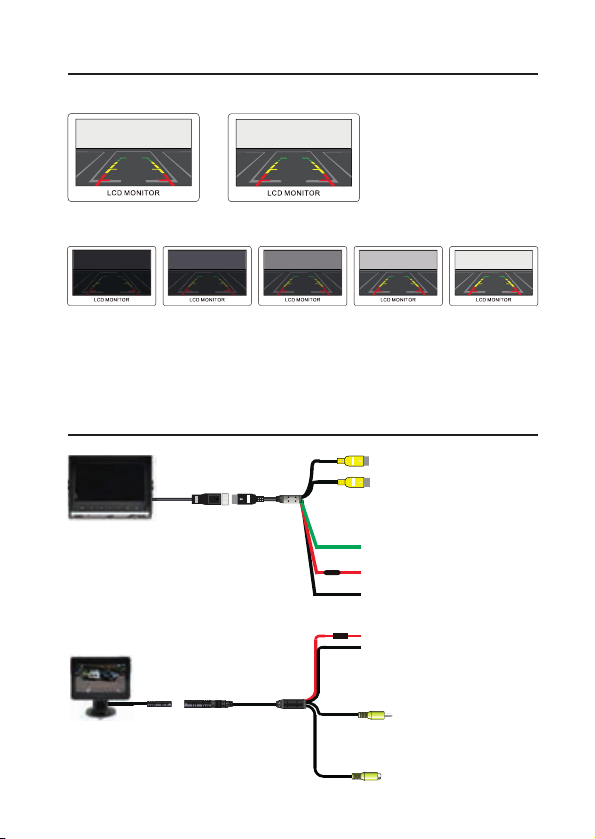
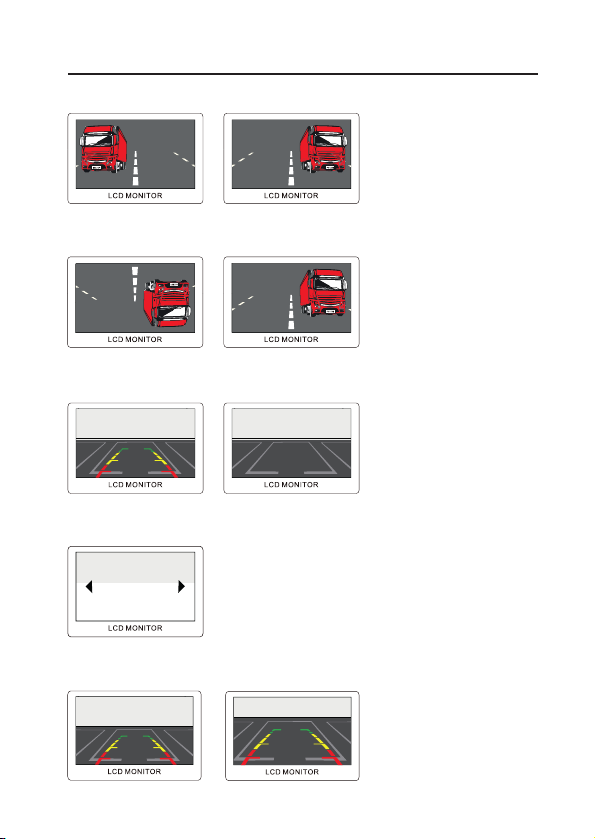
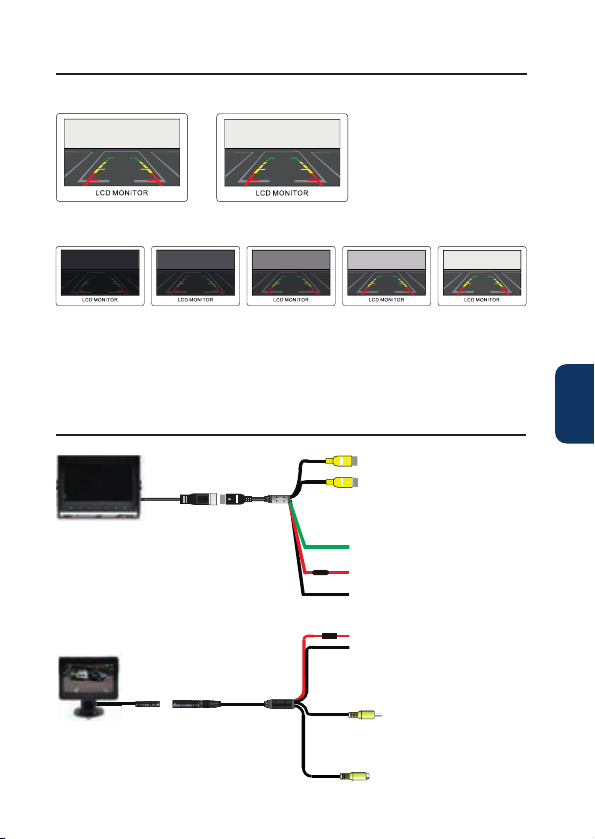
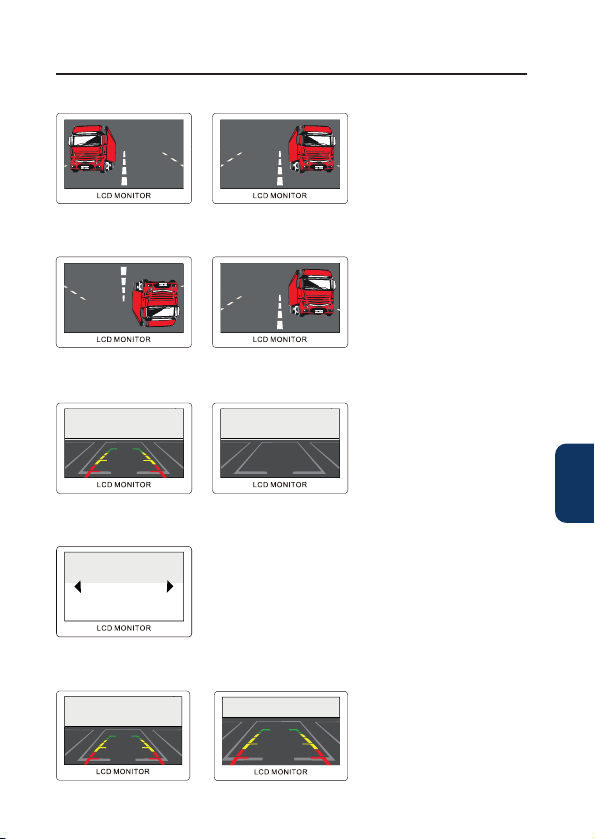
1NORMAL/MIRROR LIP
P ARING LINE SELECTION
2VERTICAL LIPPING
4
3
2
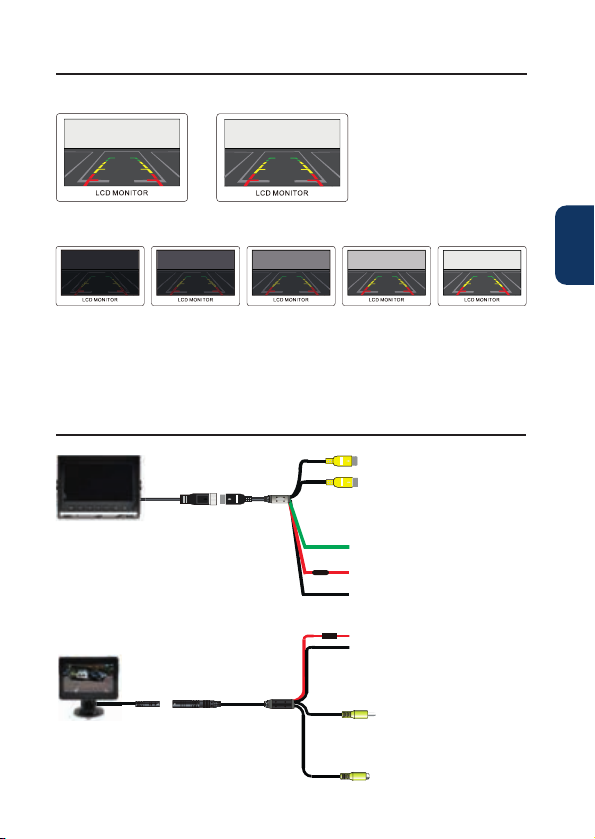
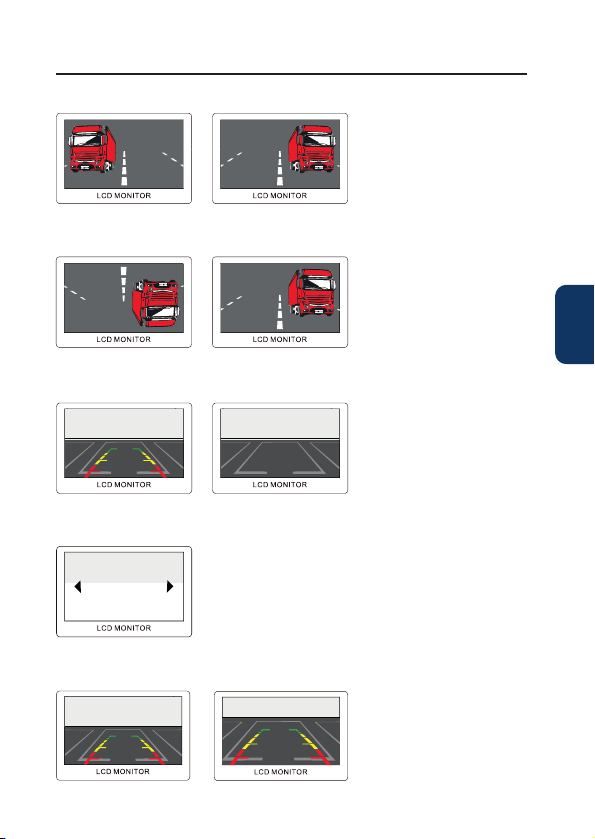
For the function of image flip, you can adjust through the menu, or press the sixth button to choose
the mode you need
Also, you can switch parking line onof f
Mutinguge Seectin
language Chinese, English, Italian,
Spanish, Portuguese,apanese, ect
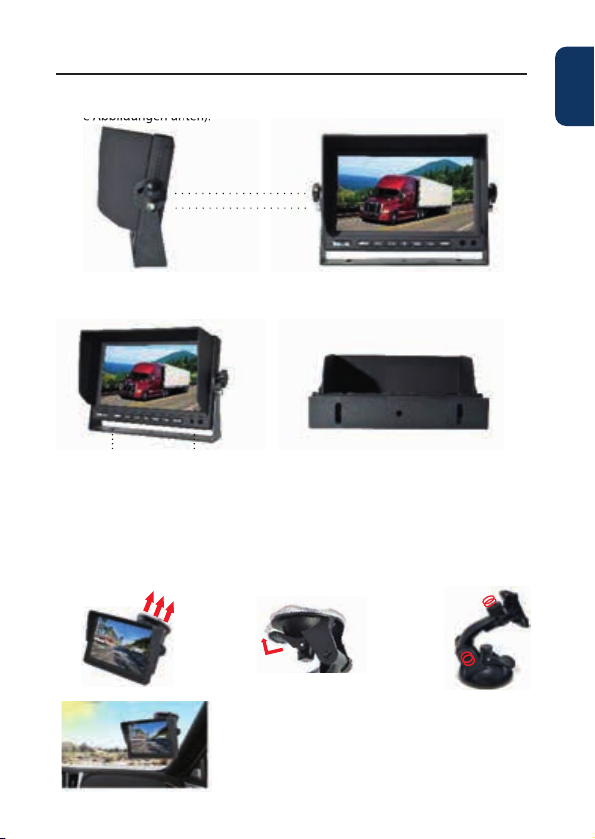
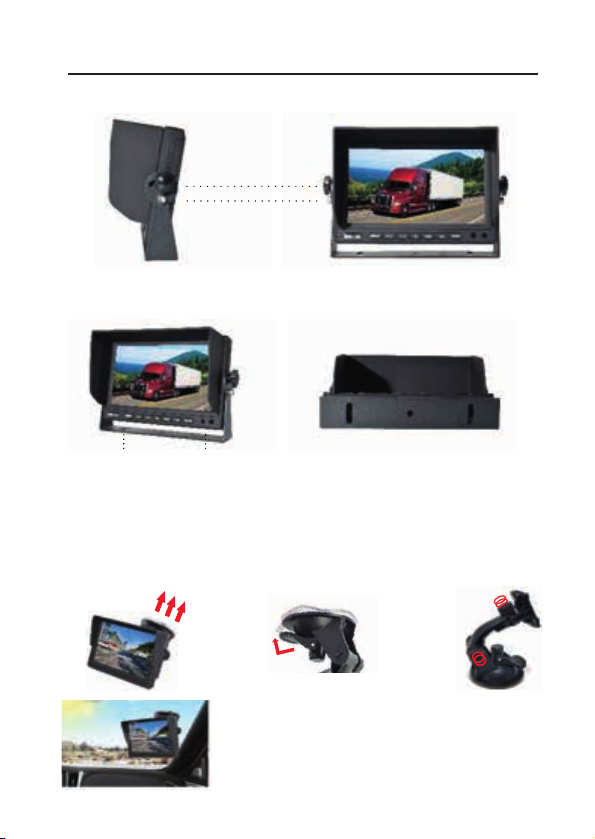
2. Fix the screws and let the U brack tight(see below pictures).
3. Move the monitor to the desired location then fix screws on the bottom of the
bracket(see below pictures).
5 Digital LCD Monitor
Connection cable
Accessories
Instruction Manual Packing Box
① ② ③
1. Fix the monitor and suction cup
2. Lower the joystick while firmly pressing the suction plate against the parts to be connected to a flat
surface, such as the windshieldinstrument panel. (hen removing it, just lift the lever to remove it
easily .)
3. Rotate the screw to adjust the height of the monitor in an easy-to-observe manner .
Insttin Lctin Reerence
Because of the monitor bracket, it is dif ficult to fix it if
the dashboard is not flat,we recommend to install it
on the windshield.
The Screen Prrtin Adjustment
16 4 3
It have two type of screen proportion, one for 16, one for 43, you can choose the type you like,
enter the menu to adjust.
2
MONIT OR INST ALLA TIONOPTIONAL
7 Digital LCD Monitor
Connection cable
Accessories
Instruction Manual Packing Box
P ACAGE CONTENTS LIST
1. Prepare all the parts of the kit before installation.
Mnitr Inst ste
MONIT OR INST ALLA TION
1NORMAL/MIRROR LIP
P ARING LINE SELECTION
2VERTICAL LIPPING
4
3
2
For the function of image flip, you can adjust through the menu, or press the sixth button to choose
the mode you need
Also, you can switch parking line onof f
Mutinguge Seectin
language Chinese, English, Italian,
Spanish, Portuguese,apanese, ect
2. Fix the screws and let the U brack tight(see below pictures).
3. Move the monitor to the desired location then fix screws on the bottom of the
bracket(see below pictures).
5 Digital LCD Monitor
Connection cable
Accessories
Instruction Manual Packing Box
① ② ③
1. Fix the monitor and suction cup
2. Lower the joystick while firmly pressing the suction plate against the parts to be connected to a flat
surface, such as the windshieldinstrument panel. (hen removing it, just lift the lever to remove it
easily .)
3. Rotate the screw to adjust the height of the monitor in an easy-to-observe manner .
Insttin Lctin Reerence
Because of the monitor bracket, it is dif ficult to fix it if
the dashboard is not flat,we recommend to install it
on the windshield.
The Screen Prrtin Adjustment
16 4 3
It have two type of screen proportion, one for 16, one for 43, you can choose the type you like,
enter the menu to adjust.
Monitor digitale L A ccessori
Accessori
Scatola
Scatola
Manuale d’uso Cavo di c
Manuale d’uso Cavo di c
Monitor digitale L
2
MONIT OR INST ALLA TIONOPTIONAL
7 Digital LCD Monitor
Connection cable
Accessories
Instruction Manual Packing Box
P ACAGE CONTENTS LIST
1. Prepare all the parts of the kit before installation.
Mnitr Inst ste
MONIT OR INST ALLA TION
1NORMAL/MIRROR LIP
P ARING LINE SELECTION
2VERTICAL LIPPING
4
3
2
For the function of image flip, you can adjust through the menu, or press the sixth button to choose
the mode you need
Also, you can switch parking line onof f
Mutinguge Seectin
language Chinese, English, Italian,
Spanish, Portuguese,apanese, ect
2. Fix the screws and let the U brack tight(see below pictures).
3. Move the monitor to the desired location then fix screws on the bottom of the
bracket(see below pictures).
5 Digital LCD Monitor
Connection cable
Accessories
Instruction Manual Packing Box
① ② ③
1. Fix the monitor and suction cup
2. Lower the joystick while firmly pressing the suction plate against the parts to be connected to a flat
surface, such as the windshieldinstrument panel. (hen removing it, just lift the lever to remove it
easily .)
3. Rotate the screw to adjust the height of the monitor in an easy-to-observe manner .
Insttin Lctin Reerence
Because of the monitor bracket, it is dif ficult to fix it if
the dashboard is not flat,we recommend to install it
on the windshield.
The Screen Prrtin Adjustment
16 4 3
It have two type of screen proportion, one for 16, one for 43, you can choose the type you like,
enter the menu to adjust.
2
MONIT OR INST ALLA TIONOPTIONAL
7 Digital LCD Monitor
Connection cable
Accessories
Instruction Manual Packing Box
P ACAGE CONTENTS LIST
1. Prepare all the parts of the kit before installation.
Mnitr Inst ste
MONIT OR INST ALLA TION
1NORMAL/MIRROR LIP
P ARING LINE SELECTION
2VERTICAL LIPPING
4
3
2
For the function of image flip, you can adjust through the menu, or press the sixth button to choose
the mode you need
Also, you can switch parking line onof f
Mutinguge Seectin
language Chinese, English, Italian,
Spanish, Portuguese,apanese, ect
2. Fix the screws and let the U brack tight(see below pictures).
3. Move the monitor to the desired location then fix screws on the bottom of the
bracket(see below pictures).
5 Digital LCD Monitor
Connection cable
Accessories
Instruction Manual Packing Box
① ② ③
1. Fix the monitor and suction cup
2. Lower the joystick while firmly pressing the suction plate against the parts to be connected to a flat
surface, such as the windshieldinstrument panel. (hen removing it, just lift the lever to remove it
easily .)
3. Rotate the screw to adjust the height of the monitor in an easy-to-observe manner .
Insttin Lctin Reerence
Because of the monitor bracket, it is dif ficult to fix it if
the dashboard is not flat,we recommend to install it
on the windshield.
The Screen Prrtin Adjustment
16 4 3
It have two type of screen proportion, one for 16, one for 43, you can choose the type you like,
enter the menu to adjust.
RVM 5.1
RVM 7.1