Copyright
Copyright © 2010 by BenQ Corporation. All rights reserved. No part of this publication may be
reproduced, transmitted, transcribed, stored in a retrieval system or translated into any language
or computer language, in any form or by any means, electronic, mechanical, magnetic, optical,
chemical, manual or otherwise, without the prior written permission of BenQ Corporation.
Disclaimer
BenQ Corporation makes no representations or warranties, either expressed or implied, with
respect to the contents hereof and specifically disclaims any warranties, merchantability or fitness
for any particular purpose. Further, BenQ Corporation reserves the right to revise this publication
and to make changes from time to time in the contents hereof without obligation of BenQ
Corporation to notify any person of such revision or changes.
Please follow these safety instructions for best performance,
and long life for your monitor
Power Safety
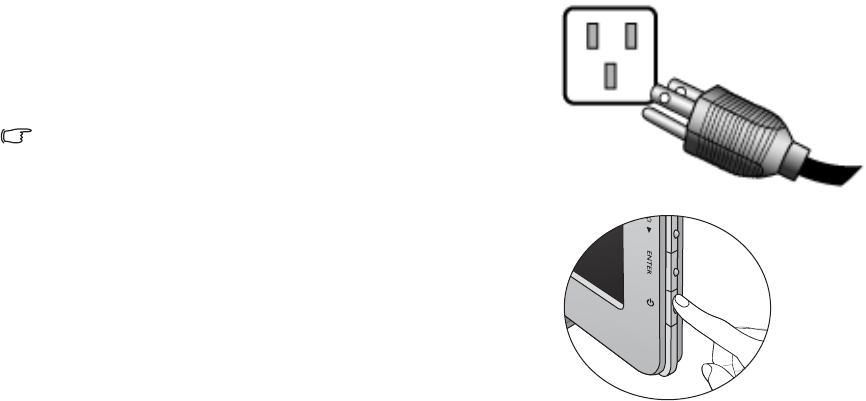
• The AC plug isolates this equipment from the AC supply.
• The power supply cord serves as a power disconnect device for pluggable equipment. The
socket outlet should be installed near the equipment and be easily accessible.
• This product should be operated from the type of power indicated on the marked label. If you
are not sure of the type of power available, consult your dealer or local power company.
• An approved power cord greater or equal to H03VV-F or H05VV-F, 2G or 3G, 0.75mm2 must
be used.
Care And Cleaning
• Cleaning. Always unplug your monitor from the wall outlet before cleaning. Clean the LCD
monitor surface with a lint-free, non-abrasive cloth. Avoid using any liquid, aerosol or glass
cleaners.
• Slots and openings on the back or top of the cabinet are for ventilation. They must not be
blocked or covered. Your monitor should never be placed near or over a radiator or heat
source, or in a built-in installation unless proper ventilation is provided.
• Never push objects or spill liquid of any kind into this product.
Servicing
• Do not attempt to service this product yourself, as opening or removing covers may expose
you to dangerous voltages or other risks. If any of the above mentioned misuse or other
accident such as dropping or mishandling occurs, contact qualified service personnel for
servicing.