To enable DMX or disallow DMX on the product.
Press on the remote controller, the product work on the DMX controlling modes.
1. Press on the remote controller.
2. Press <R>, <G>, <B>, <WW>, <CW> <A> or <UV> (red, green, blue, warm white, cool white, amber, UV) to choose your colour.
3. Press again <R>, <G>, <B>, <WW>, <CW> <A> or <UV> (red, green, blue, warm white, cool white, amber, UV) to close your colour.
4. Press or to either increase or decrease the percentage of each colour.
To adjust the FADE speed of the automatic program, the sound active program and the manual mode.
1. Press on the remote controller.
2. Press again to turn off the Fade mode.
To adjust the brightness value of the automatic program, the Sound active program and Manual Mode.
Press digit to to change different brightness on the device.
The remote control is supplied with a battery inserted. An insulating foil between the battery and the battery contacts
prevents the battery from being discharged during storage. Prior to the first operation remove the foil from the battery support on the
rear side of the remote control. Otherwise operation of the remote control is not possible.
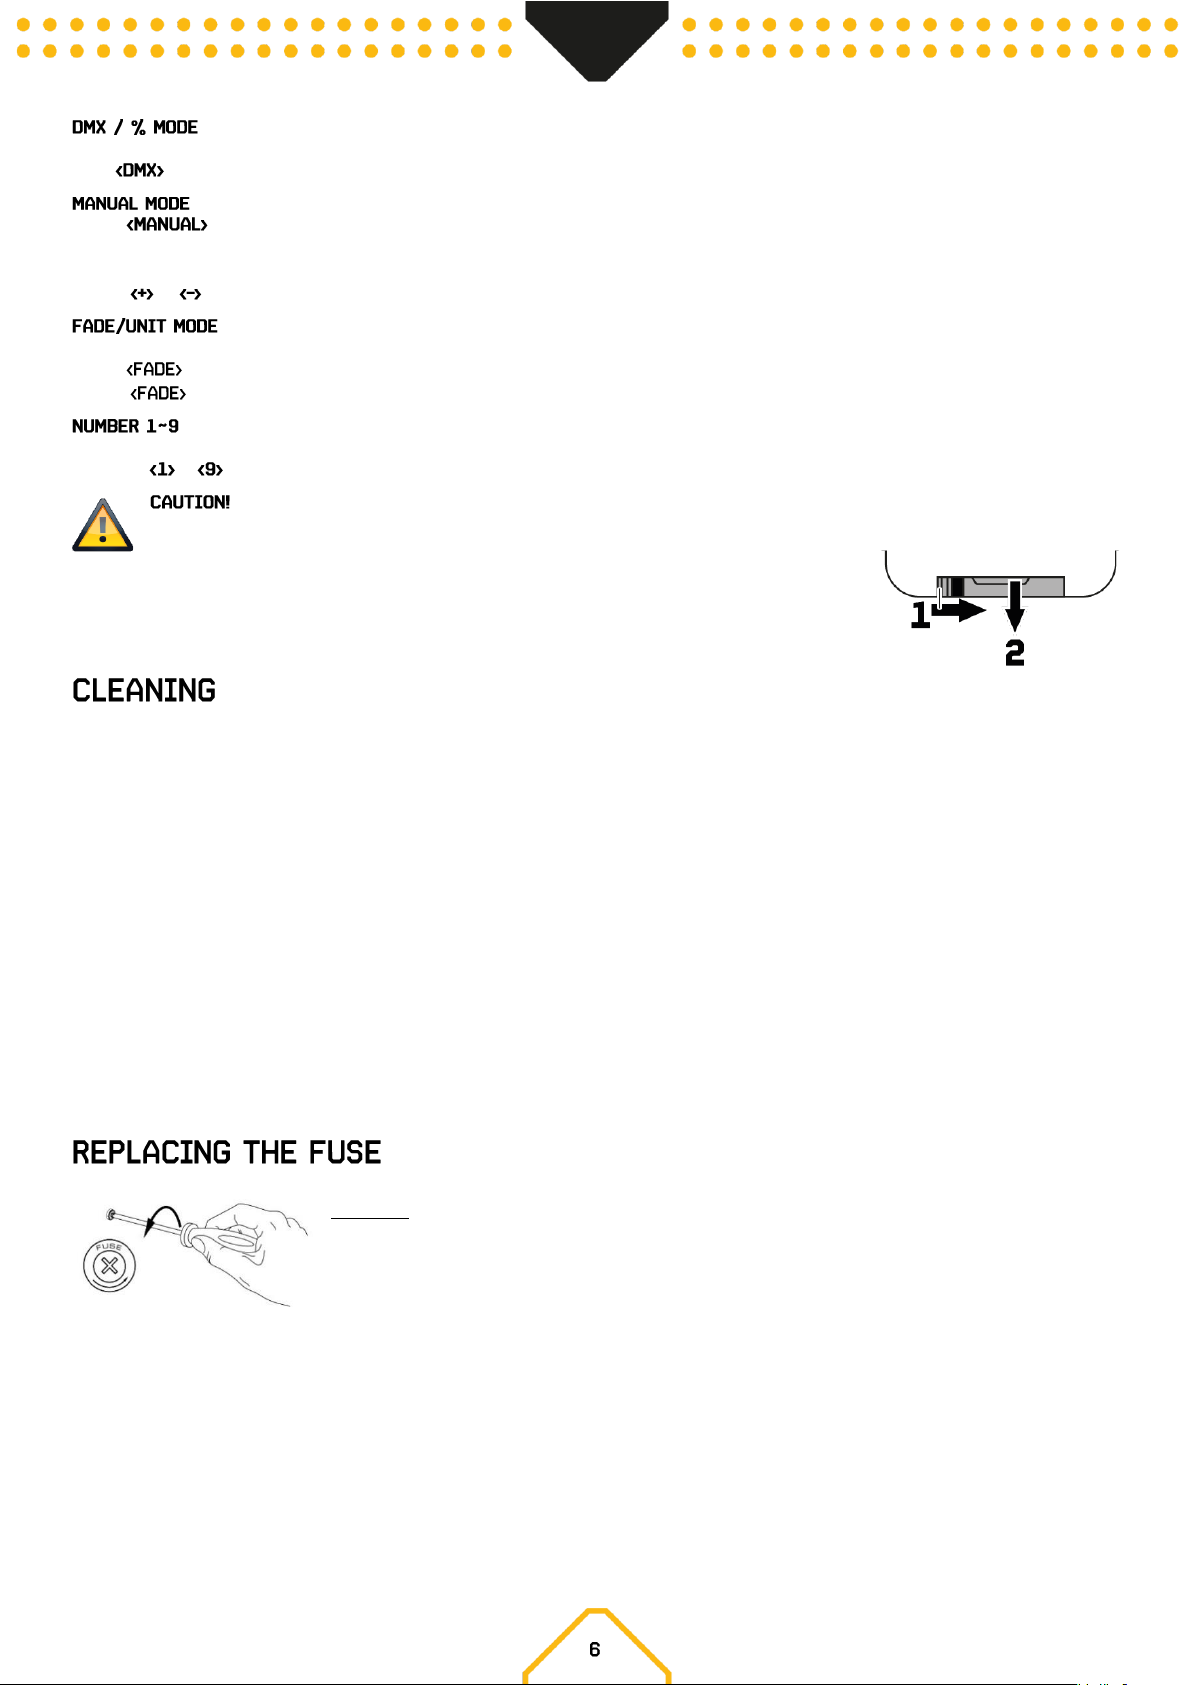
If the range of the remote control decreases, replace the battery. For this purpose, on the rear side of the
remote control press the small bar with the groove to the right (1) and at the same time remove the battery
support (2). For operation, one 3 V button cell type CR 2025 is required. When inserting, pay attention that the
positive pole of the button cell shows upwards in the support.
The buildup of dust, dirt and other airborne particles will reduce the unit’s light output. It will also prevent the unit from cooling correctly, and this
will reduce the unit’s lifetime. The rate of dirt buildup will vary depending on environmental factors such as airborne dust, use of smoke machines,
airflow from ventilation systems, etc. The unit’s cooling fans will accelerate buildup, and any smoke particles that are present in the atmosphere
will increase the tendency for dirt to clog.
To get the best performance and lifetime from the unit, inspect it regularly and clean it as soon as you see signs of dirt buildup.
Assess the operating environment each time you begin to use the unit. In dusty or smoky conditions, inspect the unit after a few hours and check it
frequently the unit may attract dirt faster than you expect. Draw up a cleaning schedule that will make sure that dirt is removed before it can build
up.
Use the following guidelines:
• Disconnect the unit from power and allow it to cool completely before cleaning.
• Do not use solvents, abrasives or any other aggressive product to clean the unit.
• Vacuum or use low-pressure compressed air to remove dust and loose particles from surfaces and air vents. Prevent the blades of cooling
fans from turning before you aim a vacuum or air jet at the fan, or you may spin the fan too fast and damage it.
• Clean glass components by wiping gently with a soft, clean, lint-free cloth moistened with a weak detergent solution. Put the solution on the
cloth and not on the surface to be cleaned. Avoid rubbing glass surfaces.
• Dry the unit with a soft, clean, lint-free cloth or low-pressure compressed air before reapplying power.
If the fuse is defective, replace the fuse with a fuse of the same type and value. Before replacing the fuse, unplug mains lead.
Procedure:
Step 1: Open the fuse holder on the rear panel with a fitting screwdriver.
Step 2: Remove the old fuse from the fuse holder.
Step 3: Install the new fuse in the fuse holder.
Step 4: Replace the fuse holder in the housing.