3. OPERATION GUIDE
19
3. OPERATION GUIDE
18
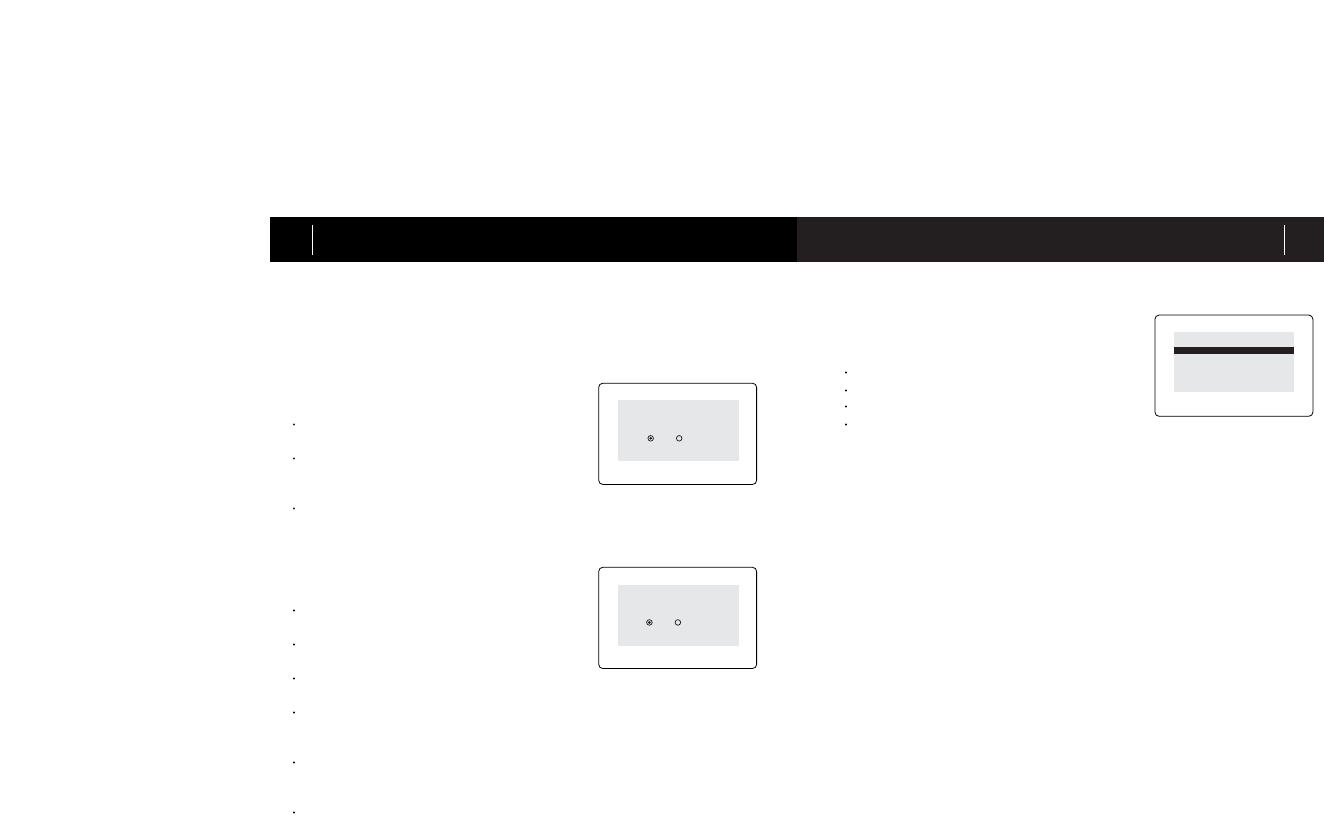
c) Preset Tune
Preset or preset tuning enables you to tune
ensemble by stored preset list. Do the follow-
ings to set tuning mode to preset.
e) PTY in Preset
To use PTY in Preset (Program Type in Preset) function, one or more pre-
set should be stored in preset table.
For PTY tune please set program type you wish to tune. (Refer to page 14
for program type selection.)
Do the followings for PTY in Preset tune.
e) Full scan
Full scan enables you to scan the entire ensembles and store every first
service of ensembles to preset table.
Do the followings to create preset table followed by full scan.
d) PTY Search (Program Type Search)
PTY (Program Type) Tune enables you to
tune to the services by program type. For
PTY tune please select program type you
wish to tune. (Refer to page 14 for program
type selection.) When PTY tune is selected,
DR301 begins finding services matching to
your program type.
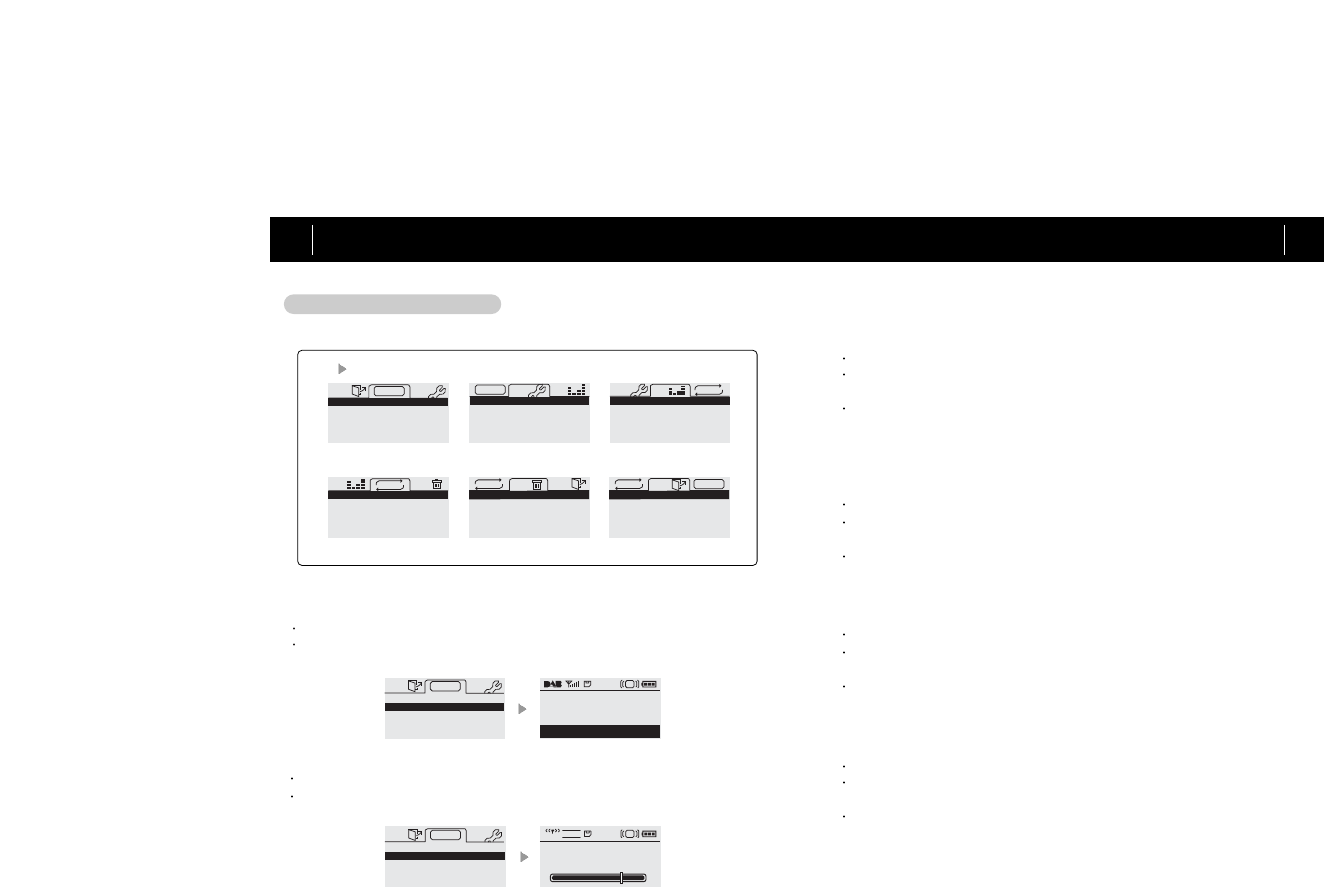
Press MENU and move to "SER
(Searching)" menu using navigation key.
Locate cursor at "Preset" and press
SELECT key.
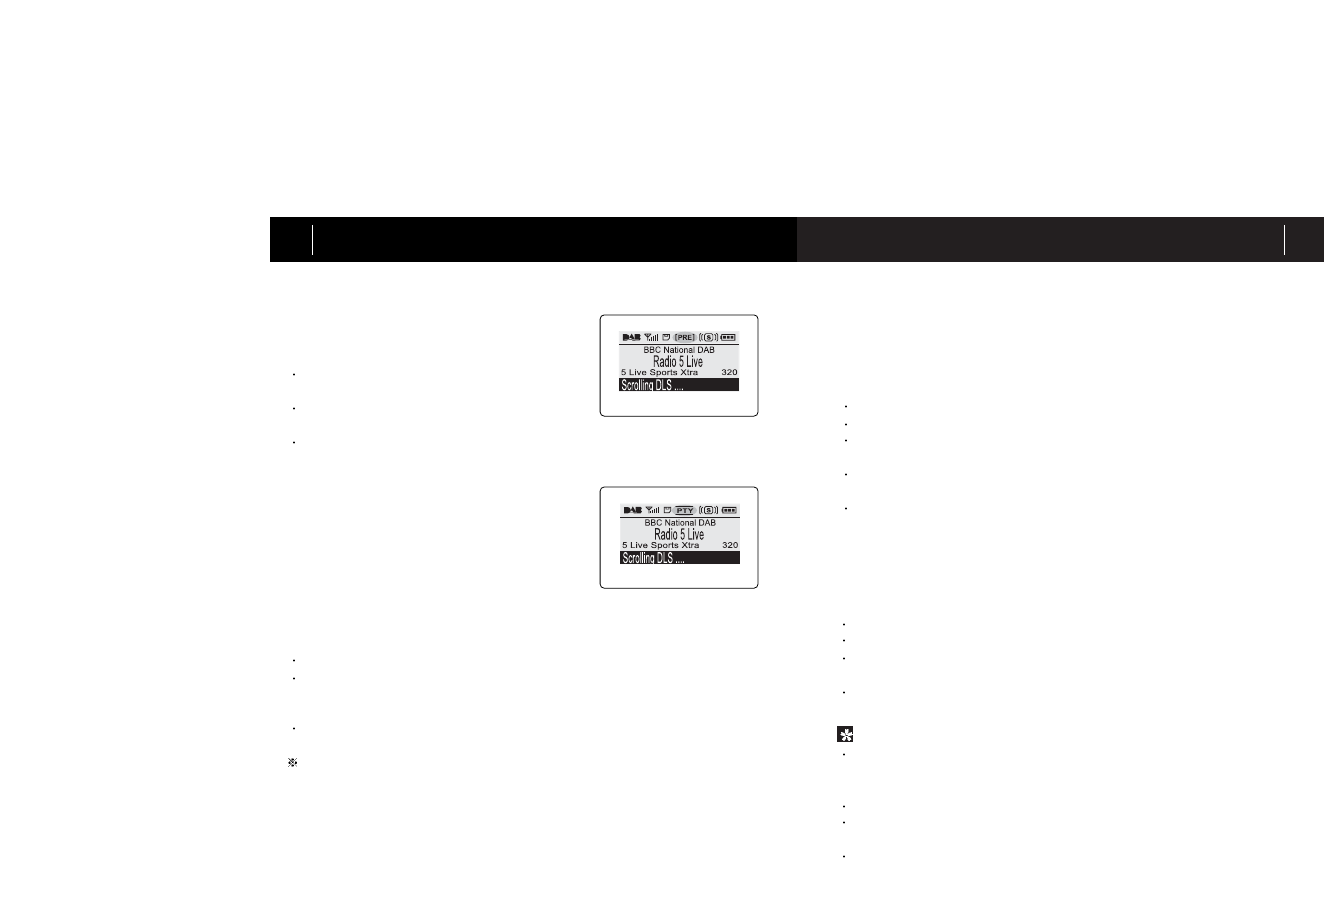
PRE (preset tune) icon will appear and
preset tuning mode is activated.
< Preset Tuned >
Press MENU and move to "SER (Searching)" menu using navigation key.
Locate cursor to "PTY Search" and and press SELECT key. Tuning begins.
Tuning does not begin unless program type is selected. (Refer to page 14 for
program type selection.)
When PTY tune completes, a preset table is created with all services related
to selected program types stored.
Press MENU and move to "SER (Searching)" menu using navigation key.
Locate cursor to "PTY in Preset" and press SELECT key.
DR301 begins scan preset table and sort services matching to program type
selected.
All services with same program type will be displayed on preset table and
other services will be skipped.
Explore desired services in the list using navigation key and press SELECT
when found.
Press MENU and move to "SER (Search)" using navigation key.
Locate cursor to "Full Scan" and press SELECT.
DR301 begins scanning the entire ensembles and stores every first service of
ensembles being serviced.
When full scan completes, DR301 creates preset table and is tuned to the first
service of the first scanned ensemble.
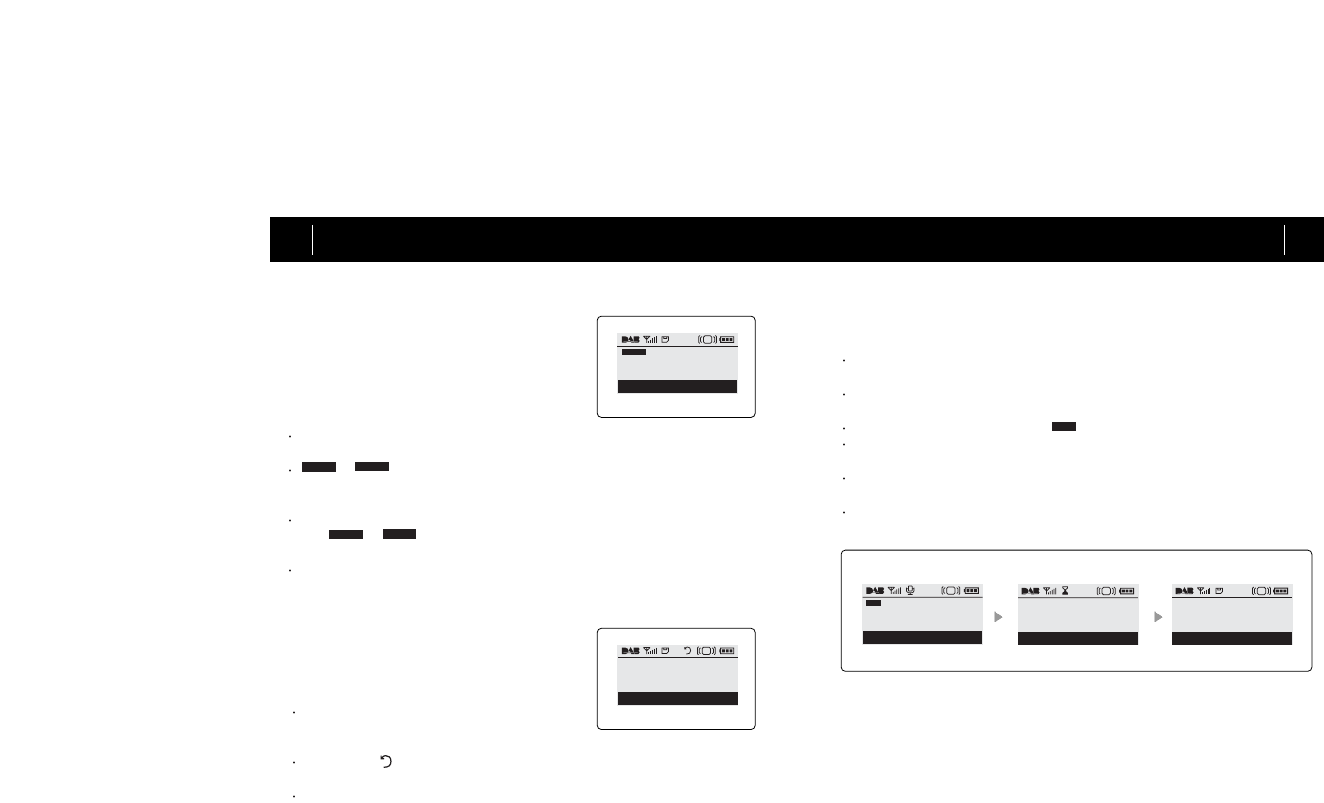
To stop full scan while in progress, press SELECT (Play/ Pause/ Stop) key at
any time. Full scan will immediately stop, and scanned services are stored in
preset table.
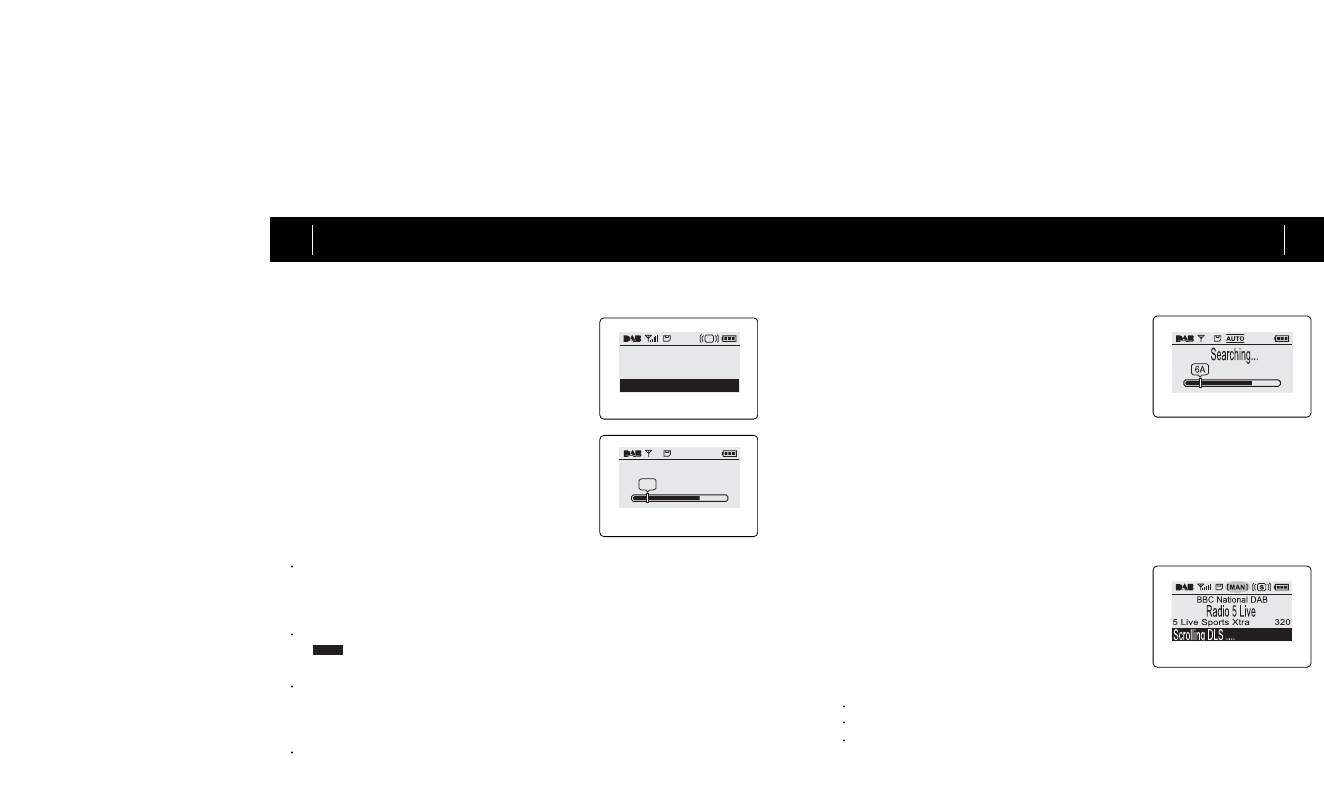
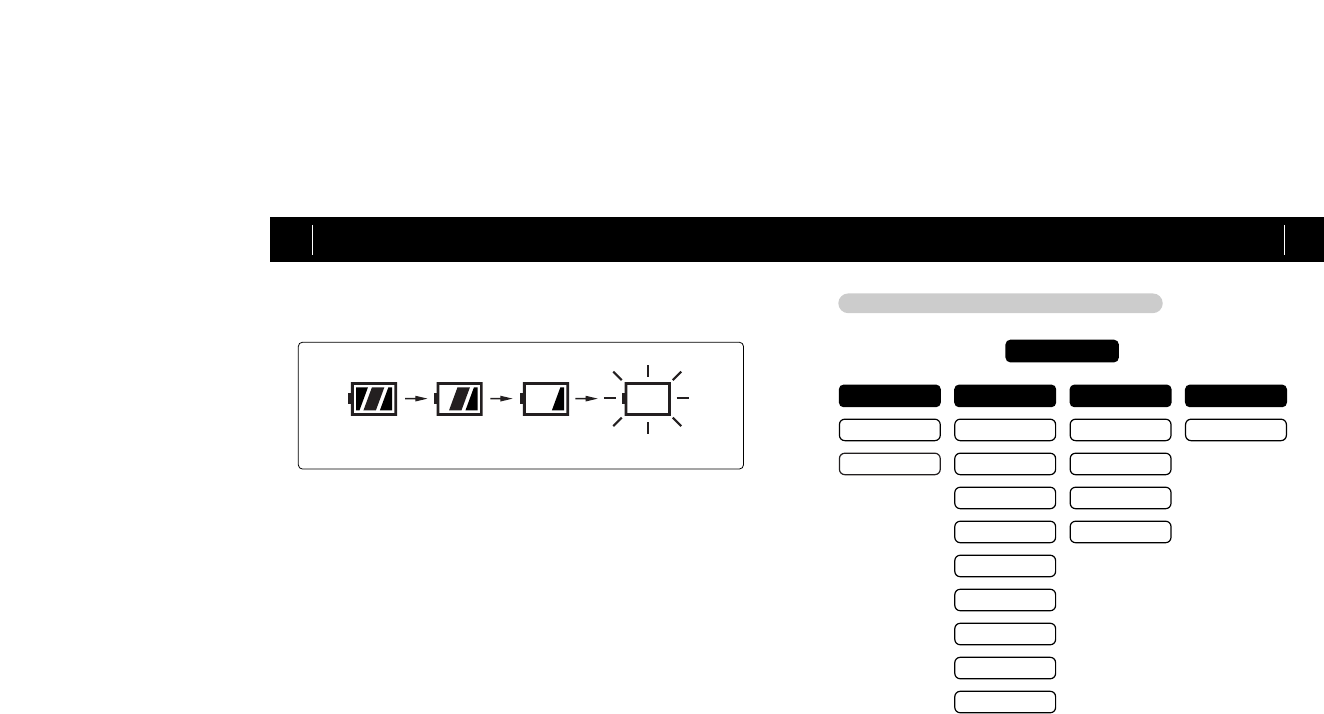
A "Searching" message will appear while full scan is in progress.
When full scan is over, preset table is created and the DR301 is tuned to the
first service of first ensemble scanned.
If there is no service/ ensemble available after all, a "No Signal" message will
appear.
If no service is found during PTY Search, a "No Match Station" mes-
sage will be displayed on the LCD.
< PTY Tuned >
TIP-OPERATION DURING FULL SCAN
> Do the followings to search all services matching to preselected PTY (program type).