ii
Create directory entries ............................................26
To create a new directory entry ....................26
To add a predialed telephone number
to the directory ......................................................27
Reviewing the directory ............................................28
To review directory entries ...............................28
To search by name ...............................................28
Dialing, deleting and editing
a directory entry ...........................................................30
To dial a directory number ...............................30
To delete a directory entry ..............................30
To edit a directory entry ....................................30
Speed dial locations ...................................................31
To assign or reassign a directory entry
to a speed dial location .....................................31
To clear a speed dial location ........................32
To dial a speed dial number ............................32
Caller ID
About caller ID ..............................................................33
Information about caller ID with
call waiting ...............................................................33
About home area code ......................................33
Caller ID history ............................................................34
How caller ID history (call log) works ........34
Memory match ........................................................34
Caller ID operation ......................................................35
Missed (new) calls indicator ............................35
Reasons for missing caller ID
information ...............................................................35
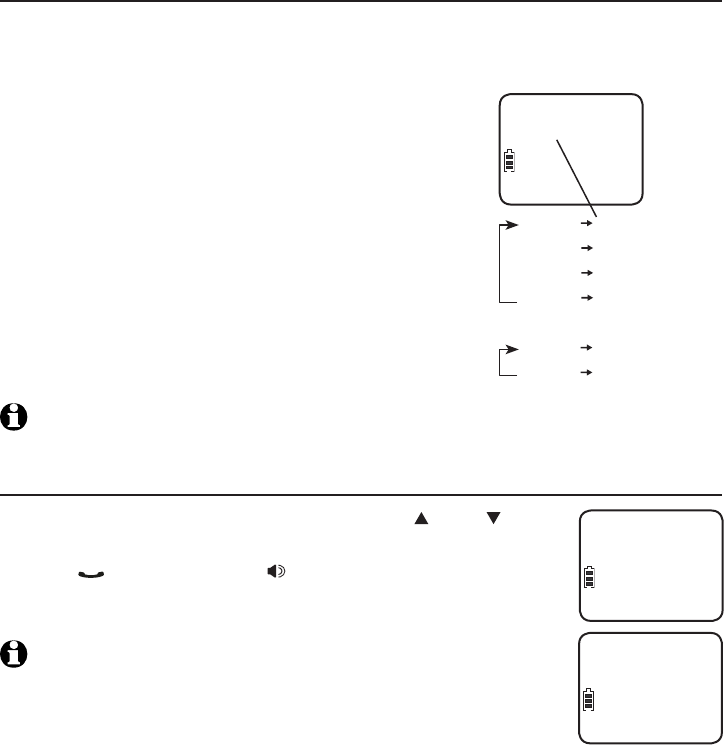
To review the caller ID history .......................36
To view the dialing options ..............................37
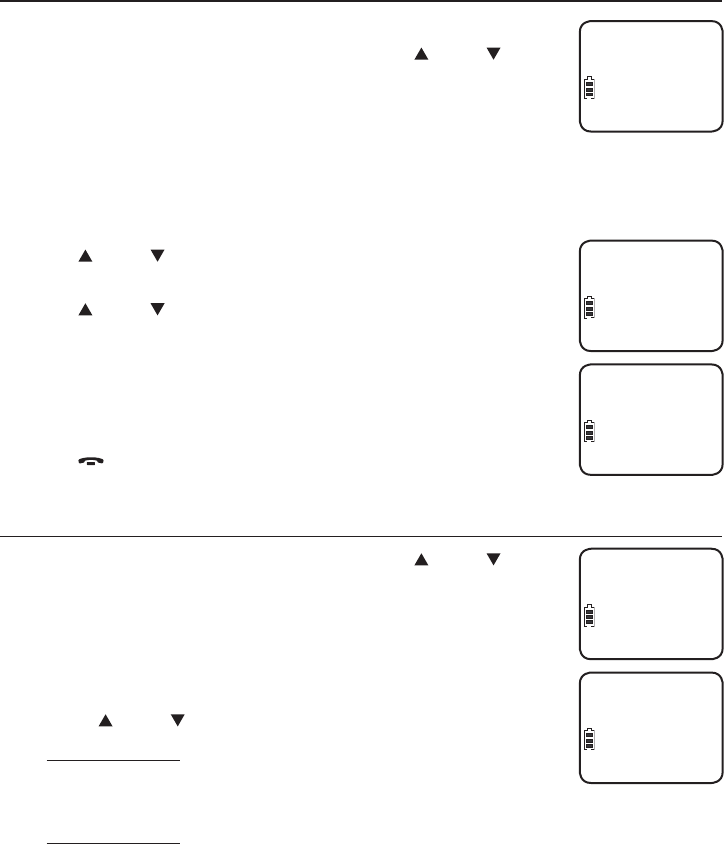
To dial a number from the caller ID
history .........................................................................37
To delete caller ID history entries ................38
Saving a caller ID history entry in the
directory .....................................................................38
Appendix
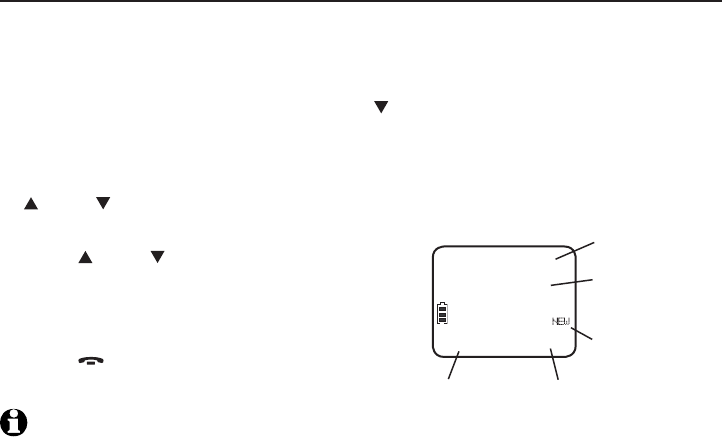
Screen icons, indicator lights and
alert tones .......................................................................40
Screen icons ............................................................40
Handset indicator lights .....................................40
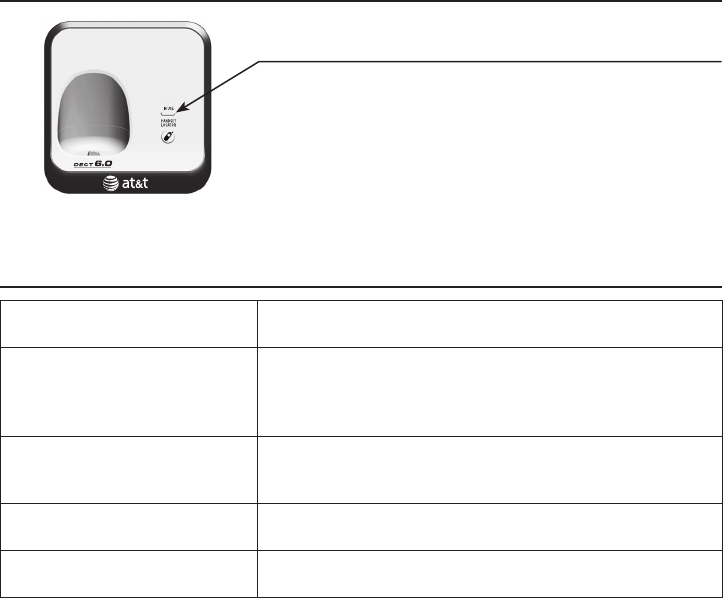
Telephone base indicator lights.....................41
Handset alert tones .............................................41
Handset display screen messages .......................42
Troubleshooting ............................................................44
Maintenance....................................................................52
Important safety information .................................53
Safety information ................................................53
Especially about cordless telephones ........53
Precautions for users of implanted
cardiac pacemakers .............................................54
Pacemaker patients .............................................54
Especially about telephone answering
systems ......................................................................54
FCC Part 68 and ACTA...............................................55
FCC Part 15 .....................................................................57
Limited warranty ...........................................................58
Technical specifications ............................................61
DECT 6.0 digital technology ............................61
Telephone operating range ..............................61
Index ...................................................................................62