4
1 Basics
Welcome! .................................................................................................................................................. 7
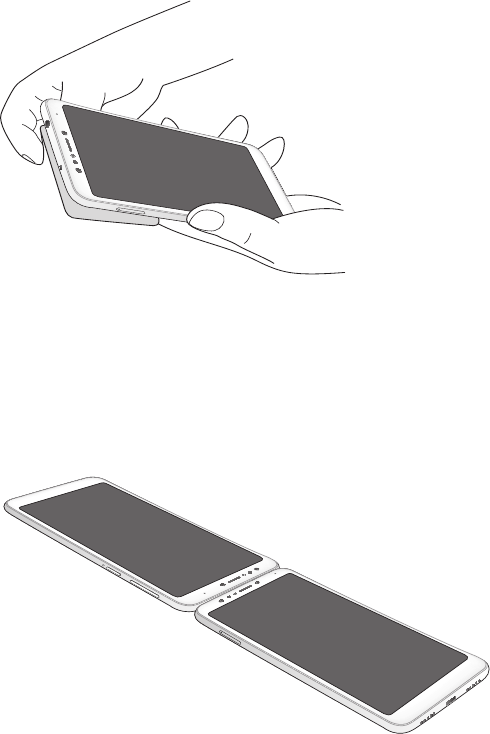
Get your ASUS Phone ready! ............................................................................................................. 8
Starting for the rst time ..................................................................................................................15
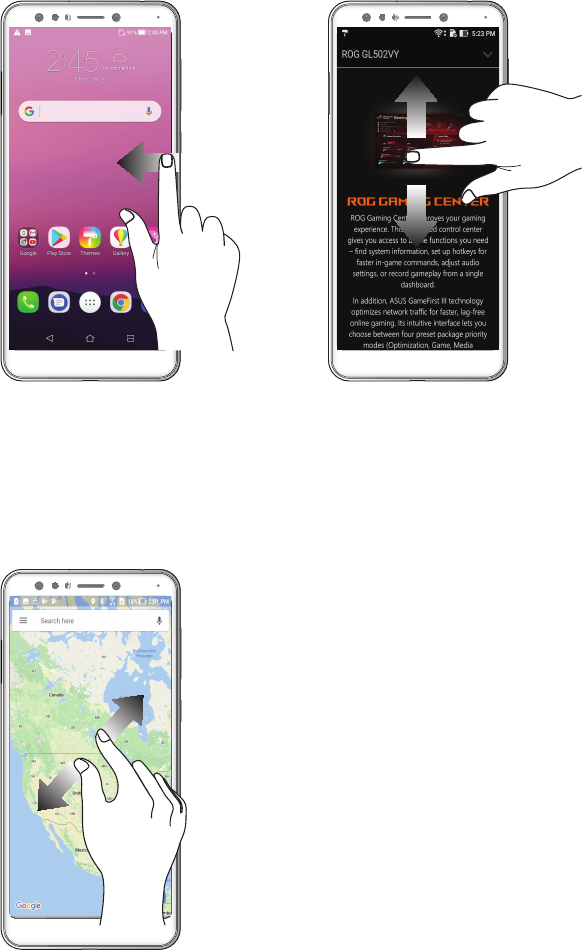
Using the touchscreen.......................................................................................................................16
2 There’s no place like Home
Zen Home features .....................................................................................................19
Home screen .........................................................................................................................................19
Quick settings .......................................................................................................................................20
Notications ..........................................................................................................................................21
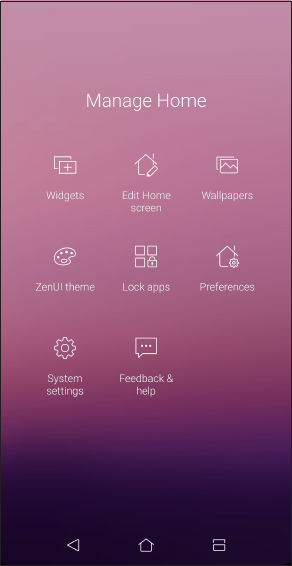
Personalizing your Home screen ............................................................................... 22
Widgets ............................................................................................................................................... 22
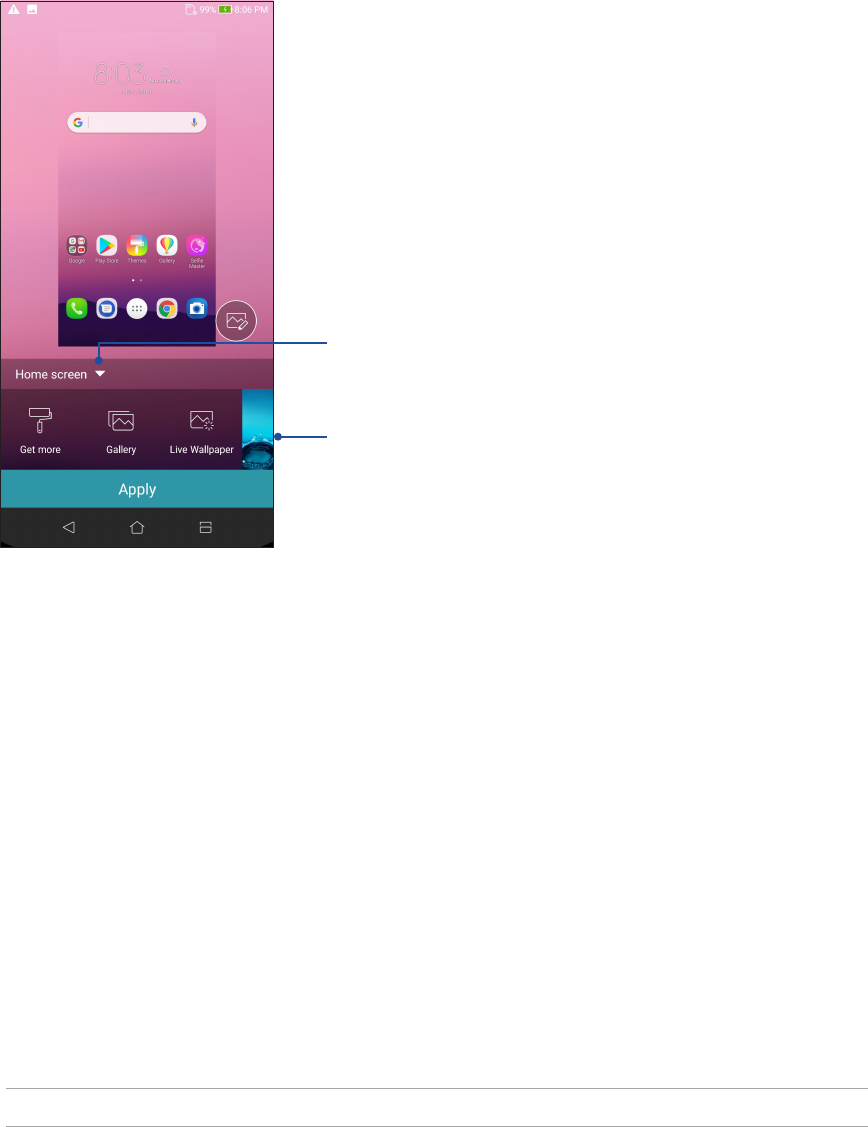
Wallpapers .............................................................................................................................................23
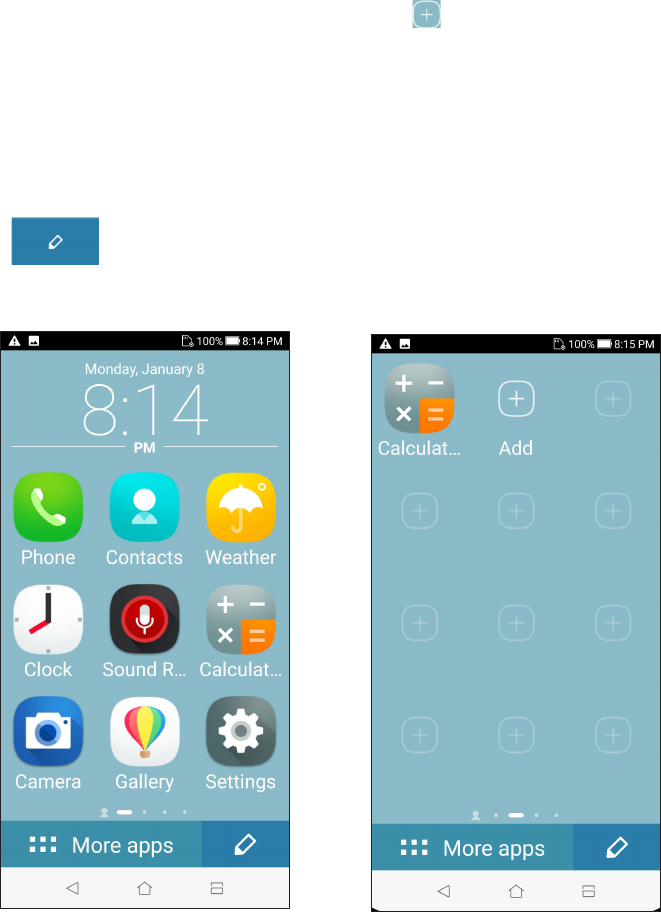
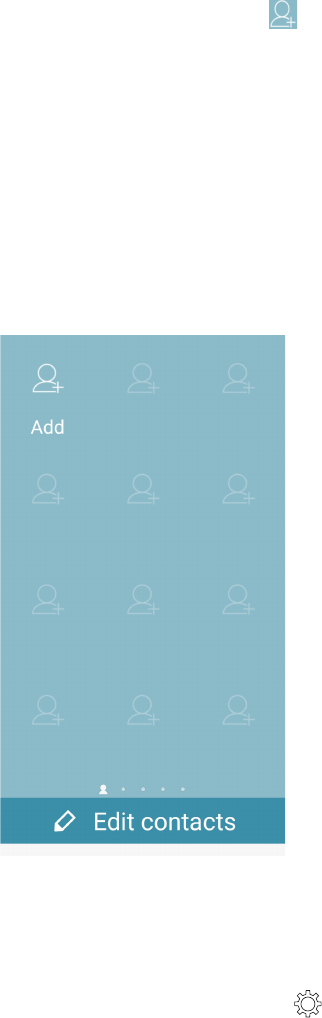
Easy Mode ..............................................................................................................................................24
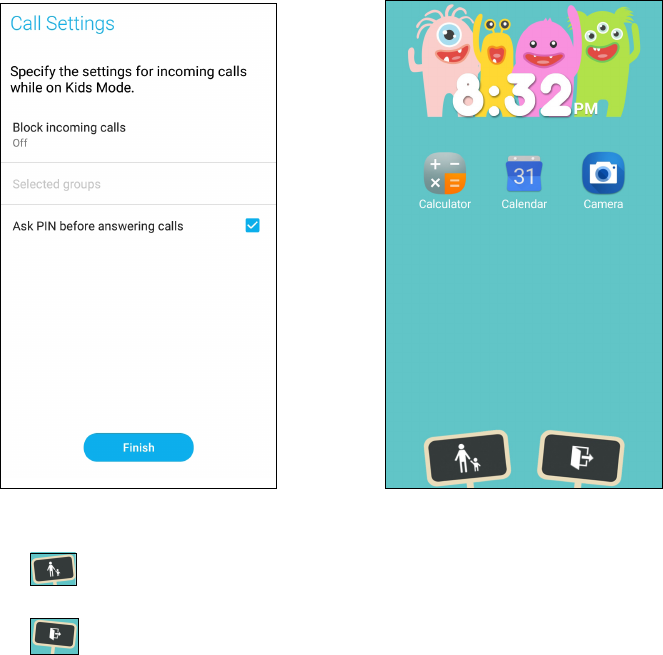
Kids Mode ..............................................................................................................................................27
Setting up the date and time ..........................................................................................................29
Setting up your ringtone and alert sounds................................................................................29
Lock Screen .................................................................................................................30
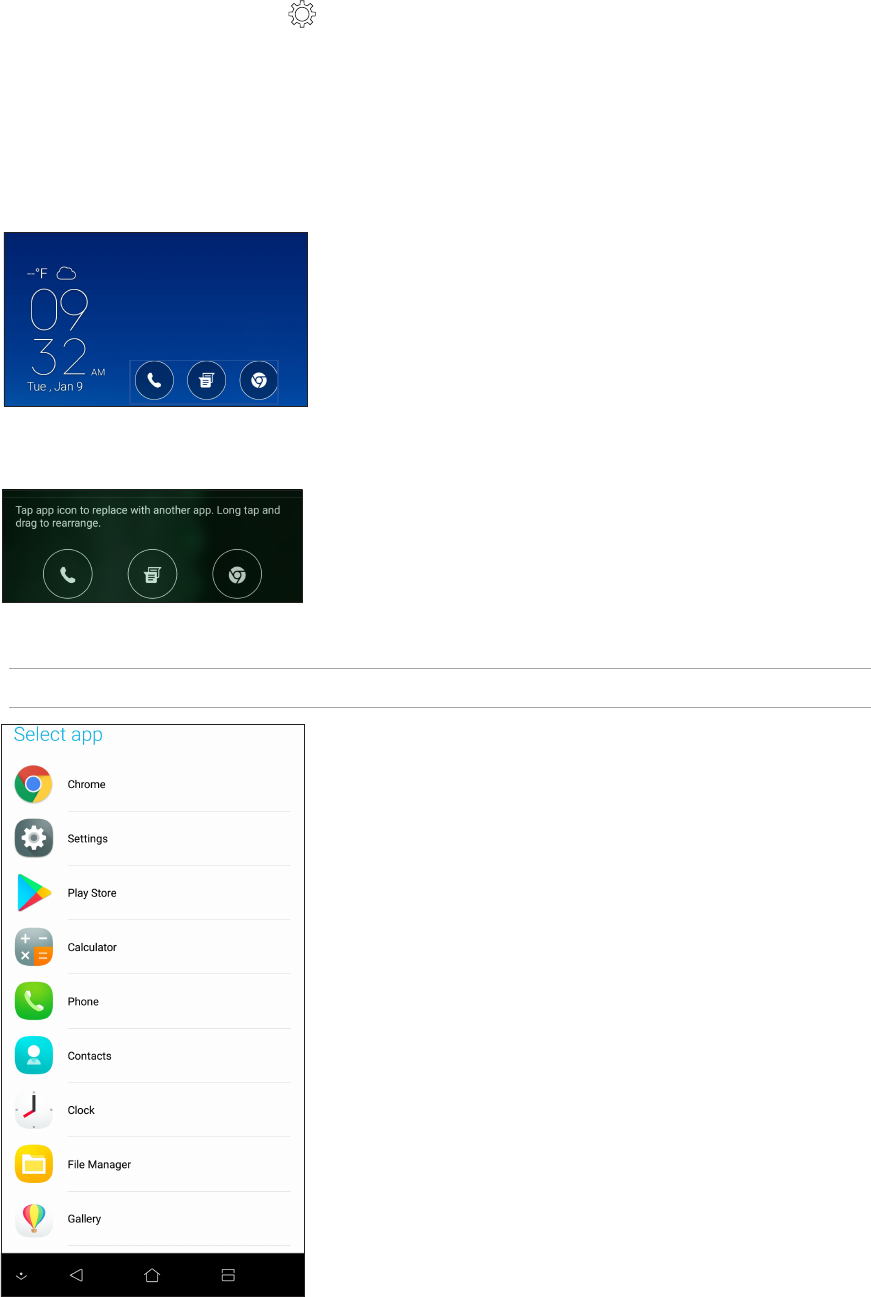
Customizing your lock screen ......................................................................................................... 30
Using and customizing the quick access buttons ...................................................................31
Fingerprint ID sensor ..................................................................................................32
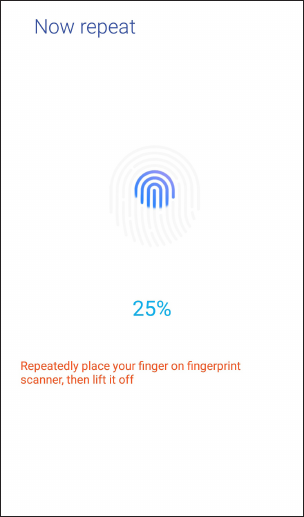
Starting your ASUS phone for the rst time ..............................................................................32
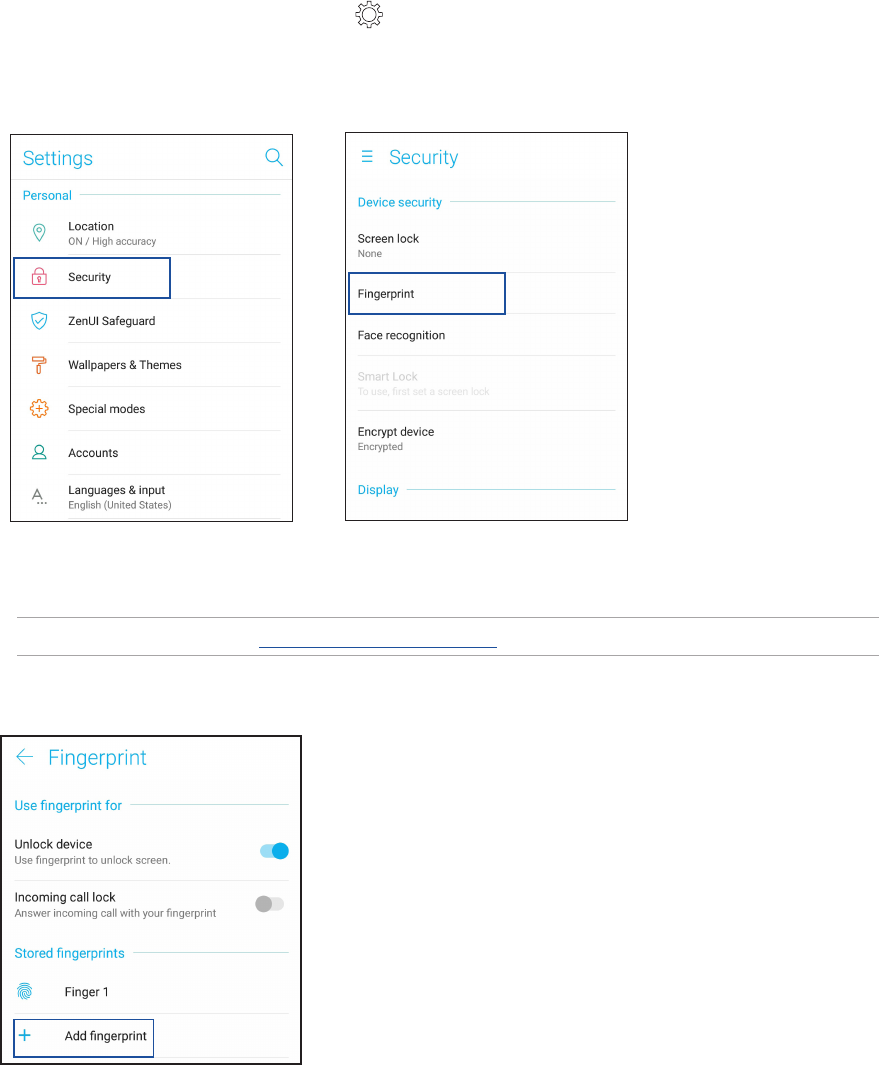
Setting up ngerprint ID from Settings ......................................................................................33
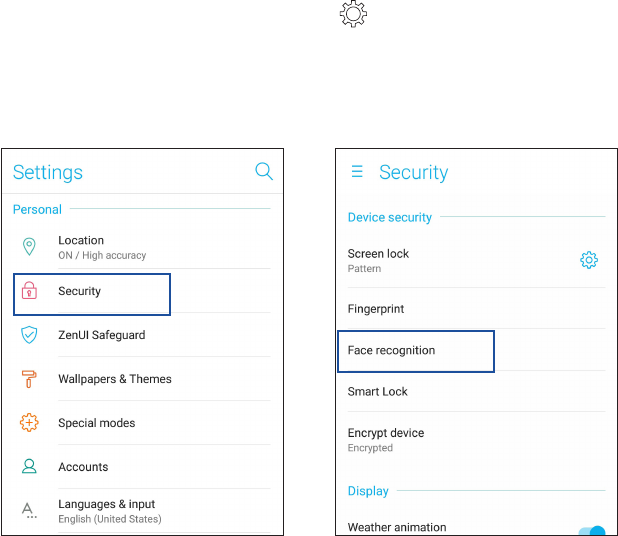
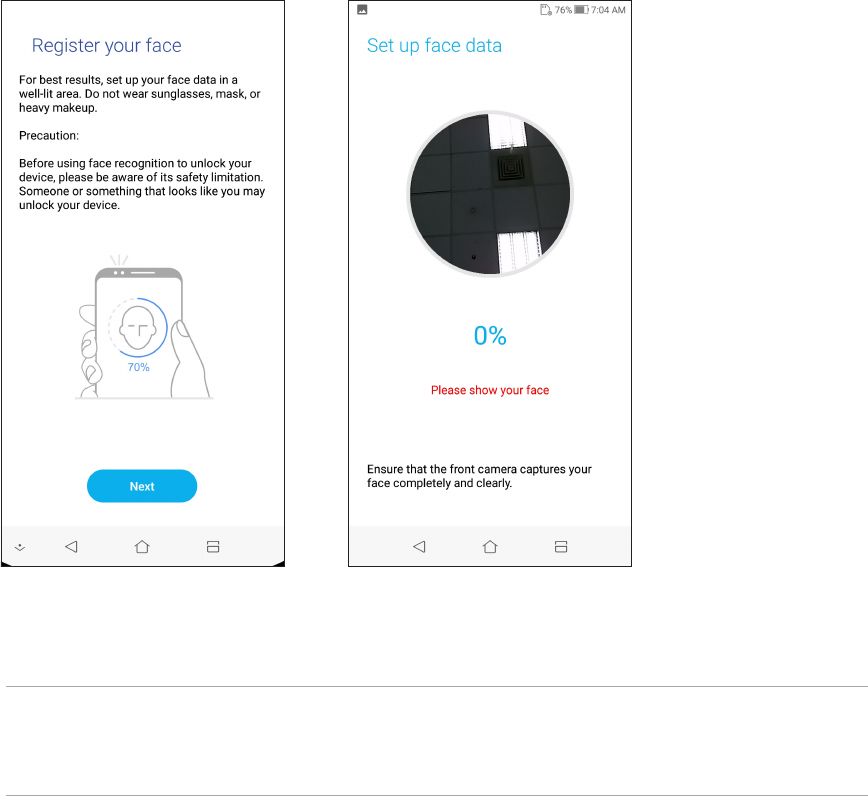
Face Unlock .................................................................................................................34
Setting up face unlock from Settings ........................................................................................... 34
ZenUI Keyboard ..........................................................................................................37
Resizing your ZenUI keyboard ........................................................................................................ 37
Editing texts...........................................................................................................................................37
3 Work hard, play harder
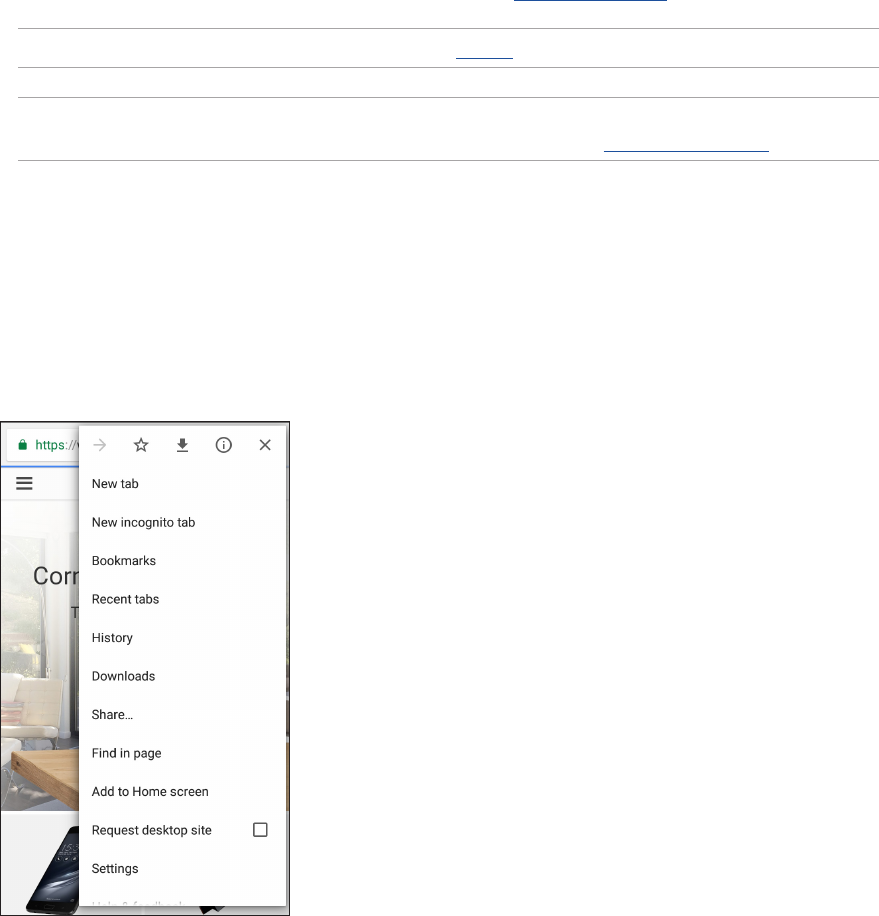
Chrome ........................................................................................................................39
Launching Chrome .............................................................................................................................39
Sharing pages .......................................................................................................................................40
Bookmarking pages ...........................................................................................................................40
Clearing the browsing data .............................................................................................................40
Gmail ............................................................................................................................41
Google Calendar .........................................................................................................42
Creating events ....................................................................................................................................42
Editing or removing events .............................................................................................................42
Creating reminders .............................................................................................................................43
Editing or removing reminders ......................................................................................................43
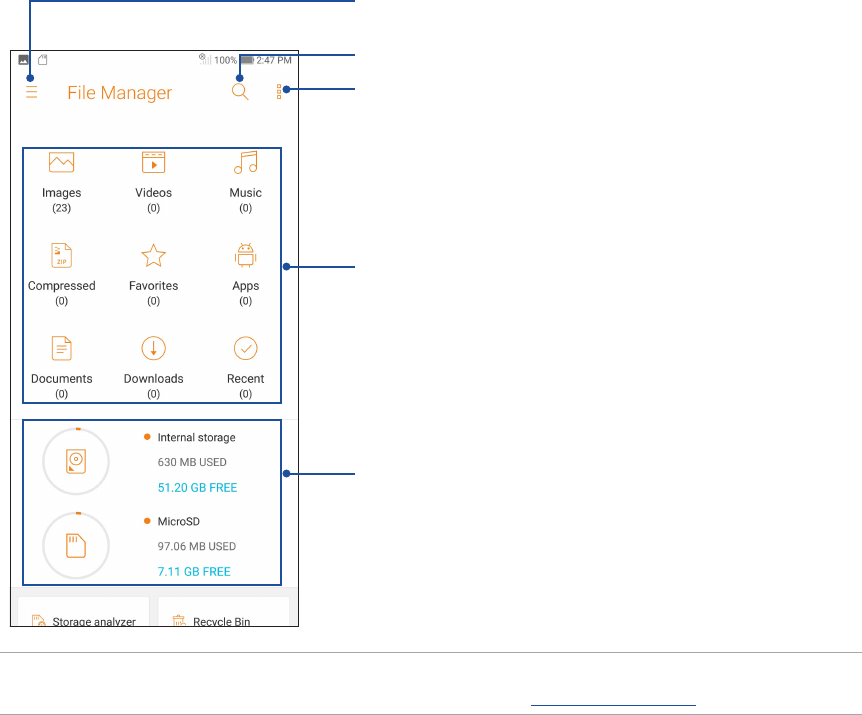
File Manager................................................................................................................44
The Cloud.....................................................................................................................45
ASUS WebStorage ...............................................................................................................................45
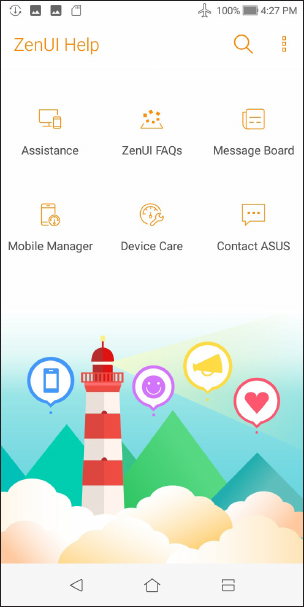
ZenUI FAQs ..................................................................................................................46
Contents