3
Table of Contents
Package contents ..............................................................................5
Chapter 1: Using your PadFone 2
Basics .................................................................................................6
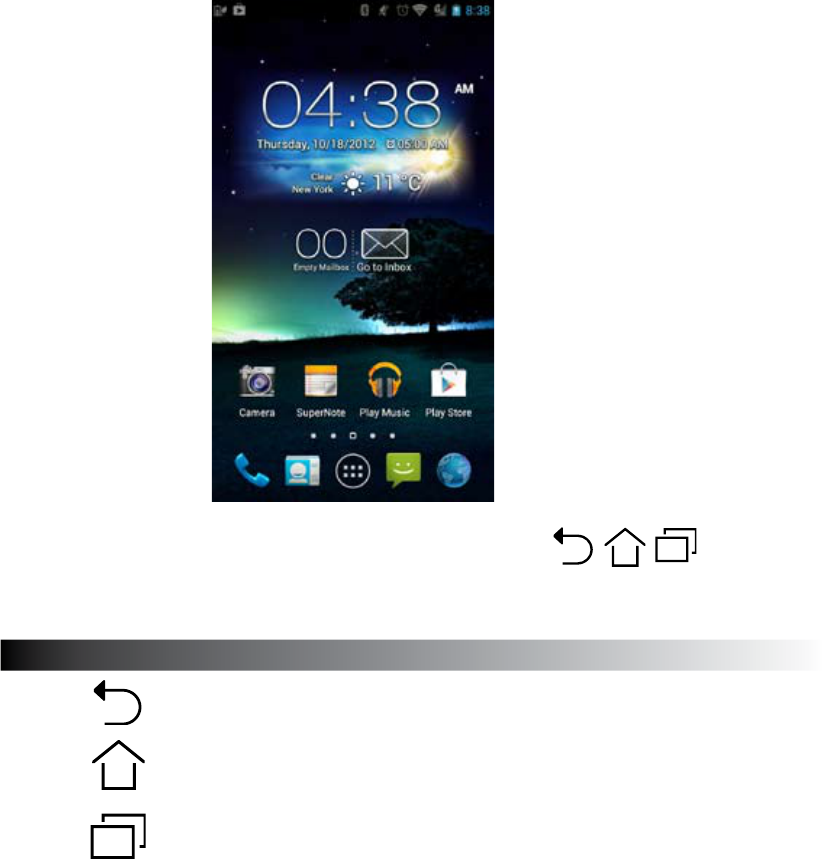
Navigating your PadFone 2 ................................................................................7
Making calls ........................................................................................................8
Setting up your contacts list ................................................................................8
Connecting to the world ...................................................................9
Connecting to mobile networks ...........................................................................9
Connecting to Wi-Fi networks ...........................................................................10
Using Bluetooth ................................................................................................11
Chapter 2: Using your PadFone 2 Station
Basics ...............................................................................................14
Unlocking your device .......................................................................................14
Entering the camera mode ...............................................................................14
Tutorial ............................................................................................................15
Home Screen ....................................................................................................16
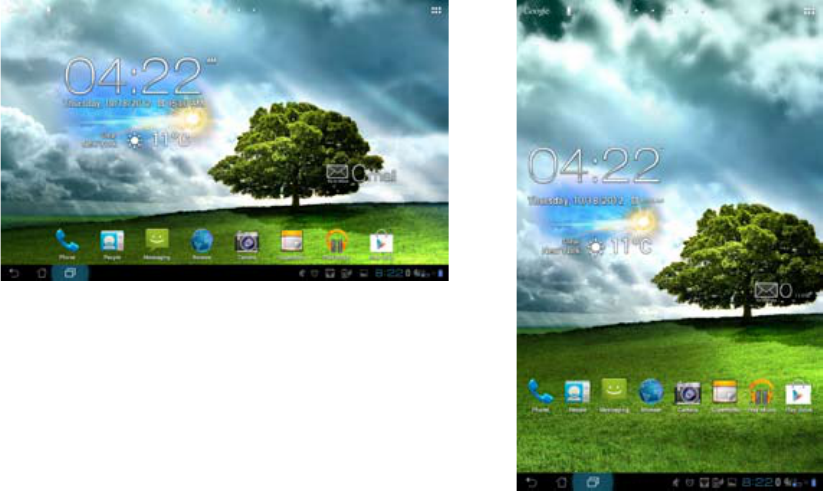
Screen Views ....................................................................................................17
Chapter 3: Touching and typing
Using gestures ................................................................................18
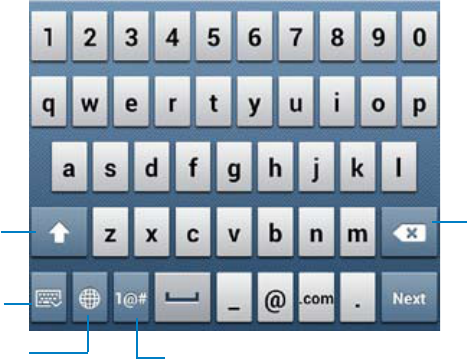
Using the onscreen keyboard ........................................................19
Using Google voice typing .............................................................20
Chapter 4: Using apps and widgets
Using apps on the PadFone 2 ........................................................21
Launching apps ................................................................................................21
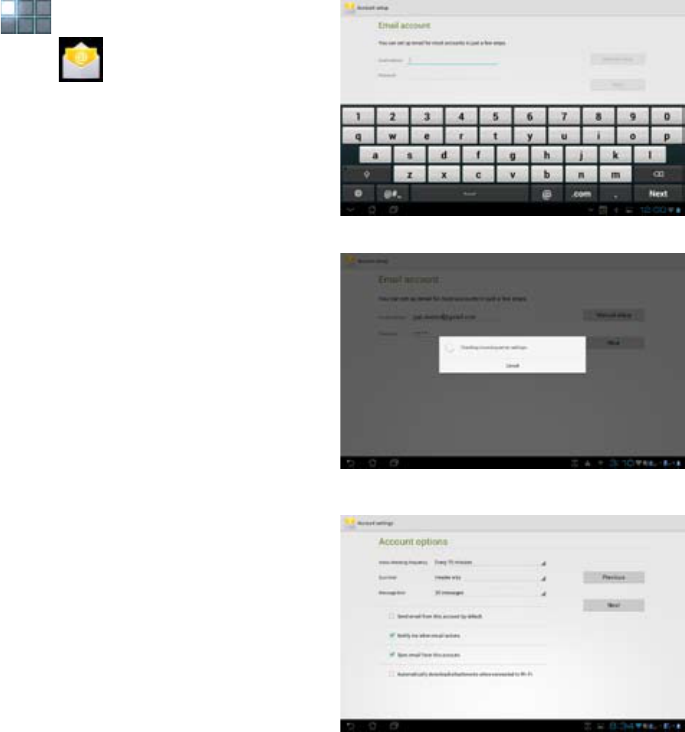
Messaging ........................................................................................................21
Surng the web .................................................................................................22
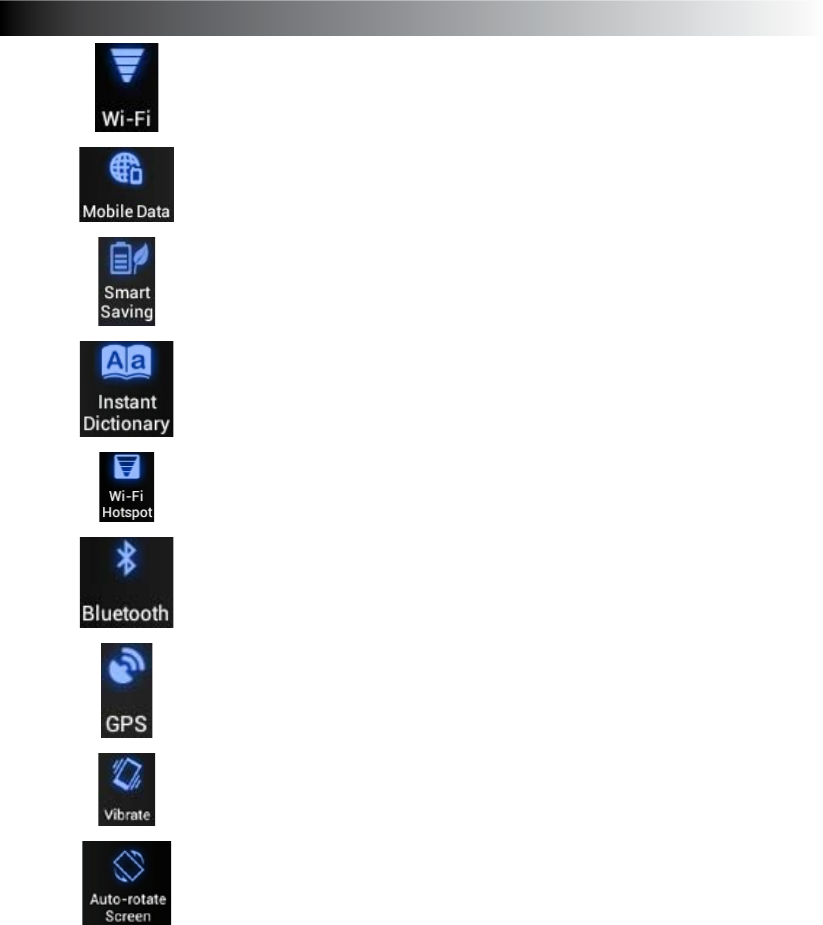
Managing notications ......................................................................................22
Searching your PadFone 2 or web ...................................................................25
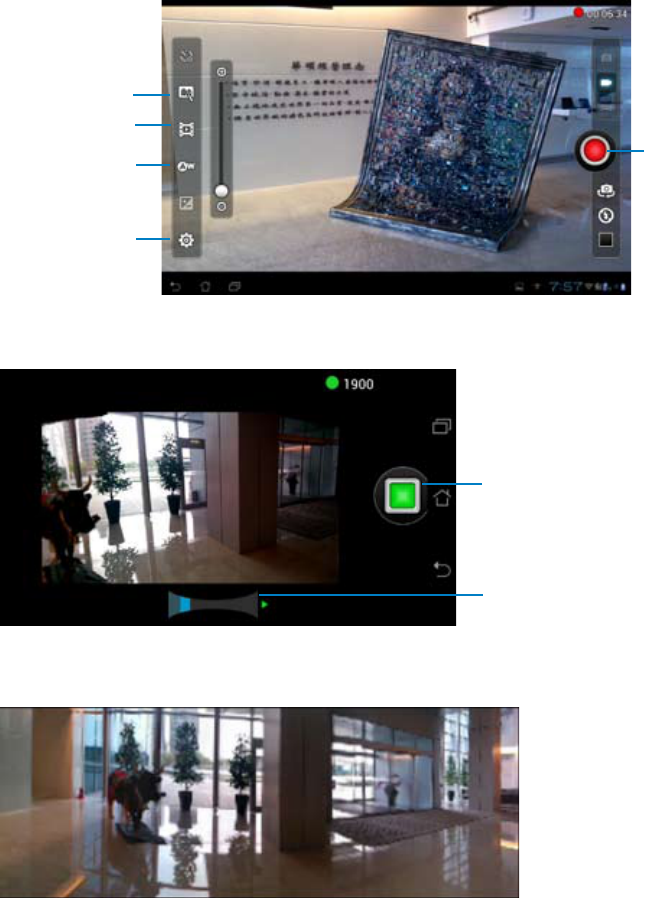
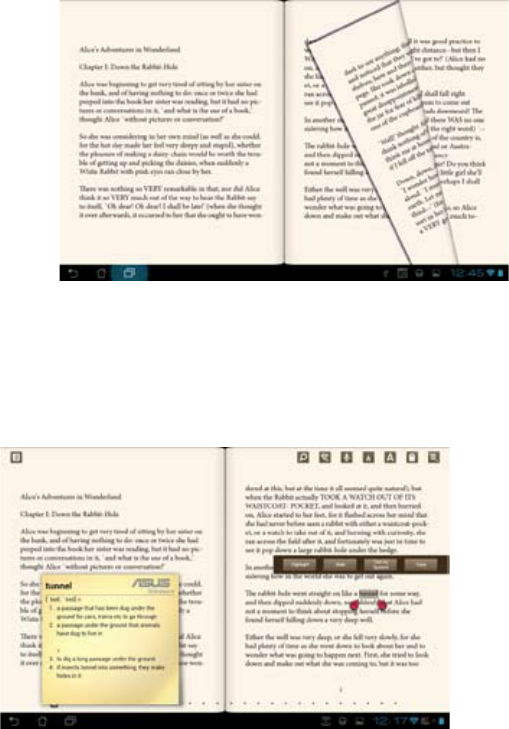
Taking pictures ..................................................................................................25
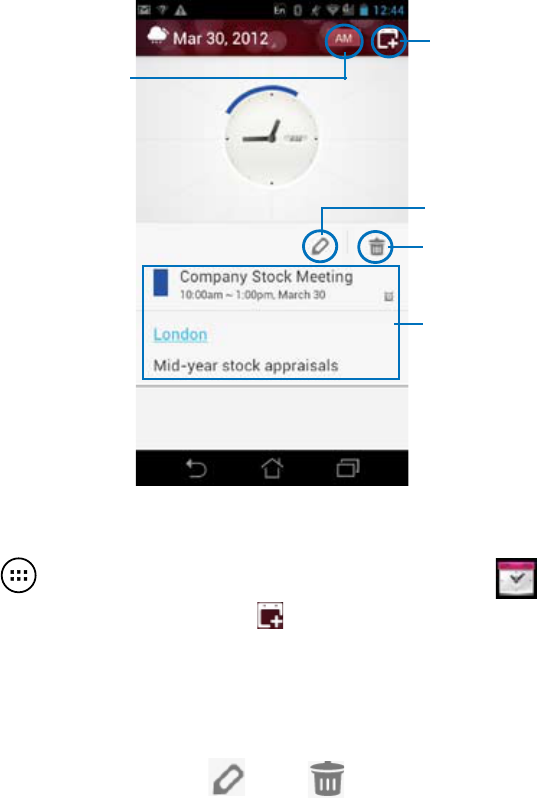
Watch Calendar ..............................................................................................26
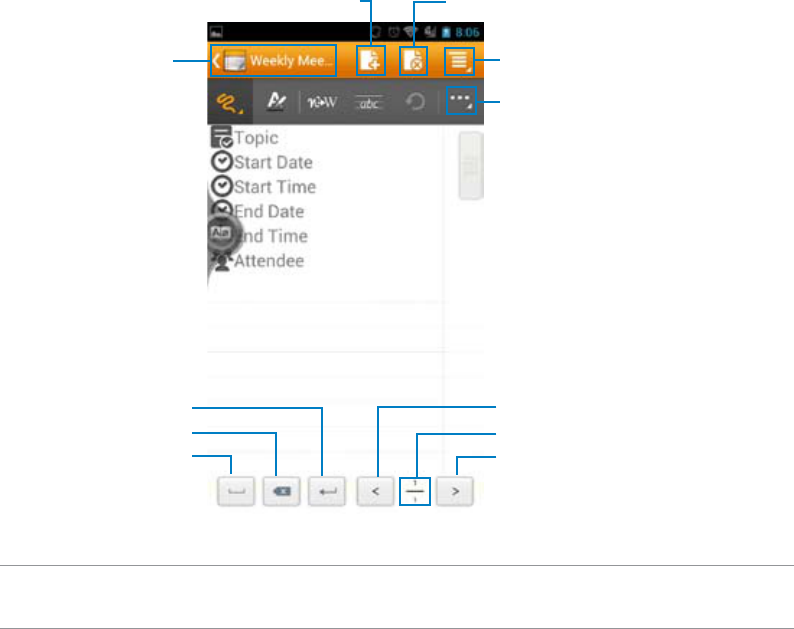
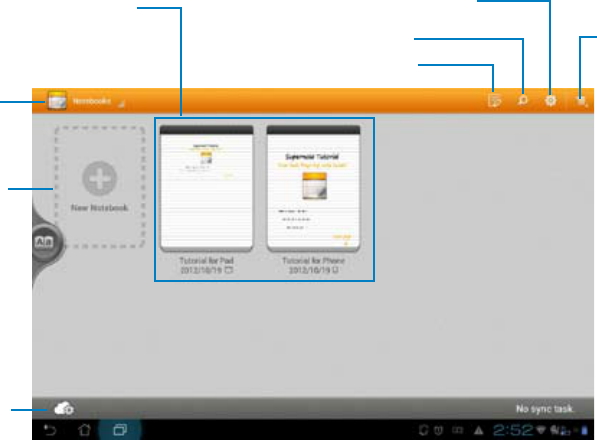
SuperNote ........................................................................................................27