EC Declaration of Conformity
We, the undersigned,
Manufacturer:
ASUSTeK COMPUTER INC.
Address, City:
4F, No. 150, LI-TE Rd., PEITOU, TAIPEI 112, TAIWAN R.O.C.
Country:
TAIWAN
Authorized representative in Europe:
ASUS COMPUTER GmbH
Address, City:
HARKORT STR. 21-23, 40880 RATINGEN
Country:
GERMANY
declare the following apparatus:
Product name : Notebook P.C.
Model name : P55V, PRO55V, E55V
conform with the essential requirements of the following directives:
2004/108/EC-EMC Directive
EN 55022:2010
EN 61000-3-2:2006+A2:2009
EN 55013:2001+A1:2003+A2:2006
EN 55024:2010
EN 61000-3-3:2008
EN 55020:2007+A11:2011
1999/5/EC-R &TTE Directive
EN 300 328 V1.7.1(2006-10)
EN 300 440-1 V1.6.1(2010-08)
EN 300 440-2 V1.4.1(2010-08)
EN 301 511 V9.0.2(2003-03)
EN 301 908-1 V5.2.1(2011-05)
EN 301 908-2 V5.2.1(2011-07)
EN 301 893 V1.6.1(2011-11)
EN 302 544-2 V1.1.1(2009-01)
EN 302 623 V1.1.1(2009-01)
EN 300 330-1 V1.7.1(2010-02)
EN 300 330-2 V1.5.1(2010-02)
EN 50360:2001
EN 62479:2010
EN 301 489-1 V1.9.2(2011-09)
EN 301 489-3 V1.4.1(2002-08)
EN 301 489-4 V1.4.1(2009-05)
EN 301 489-7 V1.3.1(2005-11)
EN 301 489-9 V1.4.1(2007-11)
EN 301 489-17 V2.1.1(2009-05)
EN 301 489-24 V1.5.1(2010-09)
EN 302 326-2 V1.2.2(2007-06)
EN 302 326-3 V1.3.1(2007-09)
EN 301 357-2 V1.4.1(2008-11)
EN 50385:2002
EN 62311:2008
2006/95/EC-LVD Directive
EN 60950-1 / A11:2009
EN 60950-1 / A12:2011
EN 60065:2002 / A2:2010
EN 60065:2002 / A12:2011
2009/125/EC-ErP Directive
Regulation (EC) No. 1275/2008
Regulation (EC) No. 642/2009
Regulation (EC) No. 278/2009
2011/65/EU-RoHS Directive
Ver. 121001
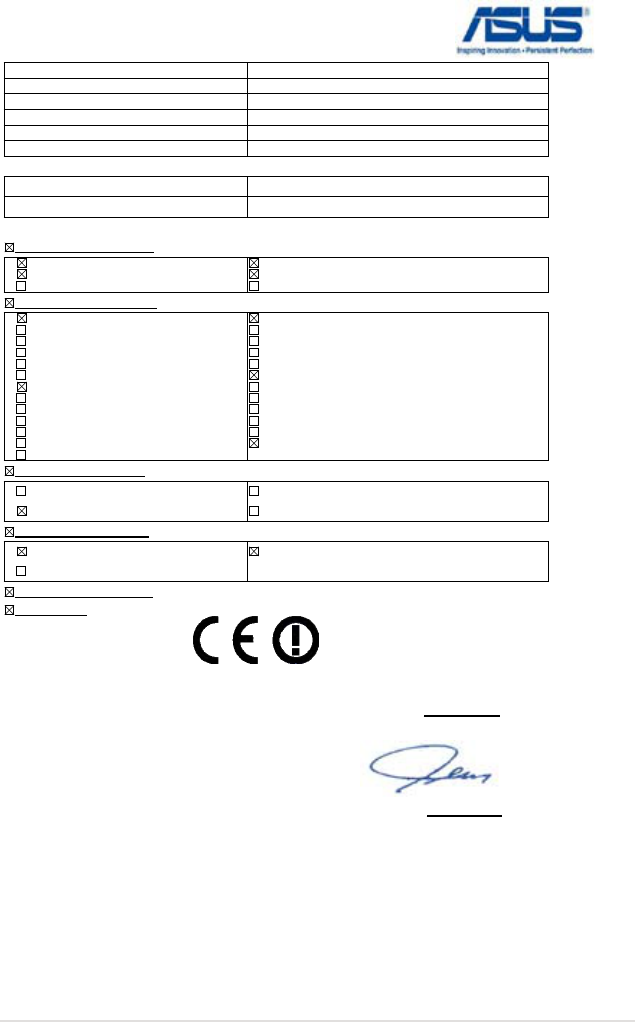
CE marking
Declaration Date: Dec. 06, 2012
Year to begin affixing CE marking:2012
Position : CEO
Name : Jerry Shen
Signature :
__________
(EC conformity marking)