


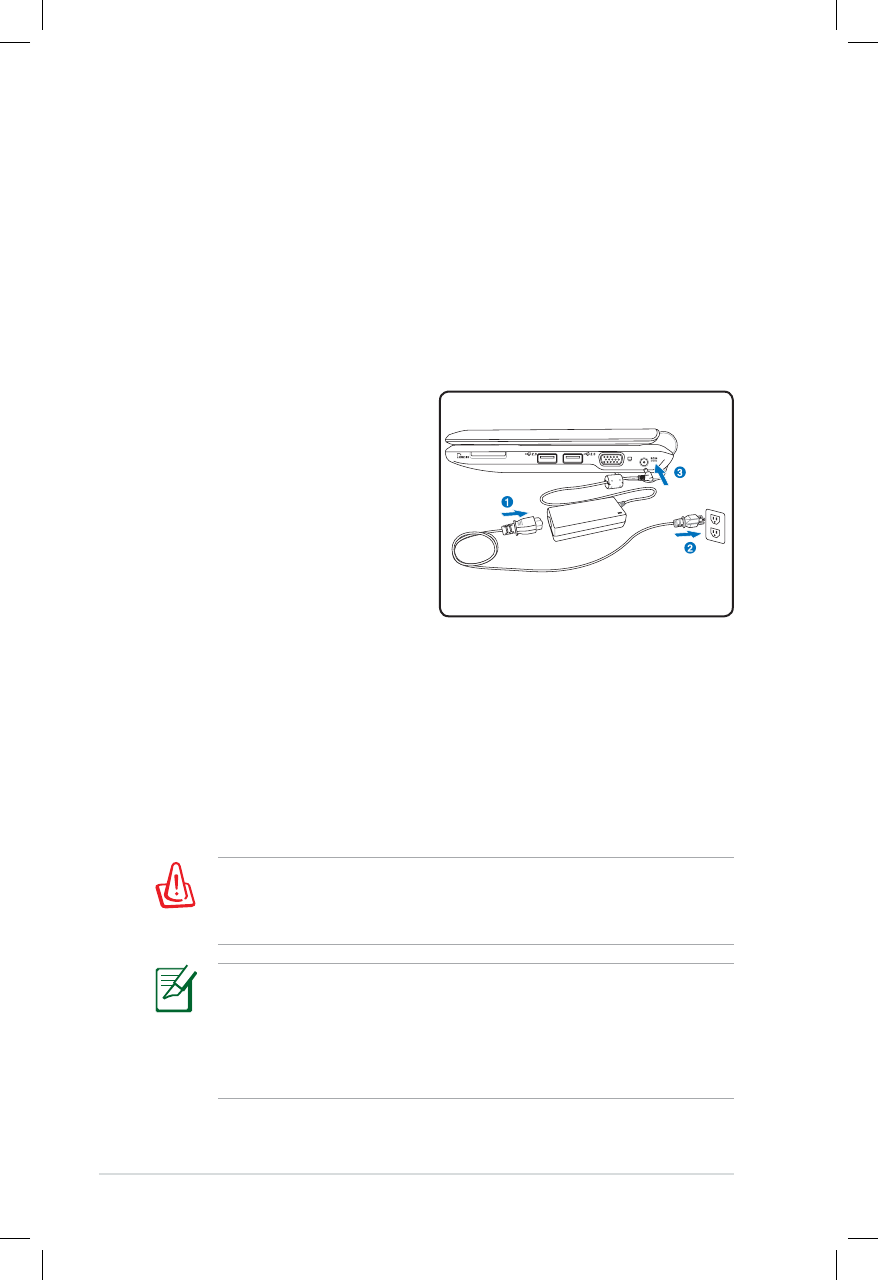
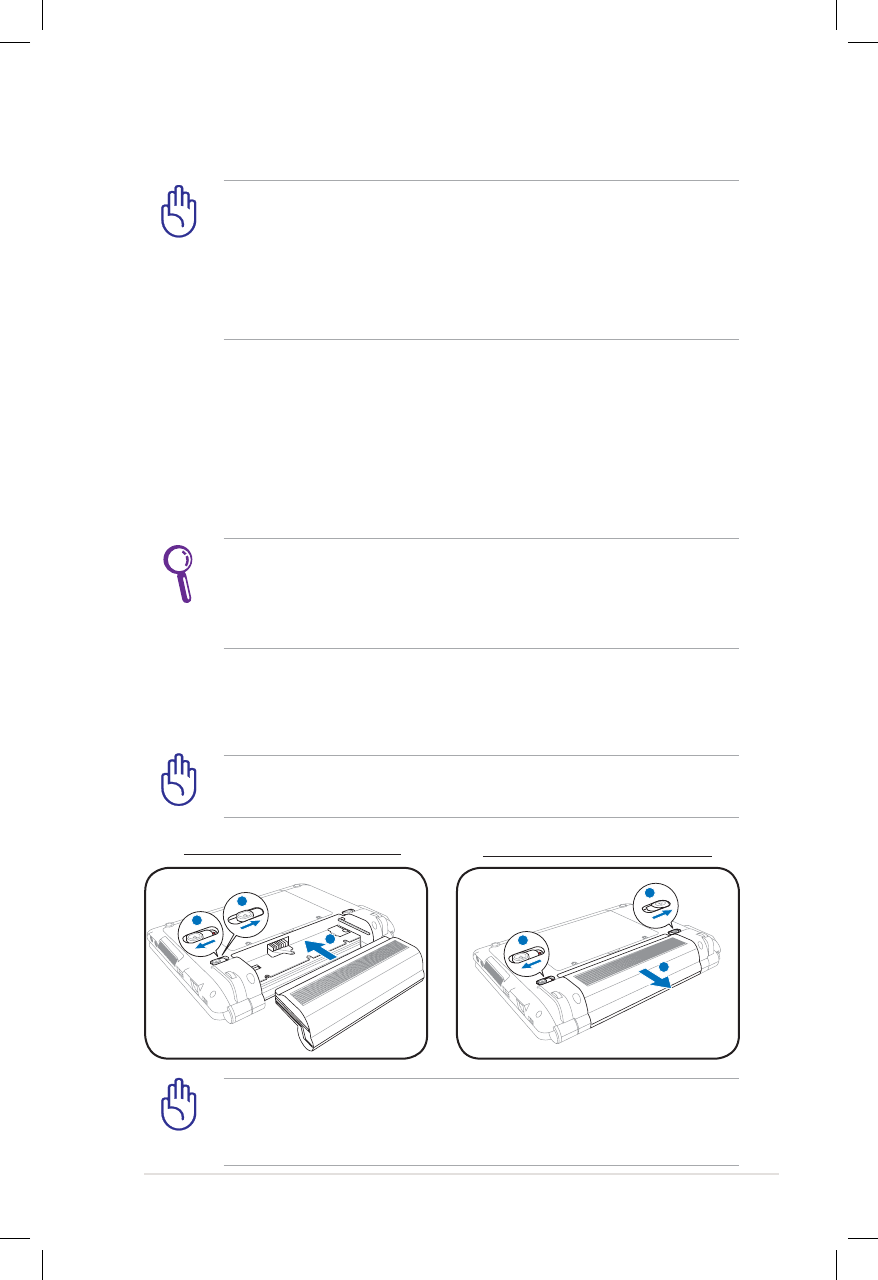

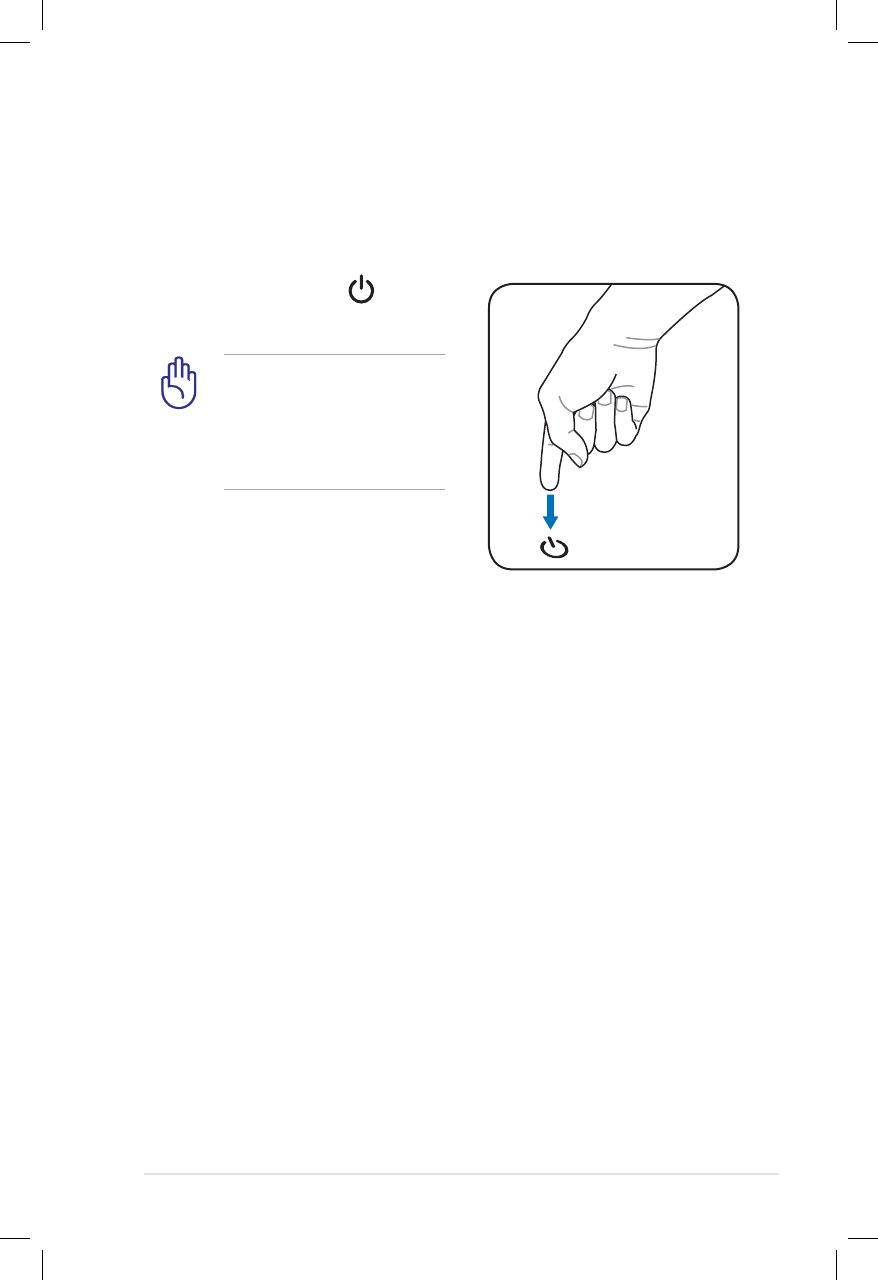


-
mijn toetsen bord is de m een o en de o is een 6 hoe krijg ik dat weer goed
Reageer op deze vraag Misbruik melden
Gesteld op 3-2-2016 om 19:52-
Bij mij ook wat moet ik nu doen Geantwoord op 1-3-2016 om 20:24
Waardeer dit antwoord Misbruik melden
-
-
Dit heeft te maken met het nummerieke deel dit is via caps lock en of Fn uit te zetten. Zo gefixt! Geantwoord op 15-10-2016 om 19:48
Waardeer dit antwoord Misbruik melden -
Ik heb een Eee pc maar m'n internet doet het niet Gesteld op 16-9-2015 om 18:24
Reageer op deze vraag Misbruik melden-
Dit kan veroorzaakt worden door een bios instelling. Kijk vooral eerst daar!
Waardeer dit antwoord Misbruik melden
Geantwoord op 15-10-2016 om 19:50
-
-
Ik zoek de resort knop op mijn saus Eee pc uit 2011, kan iemand mij helpen? Gesteld op 5-6-2015 om 15:09
Reageer op deze vraag Misbruik melden-
Ik bedoel met resort Reset Geantwoord op 5-6-2015 om 15:10
Waardeer dit antwoord Misbruik melden
-
-
Da gaatje i de Bodem zit er niet en f2 doet reageert hij niet op Geantwoord op 5-6-2015 om 15:14
Waardeer dit antwoord Misbruik melden -
mijn apestaartje eeft een " dus dit aan kan ik dat verhelpen wel zo makkelijk als je bij email wil Gesteld op 23-3-2015 om 15:29
Reageer op deze vraag Misbruik melden-
Er staat als het goed is onder in de werkbalk een tekentje, het is een soort usb stickje met een touwtje naar boven toe. Als je dat aanklikt staat er Nederland en Verenigde Staten. Waarschijnlijk staat ie bij jou op Nederland, maar hij moet op Verenigde Staten. Dat moet hij het doen.. Geantwoord op 30-4-2015 om 17:13
Waardeer dit antwoord Misbruik melden
-
-
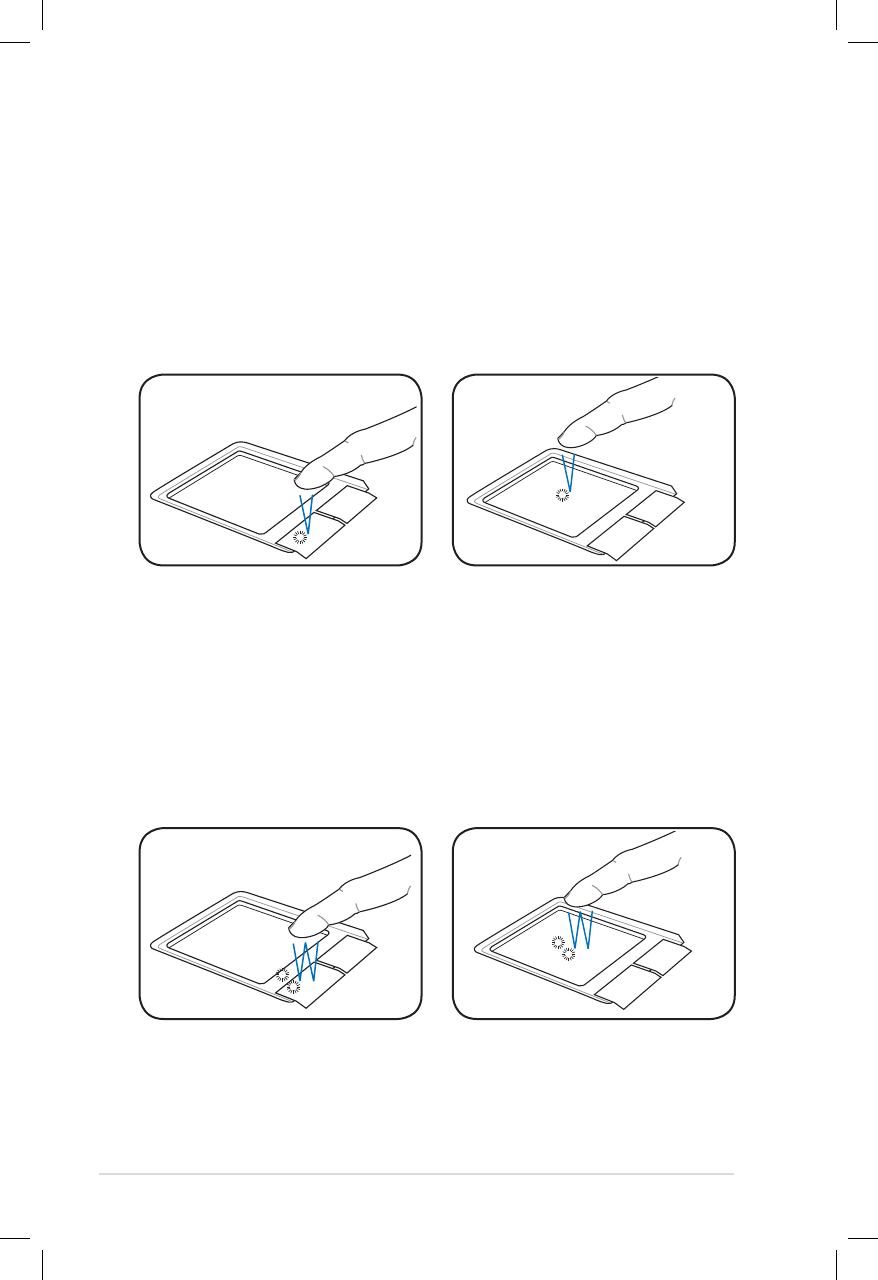
mijn cursor verplaatst heel de tijd naar boven. ik gebruik mijn touch pad weet iemand een oplossing Gesteld op 31-1-2015 om 00:07
Reageer op deze vraag Misbruik melden-
Touch pad met doekje schoongemaakt? Geantwoord op 15-5-2015 om 22:44
Waardeer dit antwoord Misbruik melden
-
-
ik heb clean master op mijn eee pc gedownload maar ik kan de voorwaarden niet accepteren van cm omdat deze niet geheel op mijn scherm te zien zijn omdat mijn scherm te klein is,hoe kan ik dit veranderen? Gesteld op 29-1-2015 om 20:10
Reageer op deze vraag Misbruik melden-
de ctrl met de - toets verkleint het beeld van de web pagina,
Waardeer dit antwoord Misbruik melden
de ctrl met de + toets vergroot het beeld van de web pagina,
of gebruik in de menubalk [view] met de zoom-factor
dat je wel alles ziet (bijvoorbeeld 80%) Geantwoord op 15-5-2015 om 21:18
-
-
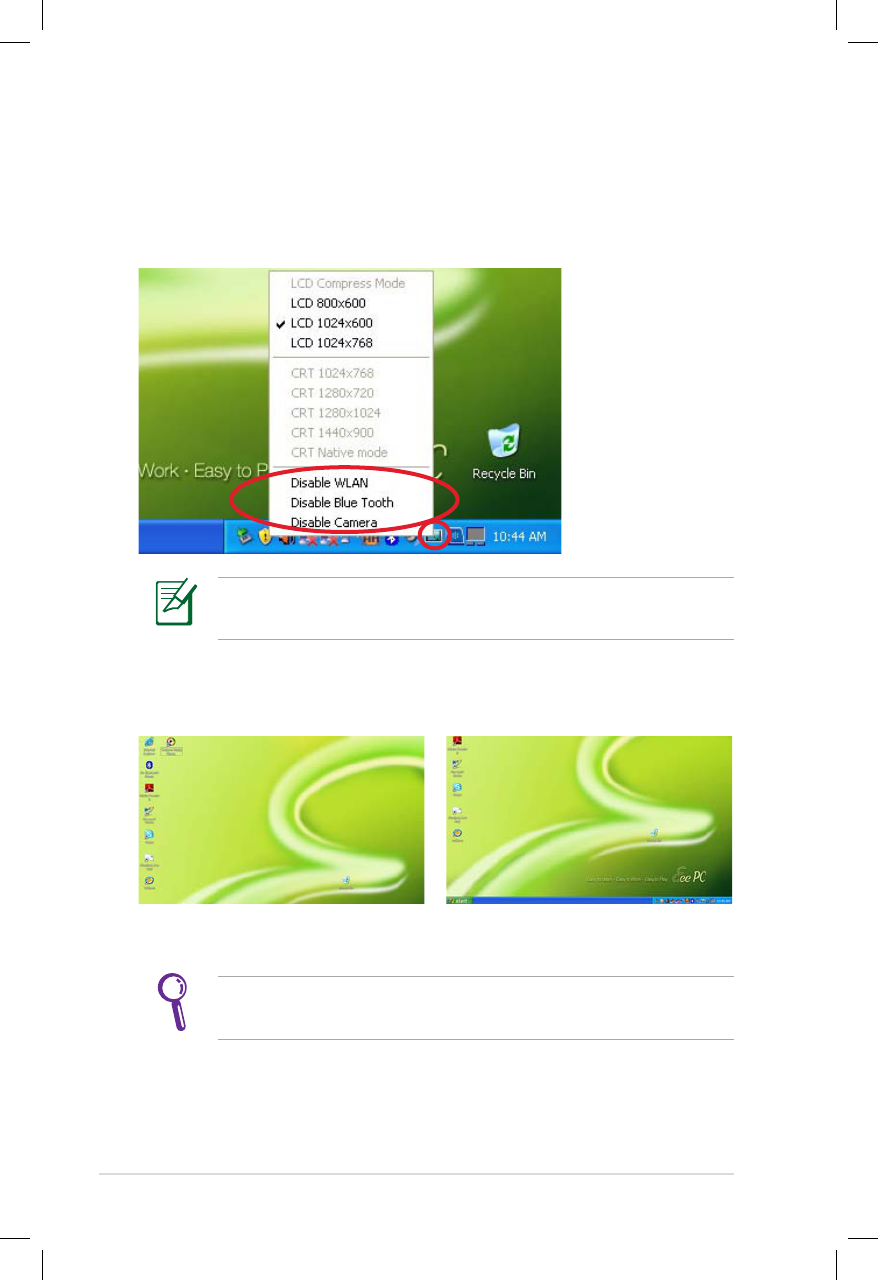
Hoe krijg ik mijn scherm lichter , hij blijft donker Gesteld op 17-12-2014 om 22:22
Reageer op deze vraag Misbruik melden-
bij veel eeepc 's en ook andere trouwens doe je dit met de
Waardeer dit antwoord (1) Misbruik melden
blauwe [FN]toets samen met F3 of F4
groeTon Geantwoord op 15-5-2015 om 21:34
-
-
De toetsen geven andere tekens bv de L is een 3. Hoe kan ik de L weer terug krijgen Gesteld op 15-11-2014 om 18:00
Reageer op deze vraag Misbruik melden-
op je keyboard zie je die cijfers als extra naast de betreffende lettertoets
Waardeer dit antwoord Misbruik melden
dit moet je met de num-lock toets uit- (of aan)zetten.
Dan kun je in je voorkeuren van het toetsenbord deze num-lock uit-vinkt
zodat voortaan met het opstarten de normale lettertoets werkt Geantwoord op 15-5-2015 om 21:28
-
-
bij aanzetten ontvang ik alleen een pijltje wat te doen Gesteld op 2-6-2014 om 12:43
Reageer op deze vraag Misbruik melden-
blijkbaar geen besturingssysteem meer zichtbaar voor de eeePc;
Waardeer dit antwoord Misbruik melden
als er belangrijke gegevens op staan probeer een life-versie van
puppy-linux zie:
Klik op deze LINK
of anders zoek op BartPE
Klik op deze LINK
andere opties:
opnieuw installeren van windows of kies een linux-versie,
er zijn intussen heel veel versies die veel op XP lijken,
als je Engels kent kijk dan eens op distrowatch.com
rechts op de pagina zie je dat de laatste twee jaar vooral
linux-Mint verdraaid populair is,
en er zijn ook veel Nederlandse web-pagina's daarover
groeTon Geantwoord op 15-5-2015 om 22:03
-
-
Mijn eee pc 901 XP start en gaat er na 5 seconden steeds weer uit. Wat moet ik doen? Gesteld op 14-2-2014 om 12:30
Reageer op deze vraag Misbruik melden-
batterij leeg? wordt waarschijnkijk niet opgeladen,
Waardeer dit antwoord (1) Misbruik melden
haal de accu eruit en zet hem aan met aangesloten adapter
nog niet?
controleer adapter met voltmeter of 12V led of lamp
groeTon Geantwoord op 15-5-2015 om 22:07
-
-
toetsenbord insert knop
Reageer op deze vraag Misbruik melden
Gesteld op 16-9-2013 om 15:08-
insert knop in toetsbord Geantwoord op 15-5-2015 om 22:09
Waardeer dit antwoord Misbruik melden
-
-
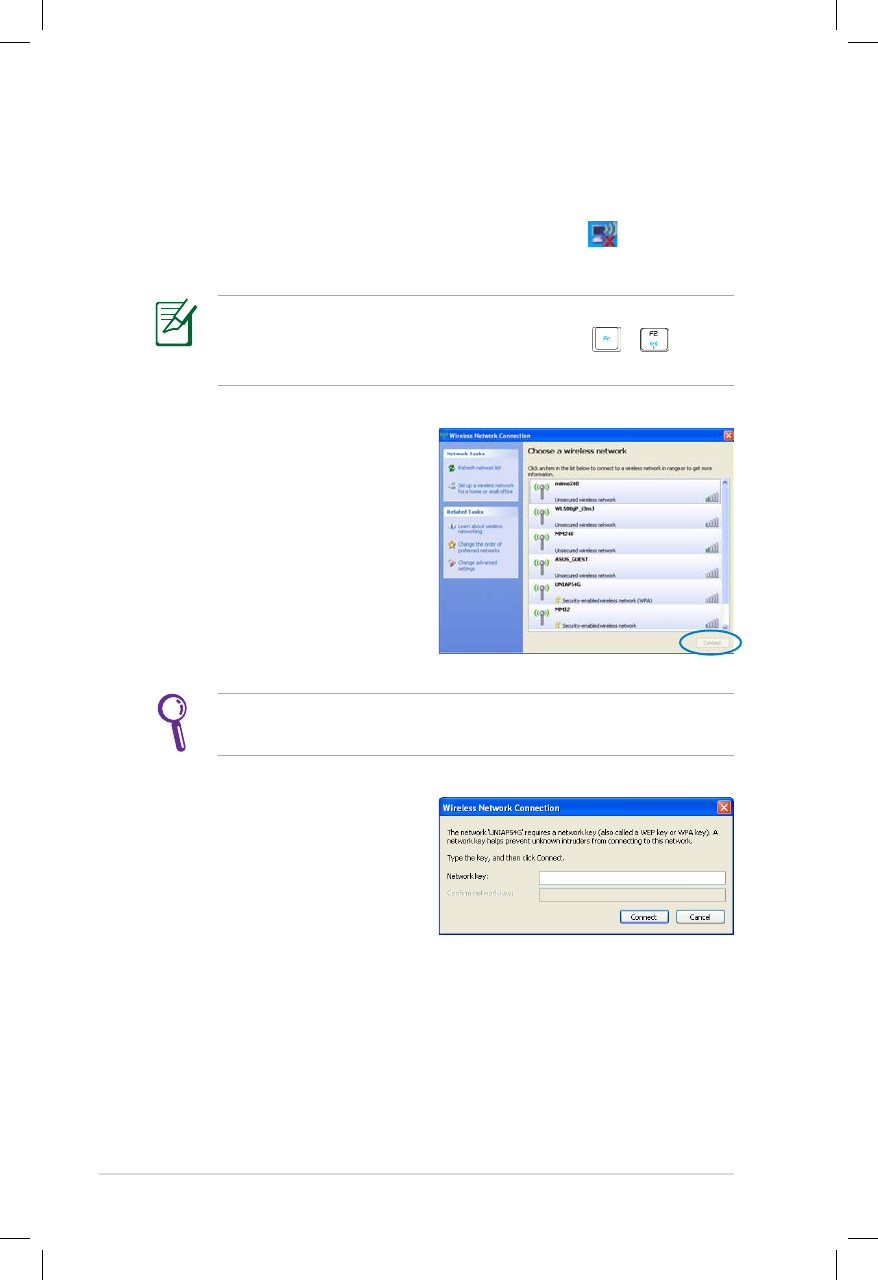
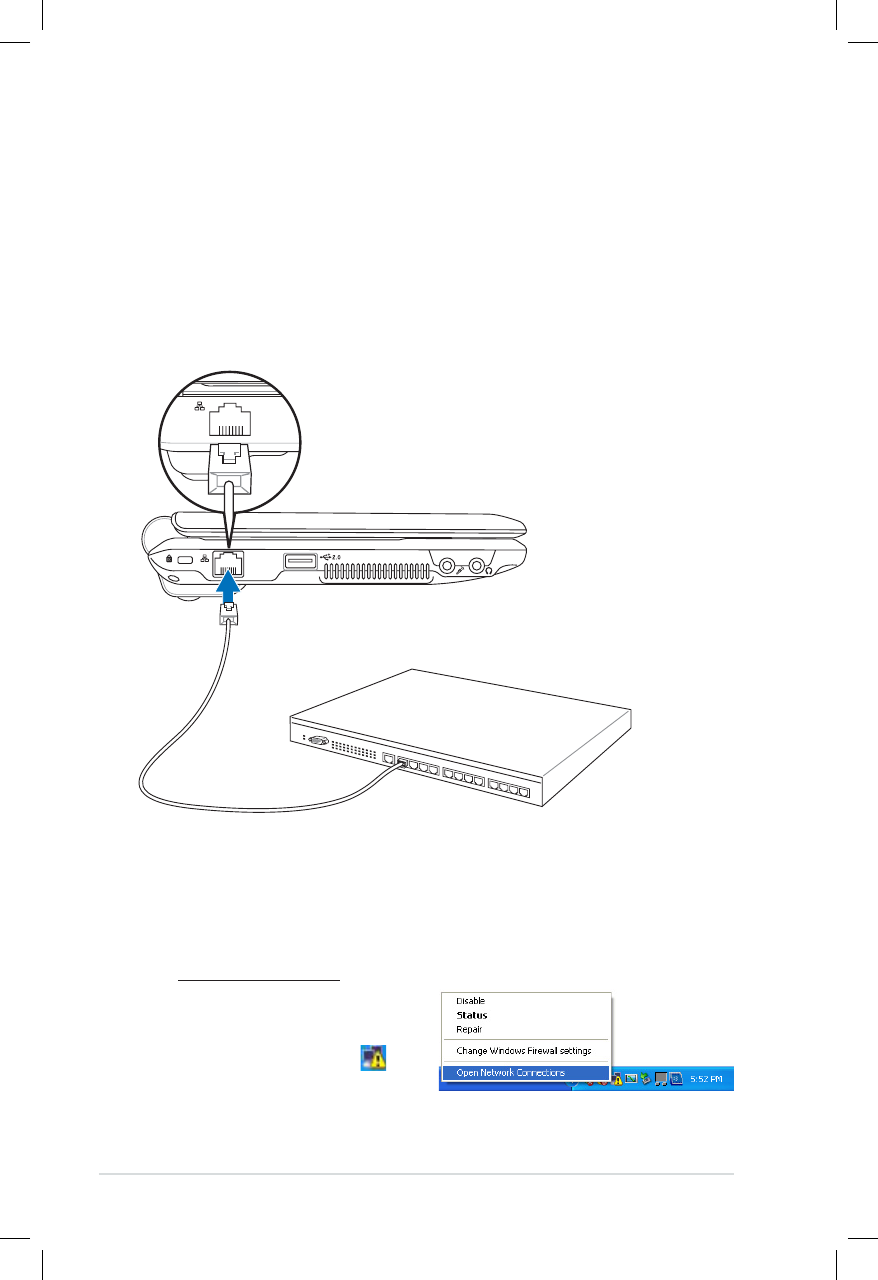
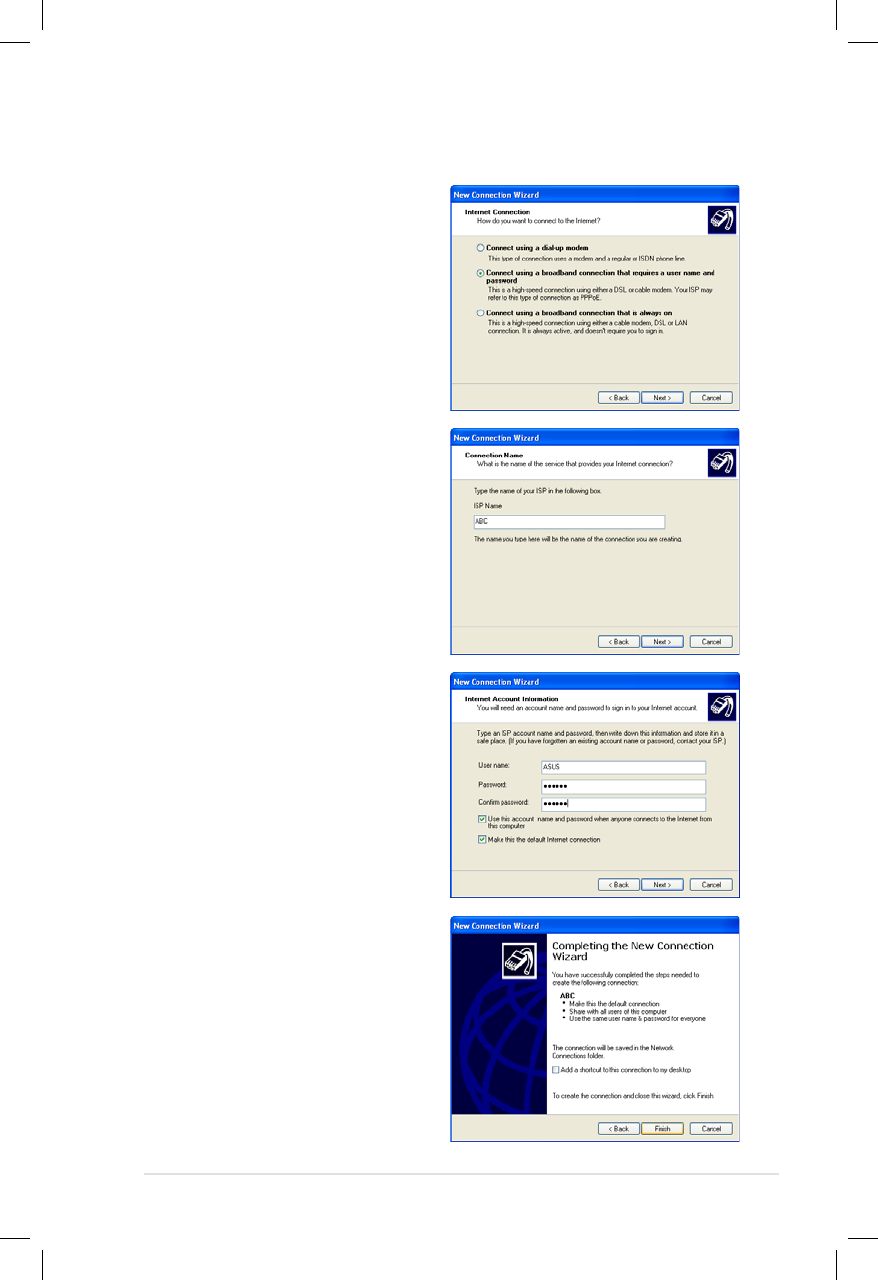
hoe kan ik mijn draadloos internet in stellen Gesteld op 22-9-2012 om 10:24
Reageer op deze vraag Misbruik melden-
ik weet zelf niet hoe ik internet werk mijn laptop is een week oud Geantwoord op 2-8-2013 om 00:26
Waardeer dit antwoord Misbruik melden
-
-
Waar zit de resetknop op de asbus laptop
Reageer op deze vraag Misbruik melden
Gesteld op 1-8-2012 om 13:47-
waar zit de resetknop op de asus laptop Geantwoord op 23-4-2015 om 07:12
Waardeer dit antwoord Misbruik melden
-
-
waar zit de resetknop op de Eee pc asus Geantwoord op 23-4-2015 om 07:15
Waardeer dit antwoord Misbruik melden -
klein gaatje onder n de bodem, voorzichtig met paperclip of iets dergelijks
Waardeer dit antwoord Misbruik melden
bij de eeepc 701 ; Klik op deze LINK
GEBRUIK GEEN STIFT-POTLOOD,
ALS HET AFBREEKT KAN DIT KORTSLUITING OP HET MOEDERBORD GEVEN
bij de 901 werkt dit mogelijk;
meteen na opstarten druk F2, dit opent de BIOS, dan in menubalk
kies [Exit] en 4e regel LoadSetupDefaults dan ([Ok]
groeTon Geantwoord op 15-5-2015 om 22:34 -
hoe zet ik mijn tekst weer in 100% =
Reageer op deze vraag Misbruik melden
Gesteld op 31-7-2012 om 20:48-
ctrl-0 [control + nul dus]
Waardeer dit antwoord Misbruik melden
groeTon Geantwoord op 15-5-2015 om 22:37
-
-
ik heb een recovery CD nodig voor mijn Asus eee pc XP. Hoe kom ik hieraan? Gesteld op 15-5-2012 om 20:52
Reageer op deze vraag Misbruik melden-
kijk eens via google zijn torrents genoeg voor die download Geantwoord op 26-9-2012 om 19:46
Waardeer dit antwoord Misbruik melden
-
-
als ik systeemherstel doe moet ik daarna dan nog alle stuur- en hulpprogramma's apart installeren of staan die er automatisch al op? Gesteld op 15-11-2011 om 19:38
Reageer op deze vraag Misbruik melden-
Waarom systeemherstel? Is je LT vastgelopen? Geantwoord op 15-11-2011 om 21:26
Waardeer dit antwoord Misbruik melden
-
-
LT is niet vastgelopen Geantwoord op 16-11-2011 om 18:30
Waardeer dit antwoord (1) Misbruik melden -
Bedoel je om in de veilige modus op te starten? Windows 7 neem ik aan? Geantwoord op 16-11-2011 om 21:26
Waardeer dit antwoord Misbruik melden -
het is een eee PC met windows XP.
Waardeer dit antwoord Misbruik melden
ik heb per ongeluk een en ander verwijderd
m.b.v de recovery CD wil ik dat terugzetten dit lukt niet (star office8)
om de pc eens op te cleanen leek me een systeemherstel (via de recovery CD) wel handig.
vraag blijft moet ik daarna alle stuurpromma's en hulpprogramma's (ook van de cd)apart nog installeren of staan die er in 1 keer op Geantwoord op 17-11-2011 om 16:27 -
die staan er automatisch op Geantwoord op 18-11-2011 om 11:18
Waardeer dit antwoord Misbruik melden -
thanks Geantwoord op 18-11-2011 om 15:55
Waardeer dit antwoord Misbruik melden -
hoe krijg ik een uitroepteken te zien? Gesteld op 12-10-2011 om 20:48
Reageer op deze vraag Misbruik melden-
shift 1 Geantwoord op 13-10-2011 om 10:44
Waardeer dit antwoord Misbruik melden
-
-
Ik kan geen apestaartje typen shift 2 werkt niet. Gesteld op 9-2-2011 om 20:40
Reageer op deze vraag Misbruik melden-
als je eerst ctrl en shift gelijkt in drukt en dan shift en hoofdletter vijf lukt
Waardeer dit antwoord Misbruik melden
het beter Geantwoord op 29-8-2011 om 23:24
-
-
Of je zou kunnen proberen om de taal van het toetsenbord te wijzigen. Rechts onderin op he koontje klikken en VS kiezen. Geantwoord op 13-10-2011 om 10:46
Waardeer dit antwoord Misbruik melden -
Mijn asus PC geeft aan dat er te schijfruimte is, maar er staat zo goed als niets op. Ook de camera werkt niet meer. Wat moet ik doen. Vr. grt. Peter. hape.vinju@live.nl Gesteld op 24-10-2010 om 13:58
Reageer op deze vraag Misbruik melden-
start knop dan alle programmes dan bureau accosaire dan systeemwerk set dan systeem herstel , daar doe je een systeem herstel Geantwoord op 10-1-2014 om 11:25
Waardeer dit antwoord Misbruik melden
-
-
hoe pc resseten
Reageer op deze vraag Misbruik melden
Gesteld op 28-8-2010 om 15:03-
dat wil ik zelf ook graag weten Geantwoord op 29-10-2011 om 13:26
Waardeer dit antwoord (3) Misbruik melden
-
