11
Connect all components as per the Quick Setup
Guide, or as per pages 6 thru 8 of this manual.
Remove the protective plastic films from the
front panel displays of the DCR600 and DVD600.
1. Plug the Power Cord ‡into an unswitched
AC outlet.
2. Press the Main Power Switch 1in so that
it latches in and is flush with the front panel.
Note that the Power Indicator 3will turn
amber, indicating that the unit is in the
Standby mode.
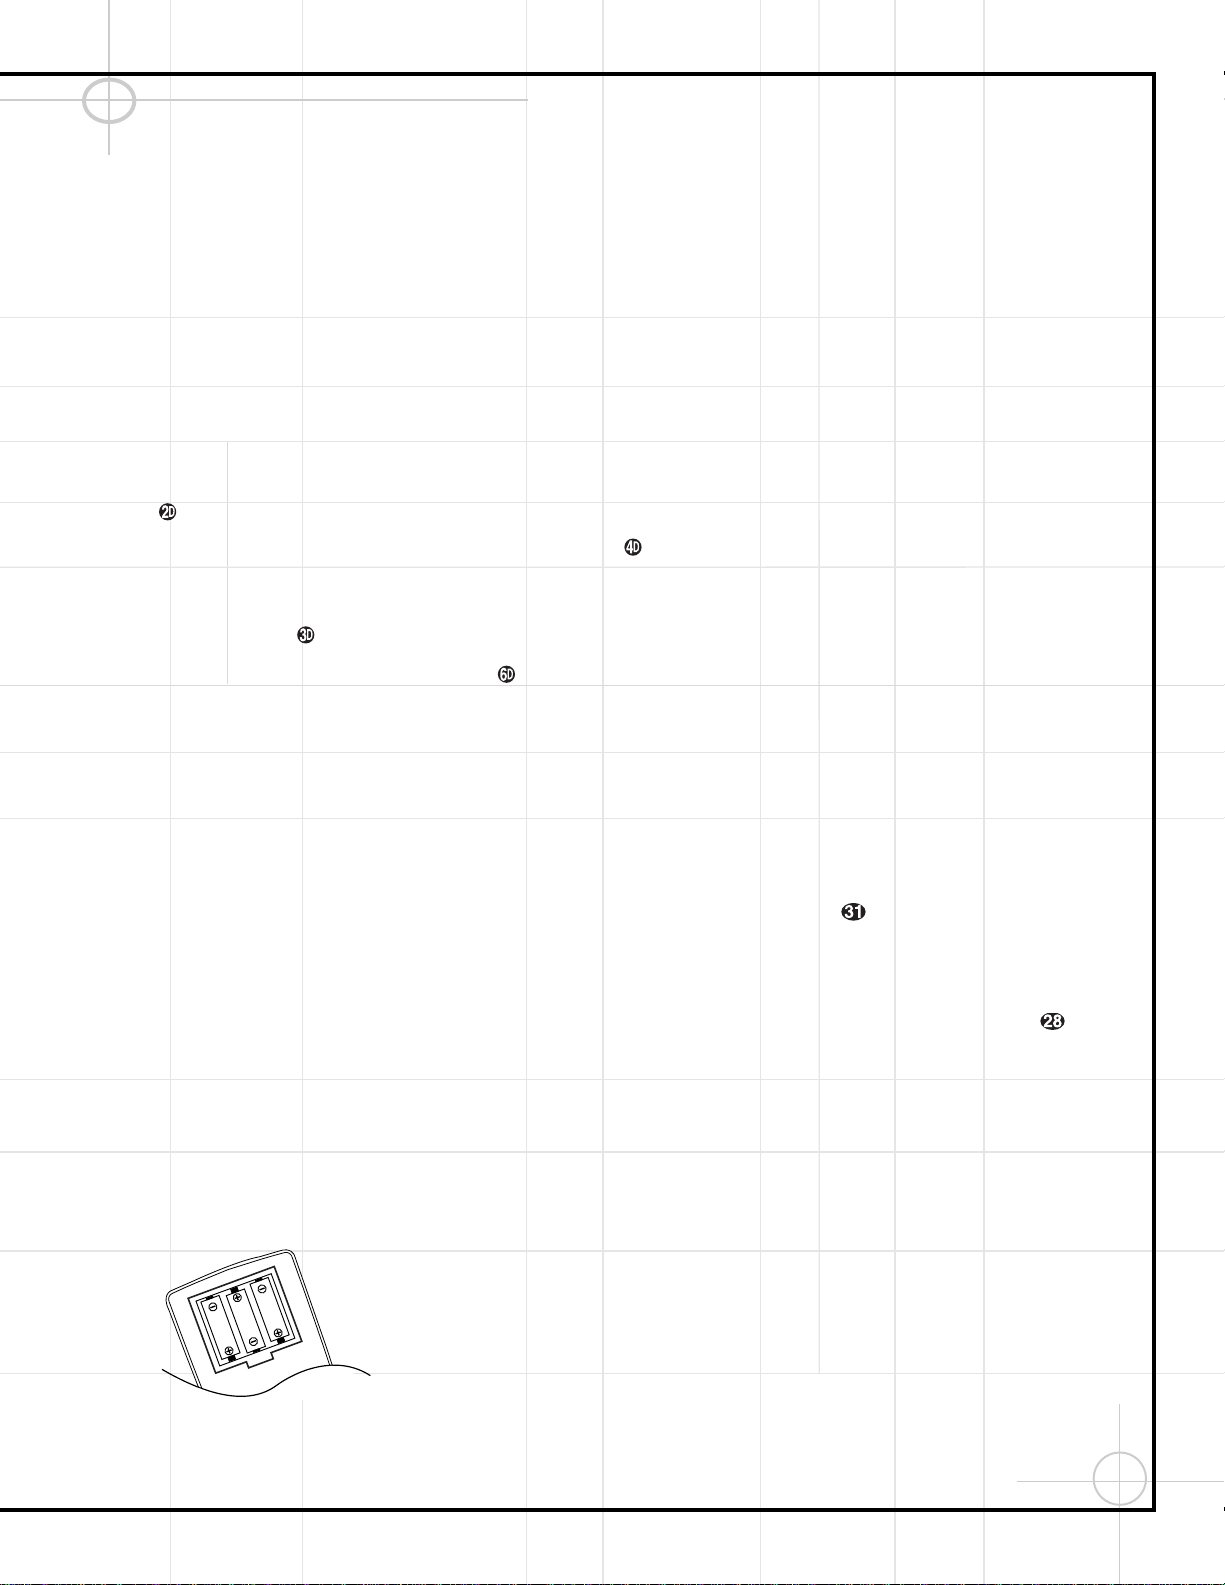
3. Install the three supplied AAA batteries in the
remote as shown. Be certain to follow the (+)
and (–) polarity indicators that are on the bot-
tom of the battery compartment.
4. Turn the DCR600 on, either by pressing the
System Power Control 2on the front
panel, or by pressing an Input Selector
ijklmno on the remote.
The Power Indicator 3will turn green to
confirm that the unit is on, and the
Information Display Úwill also light up.
Setting the output levels correctly is the key to
preserving the enveloping surround sensation
that the artists of your favorite movies intended
for you to experience.
1. Make sure the Balance Control * is in
the “12 o‘clock” position, and put the DCR600
in Dolby Pro Logic* mode by pressing the
Surround Mode Selector t7repeat-
edly until PRO LOGIC appears in the
Main Information Display W, and the
PRO LOGIC indicator Flights.
2. Press the Test Button qto start a test
tone circulating from speaker to speaker,
starting with the front left speaker (indicated
by FL in the display), and going around
clockwise. Let it circulate once to check that
your speakers have been connected correctly.
3. The goal is to obtain the same output level
from each speaker. Use the front left speaker
as your reference, adjusting the Volume
Control Ósw until the sound coming
from the front left speaker is at a comfortable
level.
4. If any other speaker sounds too loud or soft
in comparison to the front left speaker, adjust
its output level by pressing the
⁄
/
¤
Buttons
yon the remote, or the Selector
Buttons 5on the receiver’s front panel.
This will cause the test tone to pause at that
speaker to allow you to make the adjustment.
When you are satisfied with the level of that
speaker, press the Set Button Ôto
store the setting. The tone will continue to
circulate after about 15 seconds.
5. If you are using a sound pressure level (SPL)
meter for precise level adjustment, start by
setting the volume so that the meter reads
75dB, C-Weighting, Slow.
6. When you are finished adjusting the levels
for all speakers (except the subwoofer, which
is not adjustable using this procedure), press
the Test Button qto end the test tone.
For most installations, your DCR600 receiver
should now be ready for use. If you would like
further information on making other, advanced
settings, please see the section titled
“Configuring the DCR600 Receiver”.
Making the Video Connections
IMPORTANT NOTE: The DCR600 and DVD600
offer both S-Video and composite video inputs
and outputs. However, you must choose one
type of connection or the other for all connec-
tions in your system. This will depend on the
type of connections on your television. If both
types of connections are available, we recom-
mend that you purchase S-Video cables and
make those connections for superior picture
quality. The composite video connections will
also provide excellent results. However, the
DCR600 will not convert from one type of signal
to the other.
1. Connect one end of the single-lead RCA cable
with yellow connectors to the composite video
output on the DVD600 and the other end
to the DVD composite video input ªon the
receiver.
OR
Connect one end of an S-Video cable (not sup-
plied) to the S-Video output on the DVD600
to the DVD S-Video input ªon the receiver.
2. Connect one of the yellow ends of the triple-
lead RCA cable with red, white and yellow con-
nectors to the Video Monitor composite video
output ‚on the receiver, and the other end to
the composite video input jack on your television.
This jack is often color-coded yellow; however, if
you have any questions about which jack to use,
consult your television’s owner’s manual or your
dealer for assistance.
OR
Connect one end of a second S-Video cable
(not supplied) to the Video Monitor S-Video
output ‚on the receiver, and the other end
to the S-Video input jack on your television.
3. If your television is equipped with component
video (Y/Pr/Pb) inputs, in addition to the above
connections, you may use a triple-lead compo-
nent video cable (not supplied) to connect the
component video outputs on the DVD600 to
the inputs on your television.
4. Connect one end of the black 1/8" mini phone
cord to the Remote IR Output °on the
DCR600, and the other end to the Remote IR
Input on the DVD600.
If you will not be connecting additional equip-
ment to your system just yet, you may plug in
the receiver, DVD changer and subwoofer. The
DVD600 may be plugged into the Unswitched
Accessory Outlet flon the rear of the
receiver. The receiver has a master power
switch 1which must be pressed in first, and a
power switch 2, which should be pressed sec-
ond. The last source selection will appear in the
receiver’s information display.
The DCR600 is set at the factory to a default
configuration for use with small satellite speak-
ers and a powered subwoofer such as the JBL
SCS135S. If other speakers are used, then the
speaker configurations may need to be changed.
Although the DCR600 is set to the correct speaker
configuration settings for the speakers supplied
with this system at the factory, you will need
to adjust the output levels of the speakers to
customize the system to your speaker placement
and room acoustics.
Completing Setup